ಕನ್ನಡದಲ್ಲಿ ಓದಲು ಇಲ್ಲಿ ಕ್ಲಿಕ್ ಮಾಡಿ 

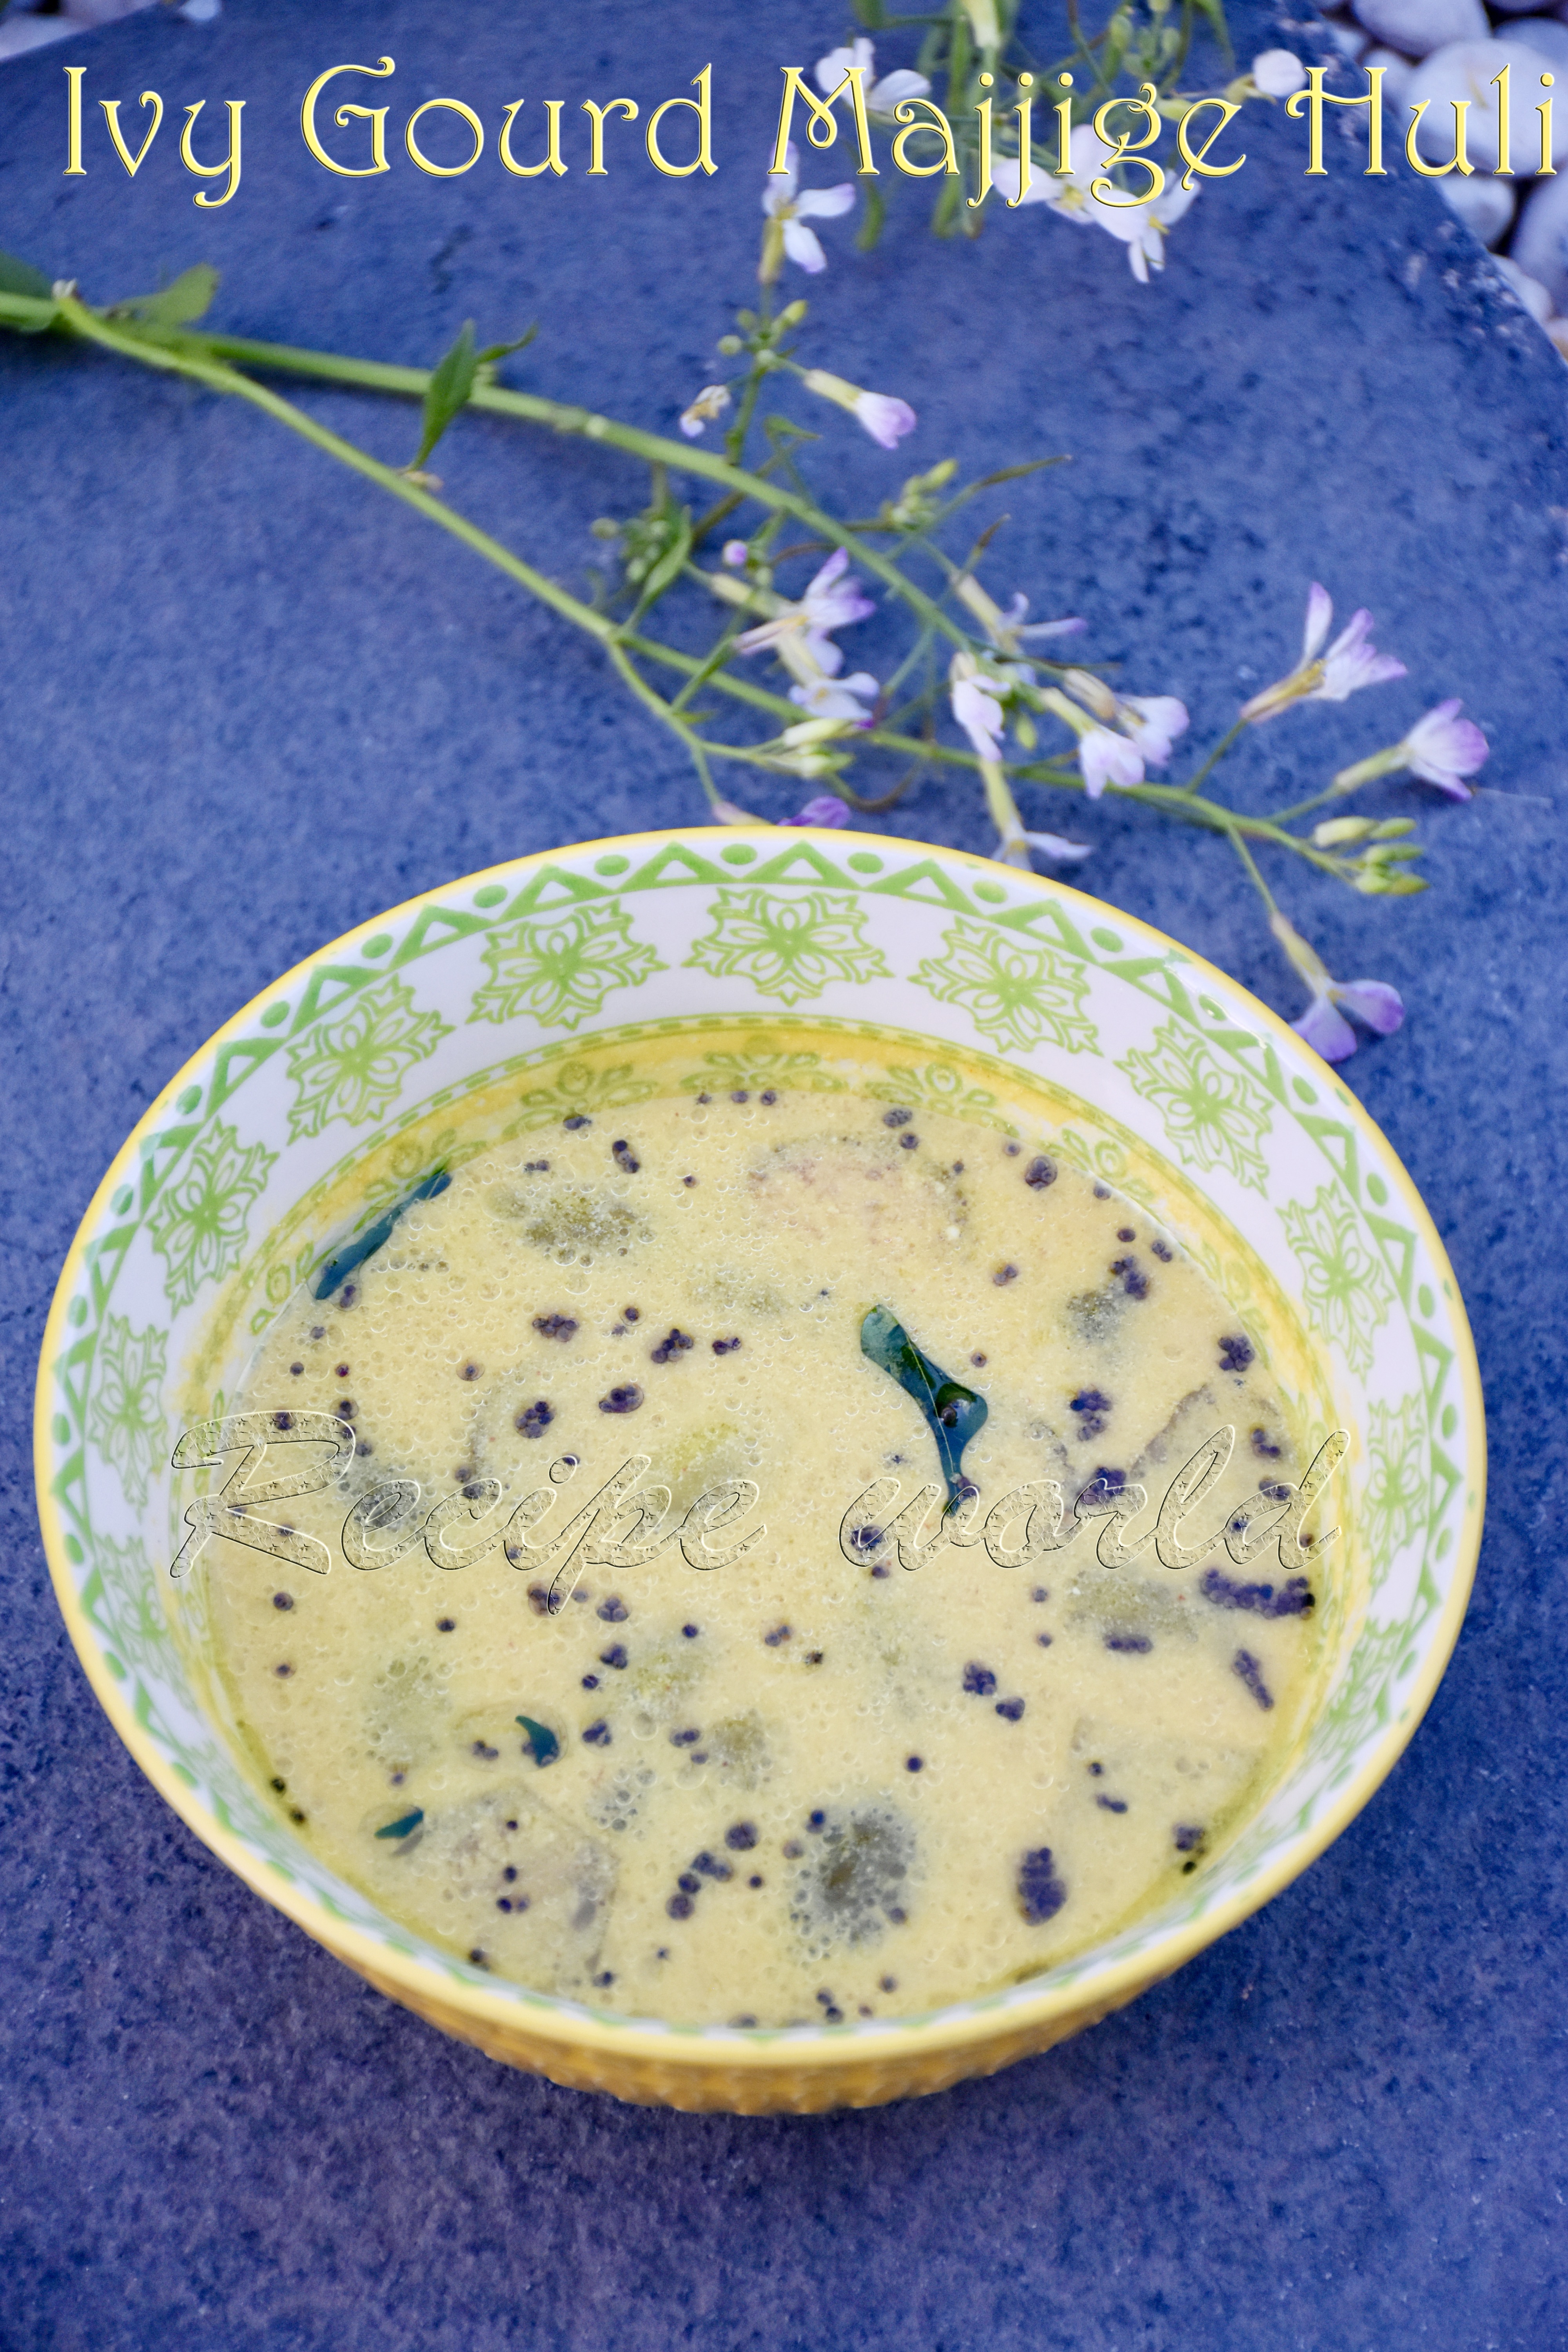
Majjige Huli / Paladya is one of the most common side dish in Havyaka households at my native place. When you are bored of eating same type of Sambar everyday, Majjige Huli makes the lunch or dinner more enjoyable. Different vegetables are used to prepare Majjige Huli. When made using every different vegetable, taste of this side dish varies. Also, we can make both sweet and savoury version of Majjige Huli with every vegetable!

During our recent visit to Sydney, one of our family friends had kindly shared some home-grown Tondekayi / Dondakaya with us. It was long time since I prepared Majjige Huli using Tindora. We all enjoyed this sweet version of Tindora Majjige Huli, and here is the recipe for you all to try!

  • Preparation time: 25 minutes
  • Difficulty level: Medium
  • Serves: 6


Ingredients: 

Tindora / Tondekayi / Ivy gourd / Dondakaya - 15 nos

Thick buttermilk - 1 1/4 cup 

Salt - to taste

Jaggery (or sugar) - 4 to 5 tea spoon (as per taste)

- For grinding:

Coriander seeds - 1 1/4 tsp 

Mustard seeds - 1 tsp

Till / sesame seeds - 1 tsp

Turmeric powder - 1/2 tsp

Green chilli / dry red chilli - small piece (for taste)

Curry leaves - 2 to 3 leaves

Grated coconut (Fresh / frozen) - 1 cup

Water - for grinding the mixture 

- For Seasoning:

Cooking oil - 1 1/2 tsp (see tips)

Urid dal - 1 tsp

Mustard seeds - 1 tsp

Curry leaves - 7 to 8 leaves


Recipe Instructions:

  • Wash the Tindora thoroughly, and cut them into medium size pieces. 
  • Transfer the Tindora pieces into a vessel. Add enough water just to cover the tindora pieces (around 2.5 cup). Also add 1 tsp salt and allow it to cook on medium flame. 
  • After cooking for around 15 minutes, Tindora pieces would have been nearly cooked, and you can see the colour has changed. Add jaggery at this stage and cook for 3 - 4 more minutes.
  • Add the ground paste to this mixture allow to boil for 5 minutes. If the mixture looks too thick, add little water and adjust the consistency. 
  • Finally add the buttermilk. Check and adjust the taste. Boil it for a minute and turn off the flame. 
  • Do the seasoning with oil, urid dal, mustard seeds and curry leaves and add it to the prepared gravy. 
  • Serve this gravy along with hot rice and pickle. This Majjige Huli stays well for 5 - 6 hours since we have heated it after adding the buttermilk. If you prepare it for lunch time, it stays fresh for dinner as well. 


Tips:

Coconut oil is preferred for an authentic taste  


Kaayi Unde or Kaayunde is one of my favourite sweet snacks from childhood. As the name indicates, the main ingredients in this sweet dish are coconut and jaggery. To make it more tastier, nuts like toasted groundnuts or cashews can also be added. 

Here is the recipe of Kaayi Unde for you all!

  • Time required: 30 minutes
  • Difficulty level: Medium
  • Serves: 28 balls 

Ingredients:

  • Fresh grated coconut - 3 cups
  • Jaggery - 1 cup (either powder or liquid) 
  • Roasted groundnuts - 1 cup
  • Cardamom powder - 1 tsp

Recipe Instructions:

  • Take the toasted groundnuts, peel off the skin and pulse them in the mixie or food processor into small chunks.
  • Combine fresh grated coconut and jaggery in a wide pan, keep mixing it on medium flame. 
  • Slowly, the water content in the coconut releases and the jaggery combines well with the coconut. If the mixture looks too dry, you can add 1 - 2 tablespoon of water to make it moist. 
  • Keep mixing the mixture for around 20 minutes, till you see the mixture starts thickening and starts to leave the sides of the pan. Take a small bit of the mixture and check whether you are able to form a ball. 
  • Turn off the flame, add the groundnuts and cardamom powder. Mix everything well.  
  • Once the mixture is lukewarm, grease your palm with a few drops of ghee / oil, take small portions of the mixture and shape them into balls. 
  • Store these chewy sweet balls in an air tight container and enjoy them anytime!

Tips:

  • You can add cashew-nuts instead of groundnuts.


ಕನ್ನಡದಲ್ಲಿ ಓದಲು ಇಲ್ಲಿ ಕ್ಲಿಕ್ ಮಾಡಿ 

 ಕನ್ನಡದಲ್ಲಿ ಓದಲು ಇಲ್ಲಿ ಕ್ಲಿಕ್ ಮಾಡಿ 

Just like every year, our summer veggie patch is on full bloom this year too. When there are so much home grown veggies, its very hard to choose the veggies for your cooking, when you don't want anything go waste! We are making a good use of home grown veggies in our daily cooking, sharing some with friends and also, preserving some in the freezer for the winter months. 

A few of our white radish plants grew up taller, they didn't produce any bulbs, but we could see big bunches of radish beans on the plant. Then, I got to know from one of my friends that, radish beans are good for cooking curries and stir fries. I tried my hands on making 2 - 3 varieties of stir fry (Palya), and here is the one which was liked by all..

  • Preparation time: 25 - 30 minutes
  • Difficulty level: Medium
  • Serves - 5

Ingredients:

  • Radish / Muli beans - about 3 cups
  • Salt - to taste
  • Sugar - 1 tsp
  • Amchur powder - 3/4 tsp

 - For Seasoning: cooking oil - 3 tbsp, Urid dal - 1 tsp, Mustard seeds - 1 tsp, Turmeric - a pinch 

 - For the Masala Powder: 

  • Cooking oil - 2 tsp
  • Cinnamon - 1/2 inch piece
  • Clove - 1
  • Dry red chillies - 3
  • Chana dal (split chana) - 3 tbsp
  • Urid dal - 1 tsp
  • Methi seeds - 1/4 tsp
  • Coriander seeds - 1 1/2 tsp
  • Cumin seeds - 1/2 tsp
  • Mustard seeds - 1/2 tsp
  • Hing / asafoetida - a pinch
  • Turmeric powder - 1/4 tsp 
  • Dry grated coconut / Shredded coconut - 3 to 4 tbsp

Recipe Instructions:

  • Wash the beans in water, take off the stem and the pointy ends of the beans. Chop them roughly or just break each of them into 2 - 3 pieces using your hand. I had around 2 cups of chopped beans after cleaning and taking off the stem and pointy ends.
  • Next step is to prepare the Masala powder; Heat 2 tsp of oil in a heavy bottom pan. Add cinnamon piece, red chilli pieces and split chana dal, toast them for 1 - 2 minutes. Then add urid dal, methi seeds and clove. Stir it for half a minute and add coriander seeds, cumin seeds, mustard seeds and a pinch of hing. Toast them all till the mustard seeds start crackling. Finally add 1/4 tsp of turmeric powder and turn off the flame. 
  • Transfer the toasted spices into the mixie jar after they cool down a bit. Run the mixie a few times on whip / pulse mode to make a course powder. Let it be like semolina, not too course. Add the shredded coconut at the end and pulse it for a few more seconds to make everything evenly course. 
  • Heat 3 tbsp of oil in the sam heavy bottom pan for the seasoning. Add urid dal, mustard seeds. Once the mustard seeds start crackling, add a pinch of turmeric powder and chopped radish beans. Give it a good mix and sauté the mixture for 2 minutes. Then, close the lid and allow it to cook on medium flame. 
  • When the mixture is half - way cooked, add salt to taste, 1 tsp sugar and 3/4 tsp of amchur powder. Combine it well, and close the lid to cook further. Keep mixing it every few minutes. No need to add any extra water, as the water content in the beans would be sufficient to cook them. 
  • It would take around 12 - 15 minutes to cook the beans mixture. Once its cooked well, add the prepared masala powder and combine everything well Cook it for 2 - 3 minutes more and turn off the flame.
  • Serve this tasty Palya along with rice or chapathi!

ಕನ್ನಡದಲ್ಲಿ ಓದಲು ಇಲ್ಲಿ ಕ್ಲಿಕ್ ಮಾಡಿ 

Cucumber is one of those vegetables which is widely used in Indian cooking. Its summer here, and we are making a good use of cucumbers. My cooking style goes more towards my native style food when its summer; we enjoy preparing and eating native style curries like Hashi, Tambli, etc which are mainly yogurt based. But when the winter starts, we prefer more of soups, chapathi and curries.

Hashi or Saasive is a yogurt and coconut based curry which is a good combination with rice. We Havyakas can prepare Hashi or Saasive using almost every variety of vegetables and edible leaves.  

Today, I am going to share the recipe of Savatekayi Hashi (Sasive) with you all. When we were school age kids, we cousins were all very keen to watch how Amma / Aunty / Grandma chop the cucumber so finely using 'Ilige mane' or coconut scraper. We all loved that aroma which comes when the cucumber is chopped finely. And, we used to wait for that small leftover pieces of cucumber which they give at the end!

Below is the recipe of Soutekayi (Savatekayi) Hashi for you all..

  • Preparation time: 20 minutes
  • Serves - 5
  • Difficulty level: Medium

Ingredients:

  • Finely chopped cucumber - 1 cup (see Tips)
  • Fresh grated coconut (or frozen) - 1 to 1 1/4 cup
  • Fresh curd - 1 1/2 cup
  • Salt to taste
  • Sugar - 1/2 tsp
  • Water - about 1 cup (approx)

For Seasoning: Cooking oil - 2 1/2 tsp, Dried red chilli - 2 small pieces, Urid dal - 1 tsp, Till seeds - 1 tsp, Sesame seeds - 1 tsp, Asafoetida (hing) - a pinch, green chilly - 1


Recipe Instructions:

  • Grind the grated coconut into a thick, fine paste by adding around half a cup of water. Transfer it into a bowl.
  • Cut the green chillies and keep it ready for seasoning.
  • Heat a thick bottom pan for seasoning. To this, add around 2.5 tea spoon of oil. Once its heated, add red chilli pieces and 1 tsp urid dal. Saute it for half a minute and add 1 tsp till seeds, 1 tsp sesame seeds followed by a pinch of hing. 
  • When the sesame seeds start crackling, add the green chilly pieces and sauté it for 1 - 2 minutes and turn off the flame. To this seasoning, add the finely chopped cucumber when the pan is still hot. Mix it once, and transfer this mixture into bowl where we kept the coconut paste. 
  • Crush the chilli pieces using a spoon or using your fingertips (if its not too hot). Add 1.5 cups of curd, 1/2 tsp sugar and salt to taste. 
  • Mix everything well, check and adjust the taste. If the mixture is too thick, you can add a few spoons of water to adjust the consistency. 
  • Enjoy this Hashi along with rice and pickle.


Tips:

  • If you are using the young cucumbers no need to take off the peel while chopping.
  • Fully grown cucumbers are not good for this recipe. I normally use lebanese cucumbers for this. 
  • Pull chopper comes in very handy to chop the cucumber finely.
  • Some varieties of cucumbers comes with a bitter taste. Hence, make sure to taste a small piece before you proceed with the preparation. 
  • For that authentic taste, I prefer using coconut oil for the seasoning.

ಕನ್ನಡದಲ್ಲಿ ಓದಲು ಇಲ್ಲಿ ಕ್ಲಿಕ್ ಮಾಡಿ 

Healthy food habits are good for everyone. Our daily food intake should have a balanced portion of pulses, dairy, fruits, nuts and other things. Being hard core vegetarians, I always try to serve the best food for my family.

Today, I am sharing a healthy recipe with you all. These Energy Balls are so delicious to eat, and comes very handy while you are on a trip, hiking, sports activity and also for kids snacks. I have not used any nuts in this recipe since my kids love to carry them for school snacks, and nuts are not allowed in school. You can use any combination of dried fruits and nuts for this recipe.

Preparation time: 20 - 25 minutes

Difficulty level: Medium

Yield: Around 23 balls of medium size

Ingredients:

  • Oats: 1 cup
  • Desiccated coconut: 1/2 cup
  • Pitted dates: 2 1/2 cup
  • Chia seeds: 4 tbsp
  • Cocoa powder: 2 tbsp
  • Orange zest: 1 tbsp
  • Coconut oil: 2 tbsp

Recipe Instructions:

  • Take the oats and make a coarse powder using a mixie or food processor.
  • Lightly roast the coarsely powdered oats, desiccated coconut and chia seeds separately and allow to cool. Each one would take a few minutes to turn aromatic.
  • Roughly chop the pitted dates and transfer it to mixie jar or food processor. Blend the dates till it turns into a sticky mixture. 
  • Add all the remaining ingredients to the dates mixture in 2 - 3 stages and run the mixie or food processor till everything blends well. I have used the 'whip' setting in the mixie to do this. 
  • Take small portions of dough, and shape them into balls of desired size. 
  • Transfer the Energy balls into an air tight container. They stay well at room temperature for 4 - 5 days. Or, you can store them in the refrigerator for 2 - 3 weeks. 

Tips:

  • Replace the ingredients with dried fruits and nuts of your choice.


NewerStories OlderStories Home