Showing posts with label Vegan Recipes. Show all posts

 ಕನ್ನಡದಲ್ಲಿ ಓದಲು ಇಲ್ಲಿ ಕ್ಲಿಕ್ ಮಾಡಿ. 


We had a huge crop of pumpkins this summer. Growing our own veggies during different seasons is not only pocket saver, its stress burster too, in my opinion. It needs a bit of regular maintenance, but seeing the garden brimming with flowers, fruits and veggies, it feels worth the effort. 

Pumpkins last upto 6 months if they are harvested after ripening well. We enjoy pumpkin soup every now and then for our dinner during winter nights. Other dish which my family loves is Pumpkin Sambar. This Sambar won't need onion and garlic, its vegan friendly and tastes similar to the Temple style Sambar. 

Here is the recipe for you all to try:

  • Preparation time: 45 minutes
  • Soaking time: 20 minutes
  • Serves: 6
  • Difficulty level: Difficult

Ingredients:

  • Pumpkin (de-seeded) - 600gm
  • Toor dal - 3/4 cup
  • Fenugreek seeds - 1 tsp
  • Salt - to taste
  • Jaggery - 1/4 tsp or to taste
  • Water - as needed

- For Masala Paste:

  • Cooking oil - 2 tsp (see notes)
  • Dry red chillies - 5 (adjust according to taste)
  • Fenugreek seeds - 3/4 tsp
  • Coriander seeds - 2 1/2 tsp
  • Cumin seeds - tsp
  • Till seeds - 1 tsp
  • Sesame seeds - 3/4 tsp
  • Asafoetida / Hing - a generous pinch
  • Turmeric powder - 1/4 tsp
  • Curry leaves - 2 
  • Raw tamarind - 1 1/2 tsp or to taste (see Tips)
  • Grated coconut - 3/4 cup

- For Seasoning: 

  • Oil - 2 tsp
  • Mustard seeds - 1 tsp 
  • Hing - big pinch 
  • Curry leaves - 1 sprig


Recipe Instructions:

  • Wash the toor dal in water 2 times and soak them for about 20 minutes. Then, add enough water to cover the lentils, also add a few drops of cooking oil, 1/4 tsp turmeric powder and 1 tsp fenugreek seeds. Pressure cook till 1 or 2 whistles. Make sure to cook the dal nicely, but it should not become mushy. I have cooked them till 1 whistle. 
  • Dice the pumpkin into medium or a bit bigger sized cubes without removing the outer skin. Outer skin avoids them from becoming too mushy while cooking. 
  • Heat a wide cooking pan; lightly roast the diced pumpkin along with 2 tsp oil and 1 1/2 tsp salt. Saute them for around 5 minutes and turn off the flame. Keep it aside.
  •  For making the masala paste, heat 2 tsp oil in a small wok. Add broken red chillies followed by fenugreek seeds. Stir them for a minute on low to medium flame. Add coriander seeds, cumin seeds. Give it a good stir, then add sesame seeds and mustard seeds. Stir it continuously till you hear the crackling sound of mustard seeds. 
  • Turn off the flame and add a generous pinch of Asafoetida, 1/4 tsp turmeric powder and 2 curry leaves. Also add 1 1/2 tsp raw tamarind (not the puree) and grated coconut. Give it a good mix and keep it in the same pan for another 5 minutes so that all the ingredients will be lightly roasted, including coconut. 
  • Grind the roasted ingredients into a thick paste consistency, by adding some water. I prefer to keep it a little course, rather than a smooth paste. 
  • Transfer the pressure cooked toor dal into a bigger vessel and allow to heat up on medium flame. Add salt and jaggery to taste. Add some water if its too thick. 
  • Once its nicely hot, add the masala paste and boil it for 4 - 5 minutes.
  • Then add the roasted pumpkin cubes and adjust the consistency by adding more water (if needed). Check and adjust the taste. 
  • Boil it for 5 - 6 minutes or till the Pumpkin cubes are cooked. Take care not to overcook the pumpkin cubes. You can see the oil residue floating on the top of Sambar once its boiled nicely. 
  • Turn off the heat, add half sprig curry leaves and cover it with lid.
  • Do the seasoning with 2 tsp oil, 1 tsp mustard seeds, generous pinch of Asafoetida and 5 - 6 curry leaves. Pour it on the Sambar and mix everything well. 
  • Delicious Pumpkin Sambar is ready to serve with hot rice!

Tips:

  • Can skip adding jaggery if you don't like a sweet taste.
  • Coconut oil is recommended to give it authentic taste. 
  • Raw tamarind is preferred than tamarind puree. If using puree, add a little lesser quantity as its concentrated one. 

Kaayi Unde or Kaayunde is one of my favourite sweet snacks from childhood. As the name indicates, the main ingredients in this sweet dish are coconut and jaggery. To make it more tastier, nuts like toasted groundnuts or cashews can also be added. 

Here is the recipe of Kaayi Unde for you all!

  • Time required: 30 minutes
  • Difficulty level: Medium
  • Serves: 28 balls 

Ingredients:

  • Fresh grated coconut - 3 cups
  • Jaggery - 1 cup (either powder or liquid) 
  • Roasted groundnuts - 1 cup
  • Cardamom powder - 1 tsp

Recipe Instructions:

  • Take the toasted groundnuts, peel off the skin and pulse them in the mixie or food processor into small chunks.
  • Combine fresh grated coconut and jaggery in a wide pan, keep mixing it on medium flame. 
  • Slowly, the water content in the coconut releases and the jaggery combines well with the coconut. If the mixture looks too dry, you can add 1 - 2 tablespoon of water to make it moist. 
  • Keep mixing the mixture for around 20 minutes, till you see the mixture starts thickening and starts to leave the sides of the pan. Take a small bit of the mixture and check whether you are able to form a ball. 
  • Turn off the flame, add the groundnuts and cardamom powder. Mix everything well.  
  • Once the mixture is lukewarm, grease your palm with a few drops of ghee / oil, take small portions of the mixture and shape them into balls. 
  • Store these chewy sweet balls in an air tight container and enjoy them anytime!

Tips:

  • You can add cashew-nuts instead of groundnuts.


ಕನ್ನಡದಲ್ಲಿ ಓದಲು ಇಲ್ಲಿ ಕ್ಲಿಕ್ ಮಾಡಿ 

 ಕನ್ನಡದಲ್ಲಿ ಓದಲು ಇಲ್ಲಿ ಕ್ಲಿಕ್ ಮಾಡಿ 

Just like every year, our summer veggie patch is on full bloom this year too. When there are so much home grown veggies, its very hard to choose the veggies for your cooking, when you don't want anything go waste! We are making a good use of home grown veggies in our daily cooking, sharing some with friends and also, preserving some in the freezer for the winter months. 

A few of our white radish plants grew up taller, they didn't produce any bulbs, but we could see big bunches of radish beans on the plant. Then, I got to know from one of my friends that, radish beans are good for cooking curries and stir fries. I tried my hands on making 2 - 3 varieties of stir fry (Palya), and here is the one which was liked by all..

  • Preparation time: 25 - 30 minutes
  • Difficulty level: Medium
  • Serves - 5

Ingredients:

  • Radish / Muli beans - about 3 cups
  • Salt - to taste
  • Sugar - 1 tsp
  • Amchur powder - 3/4 tsp

 - For Seasoning: cooking oil - 3 tbsp, Urid dal - 1 tsp, Mustard seeds - 1 tsp, Turmeric - a pinch 

 - For the Masala Powder: 

  • Cooking oil - 2 tsp
  • Cinnamon - 1/2 inch piece
  • Clove - 1
  • Dry red chillies - 3
  • Chana dal (split chana) - 3 tbsp
  • Urid dal - 1 tsp
  • Methi seeds - 1/4 tsp
  • Coriander seeds - 1 1/2 tsp
  • Cumin seeds - 1/2 tsp
  • Mustard seeds - 1/2 tsp
  • Hing / asafoetida - a pinch
  • Turmeric powder - 1/4 tsp 
  • Dry grated coconut / Shredded coconut - 3 to 4 tbsp

Recipe Instructions:

  • Wash the beans in water, take off the stem and the pointy ends of the beans. Chop them roughly or just break each of them into 2 - 3 pieces using your hand. I had around 2 cups of chopped beans after cleaning and taking off the stem and pointy ends.
  • Next step is to prepare the Masala powder; Heat 2 tsp of oil in a heavy bottom pan. Add cinnamon piece, red chilli pieces and split chana dal, toast them for 1 - 2 minutes. Then add urid dal, methi seeds and clove. Stir it for half a minute and add coriander seeds, cumin seeds, mustard seeds and a pinch of hing. Toast them all till the mustard seeds start crackling. Finally add 1/4 tsp of turmeric powder and turn off the flame. 
  • Transfer the toasted spices into the mixie jar after they cool down a bit. Run the mixie a few times on whip / pulse mode to make a course powder. Let it be like semolina, not too course. Add the shredded coconut at the end and pulse it for a few more seconds to make everything evenly course. 
  • Heat 3 tbsp of oil in the sam heavy bottom pan for the seasoning. Add urid dal, mustard seeds. Once the mustard seeds start crackling, add a pinch of turmeric powder and chopped radish beans. Give it a good mix and sauté the mixture for 2 minutes. Then, close the lid and allow it to cook on medium flame. 
  • When the mixture is half - way cooked, add salt to taste, 1 tsp sugar and 3/4 tsp of amchur powder. Combine it well, and close the lid to cook further. Keep mixing it every few minutes. No need to add any extra water, as the water content in the beans would be sufficient to cook them. 
  • It would take around 12 - 15 minutes to cook the beans mixture. Once its cooked well, add the prepared masala powder and combine everything well Cook it for 2 - 3 minutes more and turn off the flame.
  • Serve this tasty Palya along with rice or chapathi!

ಕನ್ನಡದಲ್ಲಿ ಓದಲು ಇಲ್ಲಿ ಕ್ಲಿಕ್ ಮಾಡಿ 

Healthy food habits are good for everyone. Our daily food intake should have a balanced portion of pulses, dairy, fruits, nuts and other things. Being hard core vegetarians, I always try to serve the best food for my family.

Today, I am sharing a healthy recipe with you all. These Energy Balls are so delicious to eat, and comes very handy while you are on a trip, hiking, sports activity and also for kids snacks. I have not used any nuts in this recipe since my kids love to carry them for school snacks, and nuts are not allowed in school. You can use any combination of dried fruits and nuts for this recipe.

Preparation time: 20 - 25 minutes

Difficulty level: Medium

Yield: Around 23 balls of medium size

Ingredients:

  • Oats: 1 cup
  • Desiccated coconut: 1/2 cup
  • Pitted dates: 2 1/2 cup
  • Chia seeds: 4 tbsp
  • Cocoa powder: 2 tbsp
  • Orange zest: 1 tbsp
  • Coconut oil: 2 tbsp

Recipe Instructions:

  • Take the oats and make a coarse powder using a mixie or food processor.
  • Lightly roast the coarsely powdered oats, desiccated coconut and chia seeds separately and allow to cool. Each one would take a few minutes to turn aromatic.
  • Roughly chop the pitted dates and transfer it to mixie jar or food processor. Blend the dates till it turns into a sticky mixture. 
  • Add all the remaining ingredients to the dates mixture in 2 - 3 stages and run the mixie or food processor till everything blends well. I have used the 'whip' setting in the mixie to do this. 
  • Take small portions of dough, and shape them into balls of desired size. 
  • Transfer the Energy balls into an air tight container. They stay well at room temperature for 4 - 5 days. Or, you can store them in the refrigerator for 2 - 3 weeks. 

Tips:

  • Replace the ingredients with dried fruits and nuts of your choice.


Balekai or plantain is one of our family favourite vegetables. We get raw banana or plantains once in a while in the Indian grocery stores here. We love different dishes made using plantains in our native style. 

I had brought raw bananas after a long time during my recent grocery shopping. My daughter requested to prepare Banana chips since its her all time favourite. Hence, I had to make some Banana / Plantain Chips for her. One dish we never want to miss is Plantain Palya / Poriyal / Fry / Thoran. 

Here is the recipe of Havyaka Style Balekayi / Plantain Palya for you all!


Preparation time: 20 -25 minutes
Difficulty level: Medium
Serves: 4 - 5


Ingredients:

  • Medium sized plantains - 3
  • Grated coconut - 3 tbsp (fresh / frozen or desiccated coconut)    
  • Green chilli - 1 (according to taste)
  • Salt - to taste
  • Sugar - big pinch
  • Lime squeeze - 2 tbsp or to taste
  • Curry leaves - 1 string
  • Dry red chilli - 1 inch piece
  • Urid dal - 1 tsp
  • Mustard seeds - 3/4 tsp
  • Hing / Asafoetida - generous pinch
  • Turmeric powder - 3/4 tsp
  • Cooking oil - 2 1/2 tbsp (use Coconut oil for authentic Havyaka taste)
  • Water - 4 to 5 cups (to cook the bananas)


Recipe Instructions:

  • Heat 4 - 5 cups of water in a pan. Add 2 - 3 drops of oil to avoid stickiness. Once the water is hot enough, add the whole plantains and cook for 8 - 10 minutes or till they are nearly cooked, but still firm. Once cooked, their skin will turn darker brown and plantains will be a bit soft than before. 
  • Take out the cooked plantains and allow them to cool. 
  • Peel the skin and grate the plantains using a grater. 
  • Take the grated plantains in a mixing bowl. Add grated coconut, salt, sugar and lime juice for taste. 
  • Heat 2 1/2 tbsp oil in a heavy bottom pan for seasoning. Once the oil is hot, add red chilli, urid dal, mustard seeds and hing. When mustard seeds start spluttering, add turmeric powder, slit green chillies and curry leaves. Sauté it for half a minute.
  • Add grated plantain to the seasoning and mix it well. Close the lid half way and cook it for 5 more minutes. 
  • Serve it as a side dish with Rice, Sambar and Curd.

Tips:

  • While cooking, if the plantains became softer than required, wash them in cold water immediately. This will avoid them from becoming smoother again.
  • Lime squeeze can be replaced with Aamchur powder / Hulipudi.


ಕನ್ನಡದಲ್ಲಿ ಓದಲು ಇಲ್ಲಿ ಕ್ಲಿಕ್ ಮಾಡಿ 

Wheat flour dosa is popularly known as a fasting recipe. I was never a fan of Wheat Flour Dosas till I learn this recipe from my friend Maitri. Since then, Wheat Flour Dosa has become our family favourite breakfast. This is an instant dosa, and won't need any fermentation. 
Below is the recipe of Wheat Flour Dosa / Paper Dosa / Tellevu / Crepe:


Preparation time: 10 minutes
Difficulty level: Medium
Serves: 3

Ingredients:
  • Whole wheat flour - 1 1/2 cup
  • Sooji rava / Semolina - 1/3 cup
  • Green chillies - 1 or 2 (depending on spiciness)
  • Ginger - half inch
  • Cumin seeds - 1 tsp
  • Curry leaves - 5 to 6 leaves
  • Turmeric powder - 1/4 tsp
  • Hing / asafoetida - generous pinch 
  • Fresh grated coconut (or frozen) - 1/2 cup
  • Salt - 1 tsp or to taste
  • Water - to prepare the batter


Recipe Instructions:
  • Combine wheat flour and sooji rava in a mixing bowl. 
  • Blend coconut, green chillies, ginger, cumin seeds, curry leaves, turmeric powder and hing into a smooth paste. Add water as needed while blending.
  • Add this paste to the wheat flour - semolina mix and also add salt to taste. Mix everything well. 
  • Add water little by little and keep mixing it. Make it a thick batter without any lumps.
  • Take a ladle full of batter and spread it thinly on the hot tava. 
  • Cook it on medium flame till it turns a bit crispy. 
  • Serve hot dosa along with Coconut Chutney or your favourite side dish. 


Tips:
  • Adjust the wheat flour - sooji rava ratio as needed. The more sooji rava you add, more crispier the dosa will be.


As a South Indian family, we love rice for our daily lunch. Hubby loves Roti / Chapathi and hence, I prepare Roti / Chapathi for our dinner. To ease the the cooking time, I plan to make any one side dish or sambar or dal to be suitable for both rice and roti! This reduces my time in the kitchen a bit.
Here is one such Palya / curry which goes well with rice, roti / chapathi, dosa and poori. Do try this healthy and delicious Cabbage - Sprouted Green Gram Palya / Thoran / Masala Dry Curry and let me hear your feedback :)


Preparation time: 15 minutes
Difficulty level: Medium
Serves: 3

Ingredients:
  • Finely shredded cabbage - 3 cups
  • Sprouted green gram / mung bean - 1/2 cup (can use more also)
  • Salt - to taste
  • Amchur powder / hulipudi - 3/4 tsp
  • Sugar - 1/3 tsp
  • Pav Bhaji Masala powder - 1 tsp
  • Red chilli powder - 1/4 tsp (adjust according to spiciness)
 - For Seasoning:
  • Oil - 1 1/2 tbsp
  • Dry red chilli - 1 inch piece
  • Urid dal - 1 tsp
  • Mustard seeds - 1 tsp
  • Turmeric powder - 1/3 tsp
  • Green chilli - 1 slit
  • Curry leaves - 5 to 6

Recipe Instructions:
  • Keep all the ingredients ready.
  • Heat oil in a heavy bottom pan for seasoning. Add red chilli piece, urid dal and mustard seeds. Toast it till mustard seeds start crackling.
  • Add turmeric powder, slit green chilli and curry leaves. 
  • Sauté it once and add shredded cabbage and sprouted green gram.
  • Mix everything well, close the lid and cook it on low to medium flame. 
  • Keep mixing it every now and then to avoid burning. If the mixture looks too dry, a few tablespoons of water can be added. I have not added and water here. 
  • When the mixture is nearly cooked, add salt, sugar, amchur powder, pav bhaji masala powder and red chilli powder. Mix it well and cook covered till done. 
  • Serve this delicious Palya along with rice, chapathi, dosa or poori.

Tips:
  • You can skip using green chillies by adding little more chilli powder.
  • Adding sugar is purely optional.  
  • Pav bhaji masala powder can be replaced with sambar powder or any other masala powder.

This year, we had planted some snow pea plants in our little backyard. Snow peas are easy to grow, they won't need much care and the yield is also pretty quick. Now, the winter has started and still we are getting enough crop to serve our little family. As they have a sweet taste, my kids love to pick the snow peas fresh from the garden and eat them as it is.  
Here is the recipe of a side dish which my family loves to eat often. I use potato, snow peas, capsicum and green peas for this Subzi. But it should be ok if you skip capsicum and / or green peas.


Preparation time: 25 minutes
Difficulty level: Medium
Serves: 4

Ingredients:
  • Potatoes (big) - 2 
  • Snow peas - 8 to 10
  • Capsicum chopped - 3/4 cup
  • Green peas - 3/4 cup (I have used frozen peas)
  • Kasuri methi - 1 tbsp
  • Cumin coriander powder - 1 tsp
  • Salt - to taste
  • Pepper powder - 1 tsp or for taste

 - For seasoning:
  • Oil - 2 tbsp
  • Fenugreek / Methi seeds - 1/4 tsp


Method:
  • Wash all the vegetables thoroughly in clean water.
  • Chop the snow peas and capsicum into medium size pieces.
  • Peel and chop the potatoes into small pieces lengthwise.
  • Heat oil in a heavy bottom pan. Add the fenugreek seeds and toast till aromatic.
  • Add the potato pieces, mix well and close the lid for cooking.
  • Keep mixing it frequently to avoid potatoes sticking to the bottom.
  • When the potatoes are half-cooked, add chopped snow peas, capsicum, green peas and kasuri methi. Close the lid and continue cooking. Keep mixing them regularly.
  • When potato pieces are almost cooked, add salt, pepper powder, cumin - coriander powder and cook for 3 - 4 minutes or till done.
  • Serve this delicious side dish along with rice, chapathi or pooris.


Appehuli is a special variety of curry or rasam which is prepared mainly in Western Ghats of Karnataka. This curry is mainly prepared in Havyaka Brahmin households and hence, the name 'Havyaka' is very much associated with 'Appehuli'. Appehuli is served as a side dish with rice. Some people love to drink it as Soup too.
Nicely aromatic raw mangoes are perfect for preparing Appehuli. Apart from raw mango, sour fruits and veggies like Kanchikayi (Kaffir lime), lime, lemon, Star fruit, raw / ripe tamarind, etc. are all good to prepare Appehuli. 
Today, I am sharing the procedure of preparing Tamarind Appehuli. Ripe tamarind which is a bit sweet and sour in taste is good for preparing this Appehuli. 


Preparation time: 15 minutes
Difficulty level: Easy
Serves: 5 - 6

Ingredients:
  • Ripen tamarind - 2 tbsp
  • Water - 1 1/4 cup
  • Salt - 1 tsp or to taste
  • Sugar - 1 tbsp or to taste
 - For Seasoning:
  • Oil - 2 tsp
  • Dry red chilli - 1 inch piece
  • Sesame seeds - 3/4 tsp
  • Asafoetida / hing - a pinch
  • Turmeric powder - a pinch
  • Green chilli - 1 
  • Curry leaves - 5 or 6
  • Crushed garlic - 1 tsp


Method:
  • Take the tamarind in a small bowl. Add enough water to cover it and soak for 10 minutes. Soaking in warm water will quicken the process. 
  • Squeeze the tamarind and collect the pulp. Add little more water and prepare 1 cup of tamarind water. Adjust the sourness according to your taste. 
  • Add salt and sugar according to taste. This Appehuli tastes good with sweet - sour taste.
  • Heat oil in a small wok. Add dry red chilli, sesame seeds and a pinch of hing. 
  • Once the sesame seeds start crackling, add a pinch of turmeric powder, green chilli pieces and curry leaves. Sauté it for a while and add crushed garlic. 
  • Turn off the flame once the garlic becomes aromatic and add this seasoning to the tamarind water. 
  • Crush the chillies and crunchy curry leaves to enhance the taste. 
  • That's all, tasty Appehuli is ready to go with hot rice! 


'Katne' - is a unique curry from my native in Southern India. Its prepared using some wild leaves called 'Kannekudi' leaves which are available there. This curry is preferred during rainy season when people can't get much vegetables. Also, it helps to keep the body warmer during times of cold and fever. 
We can't get Kannekudi leaves here in Australia, but I prepare this curry by substituting Spinach leaves. Below is the recipe of Spinach leaves Katne.


Preparation time: 20 - 25 minutes
Difficulty level: Medium 
Serves: 5

Ingredients: 

  • Spinach / Palak leaves - 1 bunch
  • Pepper corns - 10 to 12 (adjust according to spiciness needed)
  • Cumin seeds - 1 tsp
  • Grated coconut - 1 cup
  • Amchut powder - 3/4 tsp
  • Salt - to taste
  • Lime squeeze - for taste (see tips)
  • Oil - fr seasoning
  • Crushed garlic - 1 1/2 tsp
  • Water 

Method:

  • Wash the spinach leaves in water and chop them roughly. 
  • Heat 1 1/2 tsp of oil in a pan, add pepper corns and roast them till they start crackling. 
  • Then, add cumin seeds followed by chopped spinach leaves. 
  • Cook it till spinach leaves change color and turn off the flame. Don't add any water for cooking at this stage. 
  • Grind the cooked mixture along with grated coconut and archur powder into fine paste. Add water as required. 
  • Transfer the spinach paste to a pan. Add water as needed to adjust the consistency. I prefer it to be a bit watery like Rasam. Also add salt and lime juice as per taste. 
  • Boil this curry nicely for 5 minutes. 
  • Heat 1 1/2 tsp of oil in a small wok or pan. Add crushed garlic and sauté till it turns into lite brown color. Add this seasoning to the prepared curry.
  • Enjoy this delicious Katne (curry) along with rice!

Tips:

  • If not using lime juice, use more amchur powder and adjust the taste.
  • Having this curry during post partum time is good for health. Only change needed is to replace lime juice with amchur powder completely. 


As everyone is restricted from going outside due to COVID - 19, its a bit hard to manage the kids at home all day. And, more household work like cooking, cleaning vessels, cleaning and the like. I am trying to involve kids in doing the household chores a bit. Here is a recipe which can be done involving the kids. Potato Podi or shallow fried potato slices are always on demand in our home. 


Preparation time: 20 -25 minutes
Difficulty level: Medium
Serves: 4

Ingredients:
  • Potato (big ones) - 2
  • Sooji rava (Course Semolina) - 3 tbsp
  • Salt - to taste
  • Red chilli powder - 3/4 tsp or to taste
  • Oil - for cooking

Method:
  • Peel off the skin of potatoes and cut them into thin slices.
  • Mix together sooji rava, salt and red chilli powder in a small bowl. 
  • Coat the potato slices with the rava mixture by dipping them in the mixture.
  • Cook them on the hot tawa by drizzling a few drops of oil. Flip them a few times to ensure even cooking.

How to cook in the oven:
  • Pre-heat the oven to 175C.
  • Line the baking tray with baking sheet and arrange the semolina coated potato slices side by side. 
  • Drizzle 4 - 5 drops of oil on each potato slice.
  • Cook them in the pre-heated oven for 15 minutes or till done. 
  • Take out the tray after 5 minutes and serve the hot Potato Podi as snacks or as a side dish with lunch or dinner.


Doddapatre is a common herb which is generously used in many Indian households for cooking and home medications. This plant won't need much care and can be easily grown in a pot. We use this herb mainly to get rid of cold and cough. Having access to herbs like Ajawain, tulsi, ginger, etc. will definitely cut down frequent visits to the doctor for some common sickness. Apart from its medicinal values, Ajwain leaves are equally good for preparation of a few yummy dishes. Here is one such side dish, Doddapatre / Ajwain leaves Gojju..


Preparation time:15 minutes
Difficulty leves: Medium
Serves: 4 - 5

Ingredients:
  • Doddapatre / Ajwain leaves - 7 or 8
  • Split bengal gram - 2 tbsp
  • Dry red chillies - 2
  • Urid dal - 1 tsp
  • Mustard seeds - 1/2 tsp
  • Hing / asafoetida - a pinch
  • Coriander seeds - 3/4 tsp
  • Cumin seeds - 1/4 tsp
  • Till seeds - 1/2 tsp
  • Turmeric powder - 1/2 tsp
  • Salt - to taste
  • Tamarind - 1 1/2 tbsp or to taste
  • Jaggery / sugar -  3 tbsp or to taste
  • Grated coconut - 1 cup
  • Oil - 1 1/2 tsp
- For seasoning:
  • Urid dal - 1/2 tsp
  • Mustard seeds - 1/2 tsp
  • Oil - 1 tsp

Method:
  • Wash the Doddapatre leaves in clean water and keep aside.
  • Heat 1 1/2 tsp oil in a heavy bottom pan. Add split bengal gram and sauté for a minute on medium or low flame.
  • Then, add urid dal, red chilli pieces followed by coriander seeds, cumin seeds, till seeds and hing. 
  • Once the mustard seeds start spluttering, add turmeric powder and doddapatre leaves. 
  • Continue cooking till the leaves change color and then turn off the flame.
  • Grind the cooked mixture along with grated coconut and tamarind and make a course paste. Let it be thick, not too watery; add little water as required.
  • In a pan, do the seasoning with oil. urid dal and mustard seeds. Add the grind mixture, salt and jaggery / sugar to taste. 
  • Allow the mixture to heat up nicely. Once the bubbles start coming, turn off the flame. 
  • This Gojju or gravy tastes well when served with rice.


As you all know, Corona virus is spreading quickly everywhere and its at all recommended to go out in most of the places. Curfew, home isolation these are the situation everywhere. This virus is spreading in our area also. Kids are homeschooling, husband is working from these days due to safety reasons. We are completely restricting ourselves from going out except fortnight grocery shopping. Hope some solution will be found out soon and I wish for everyone's safety and good health.
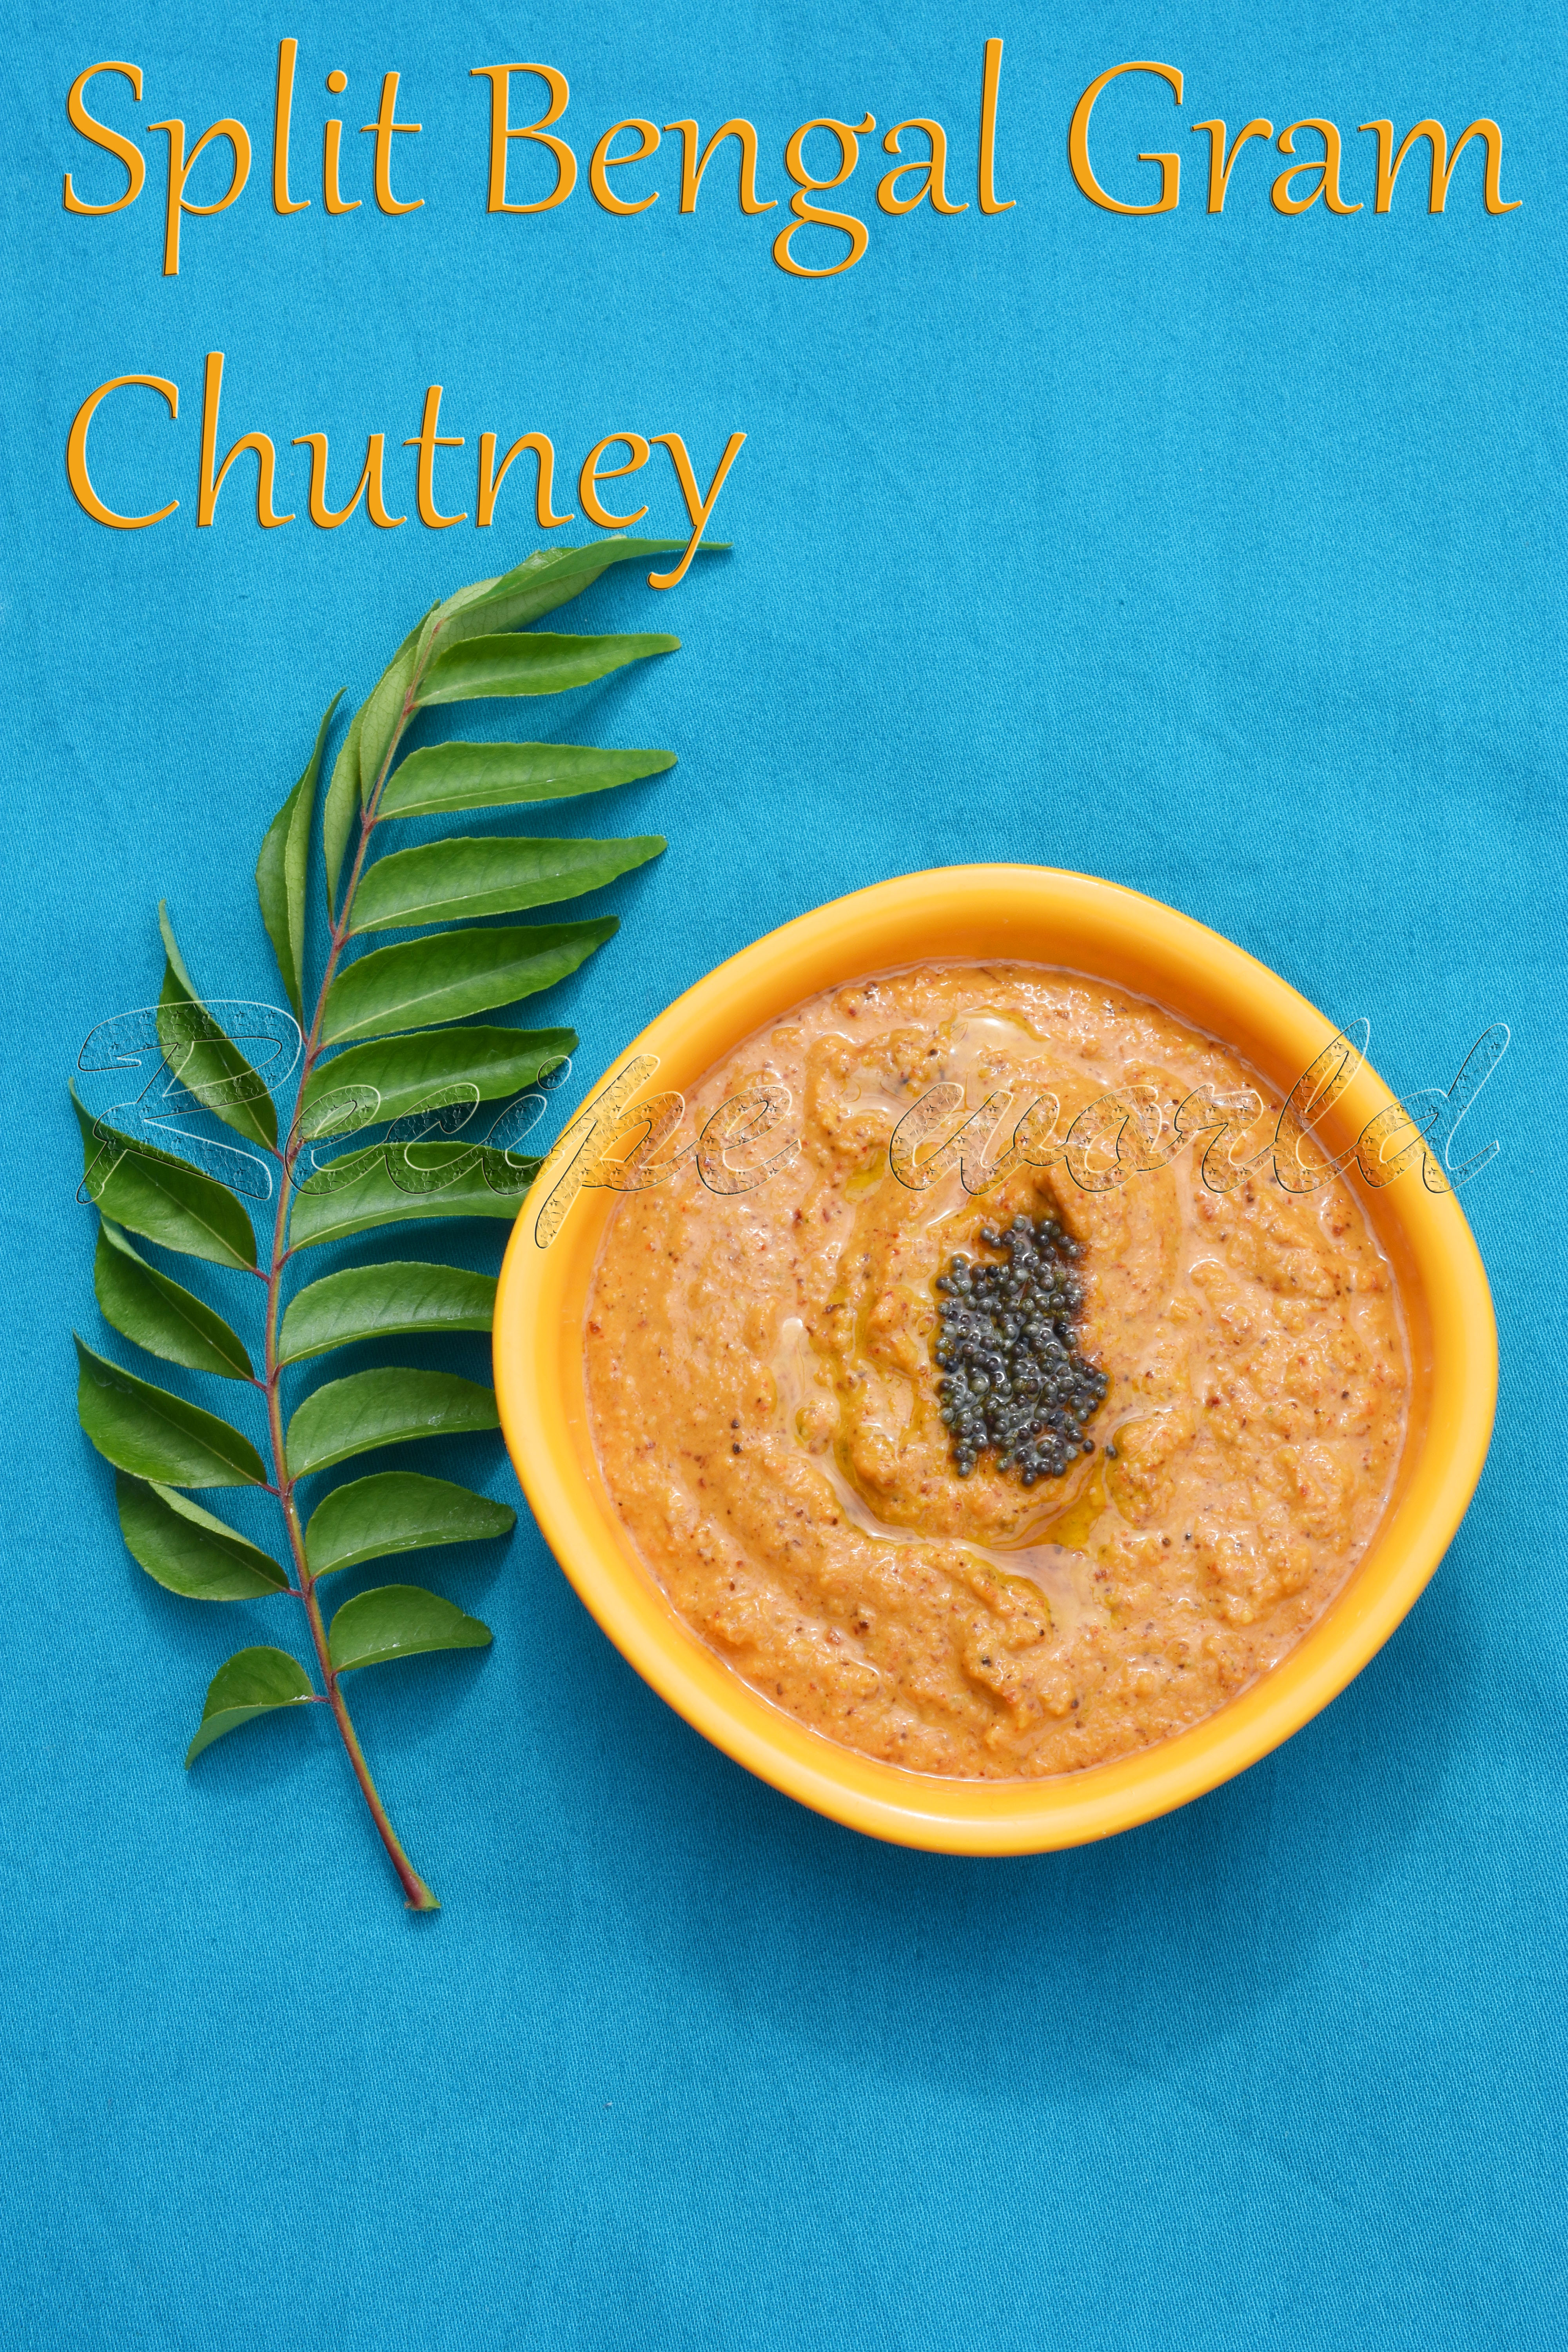
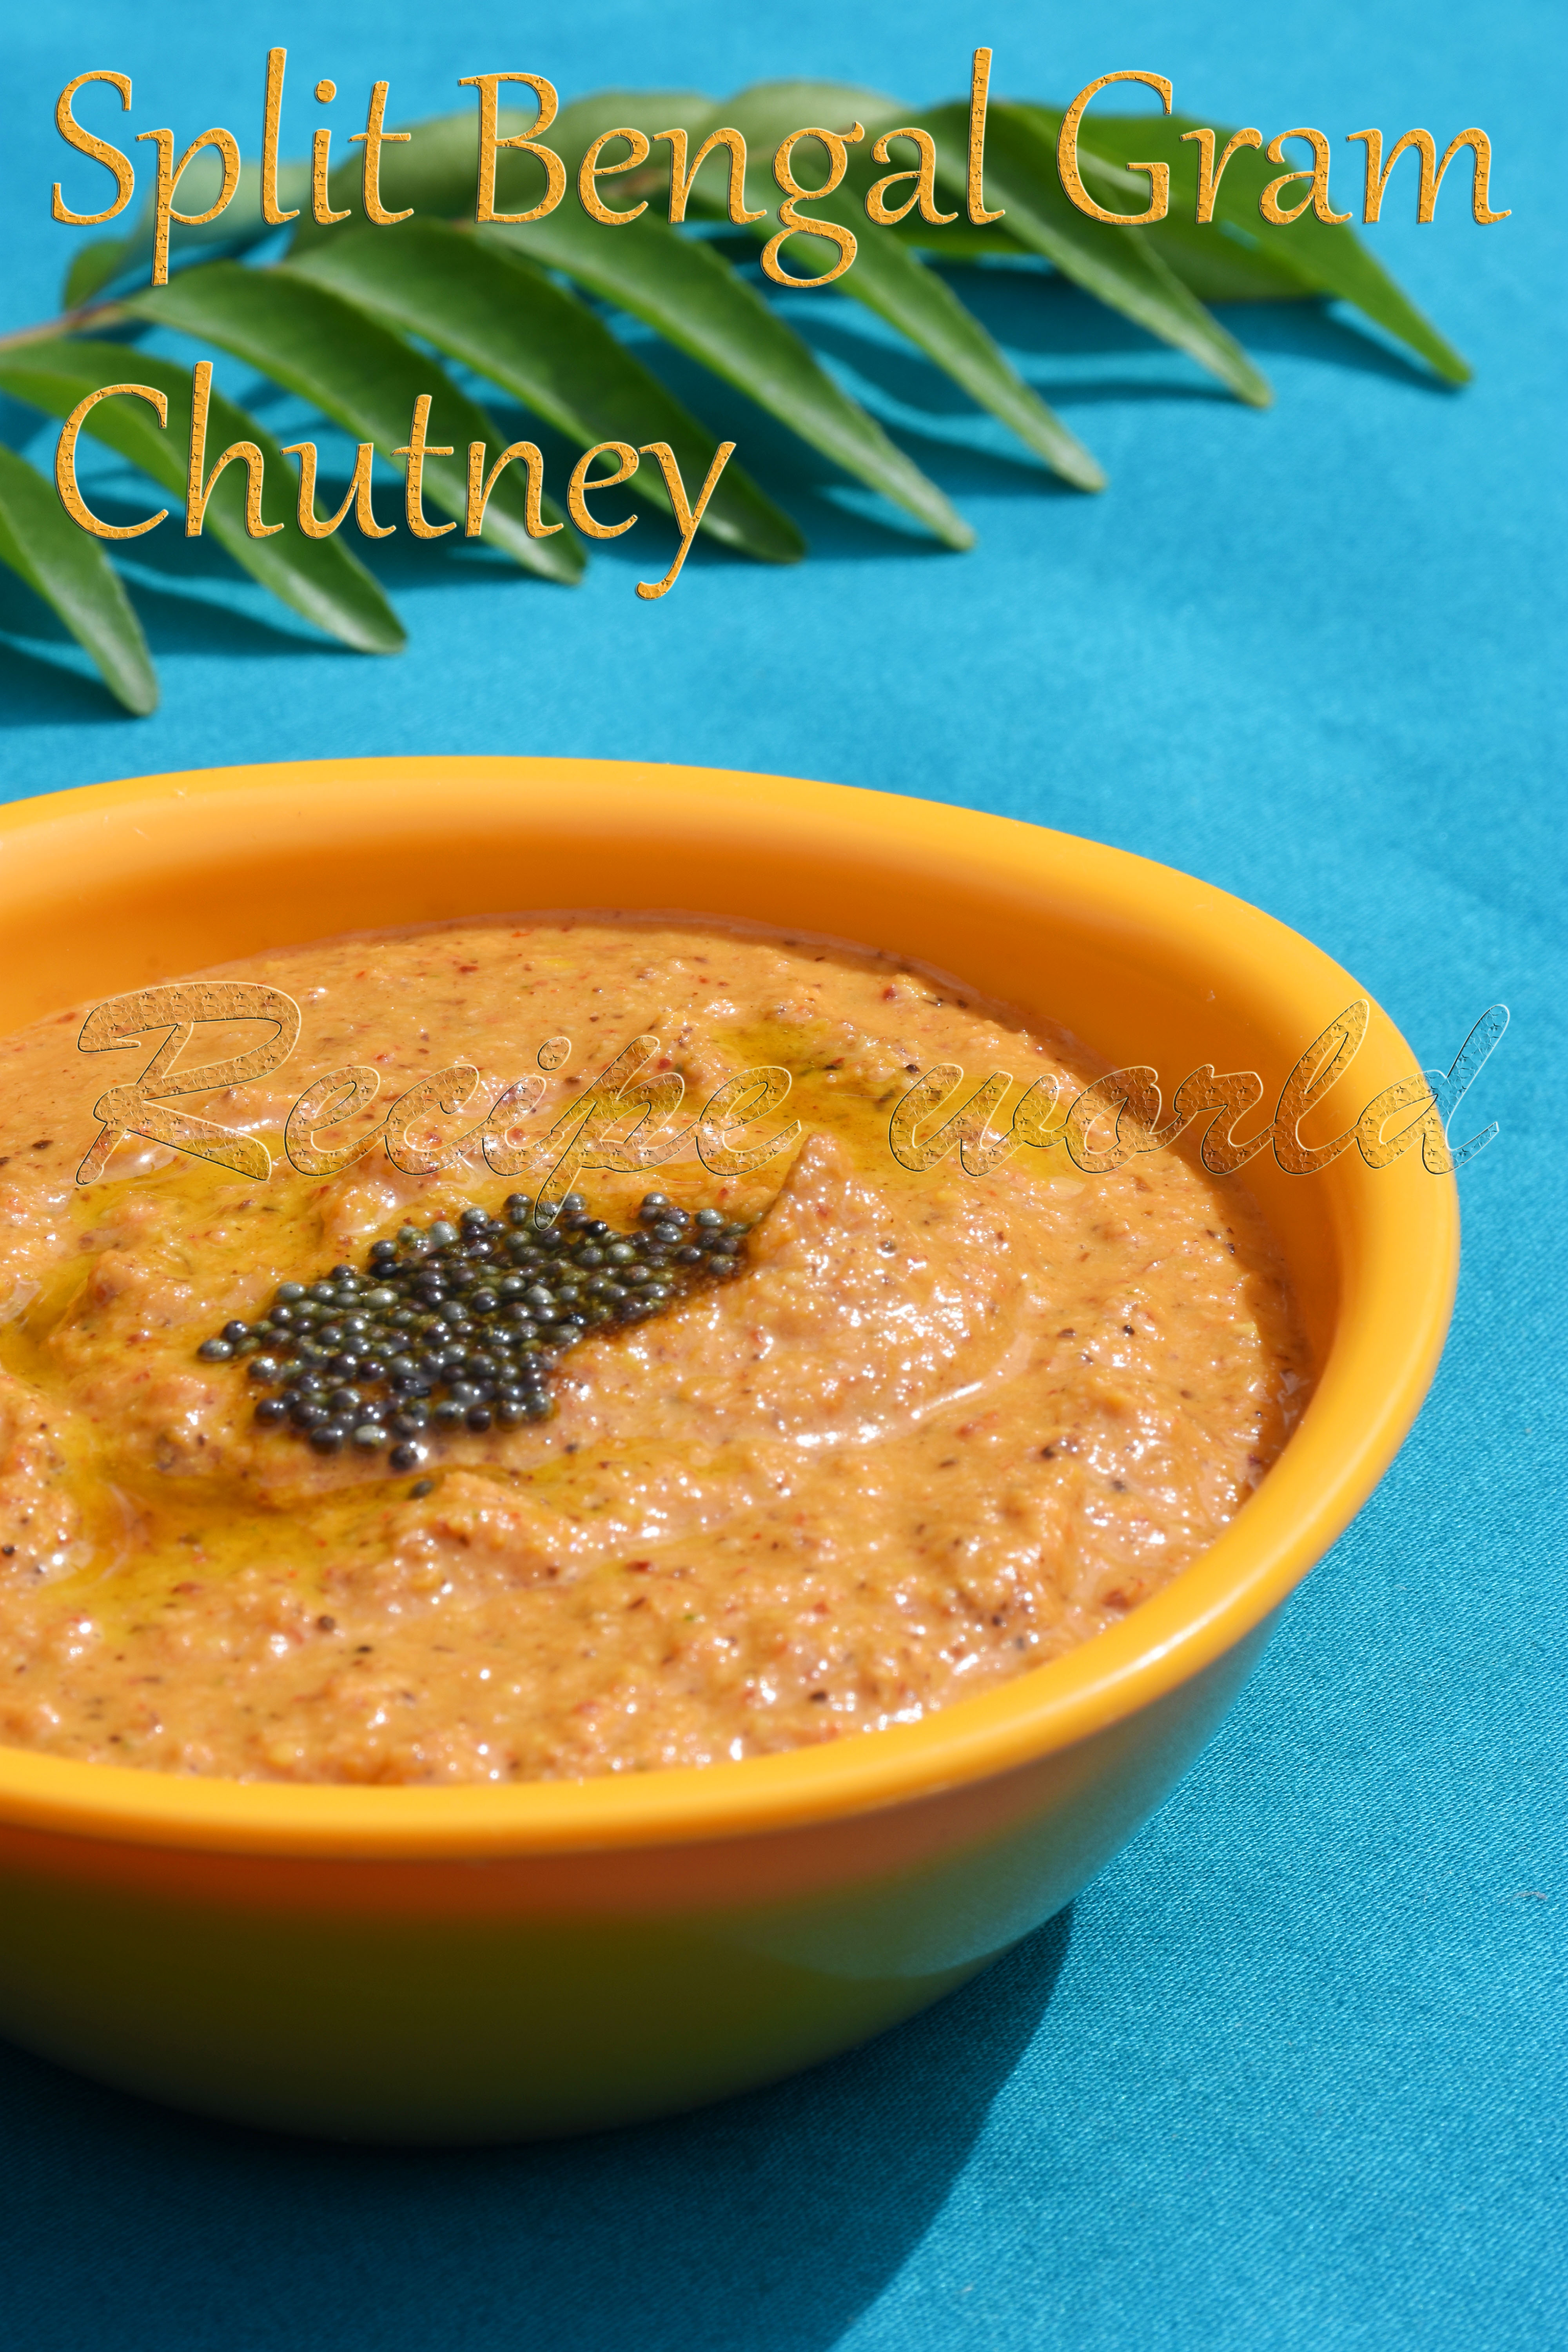
Coming back to the recipe part, here is and easy Chutney recipe which I learnt from my sister. This goes well with rice and Idlis. This Chutney can be made with commonly available ingredients from the kitchen pantry and hence, I thought this might be of help especially when you can't go out for much grocery shopping. Below is the recipe of Kadlebele Chutney or Kadle Kaalina Gojju..


Preparation time: 10 - 12 minutes
Difficulty level: Medium
Serves - 4

Ingredients:
  • Kadlebele (Split bengal gram) - 2 tbsp
  • Dry red chillies - 1 or 2 (adjust according to spiciness)
  • Urid dal - 1 tsp
  • Hing / asafoetida - generous pinch
  • Mustard seeds - 1 tsp + 1 tsp
  • Turmeric powder - 1/4 tsp
  • Green chilli (optional) - 1
  • Tamarind - 1 1/2 tbsp or to taste
  • Salt - to taste
  • Sugar - 1/4 tsp
  • Fresh grated coconut - 1 cup
  • Curry leaves (optional) - 4 leaves
  • Oil - 1 1/2 tsp + 1 tsp


Method:
  • Heat 1 1/2 tsp oil in a wok or heavy bottom pan. Add split bengal gram dal and roast it for 1 - 2 minutes.
  • To this, add urid dal, red chilli pieces, mustard seeds and hing. Once the mustard seeds start spluttering, add turmeric powder, green chilli pieces and curry leaves. Sauté for a minute and turn off the flame.
  • Grind the roasted lentil mixture along with fresh grated coconut, tamarind, salt and sugar. Add little water as required and make a thick, coarse paste. 
  • Heat the oil in a wok. Add 1 tsp mustard seeds and a pinch of hing. Once mustard seeds splutter, add this seasoning to the prepared Chutney. 
  • Serve this Chutney along with rice or Idlis.


Tips:
  • If you don't like to add green chillies, add more red chillies according to taste.


Happy new year to everyone! I was planning to post this recipe on the first day of new year. But it was time to enjoy the long holidays and I couldn't find any time for blogging. We were busy with shopping and roaming around here and there. Holidays got over like that and now, I am back to my routine!
First recipe for this year is dedicated to all the chocolate lovers! I have adopted this recipe from a fellow blogger's site. Few years back when I started my baking journey, I used to keep browsing for varieties of cake recipes. I think, this was the first chocolate cake I prepared. It was so yummy and we just loved it! Then onwards, I have prepared this soft and delicious chocolate cake many a times. I have tried few other versions of chocolate cake recipes, but very much addicted to this recipe.
This recipe is from Raks Kitchen. She has a wonderful collection of recipes with mouth watering picks. I have tried this recipe exactly the same way she wrote and didn't make any changes. Try this yummy cake and let me know how it turned out!


Preparation time: 15 minutes
Baking time: 35 - 40 minutes
Servings: 10
Difficulty level: Medium

Ingredients:
  • All purpose flour / Maida - 1 1/2 cup
  • Cocoa powder - 3 tbsp
  • Baking soda - 1 tsp
  • Salt - 1/4 tsp
  • Sugar - 1 cup
  • Water - 1 cup
  • Oil (vegetable oil or sunflower oil) - 1/4 cup
  • Lime juice / vinegar - 1 tbsp
  • Vanilla essence - 1/2 tbsp


Method:
  • Pre-heat the oven to 180°C. 
  • Grease the baking tray and dust with some flour. Dusting with flour is to avoid the cake sticking to the vessel.
  • Combine all purpose flour, cocoa powder, baking soda and salt in a mixing bowl. Sieve it once so that everything will be mixed properly. 
  • Powder the sugar and mix it with water. Once sugar is diluted, add lime juice, oil and vanilla essence. Mix it well.
  • Fold in the flour mixture into this water and mix it nicely. 
  • Transfer the batter onto the greased baking tray and bake it for 35 - 40 minutes. To check whether its done or not, insert a tooth pick upto the bottom of the cake. If batter is not sticking to the toothpick, its clear that the cake is done. 
  • Allow the cake to cool down. Then, cut it into pieces and enjoy!

OlderStories Home