Showing posts with label Curries. Show all posts

 ಕನ್ನಡದಲ್ಲಿ ಓದಲು ಇಲ್ಲಿ ಕ್ಲಿಕ್ ಮಾಡಿ. 


We had a huge crop of pumpkins this summer. Growing our own veggies during different seasons is not only pocket saver, its stress burster too, in my opinion. It needs a bit of regular maintenance, but seeing the garden brimming with flowers, fruits and veggies, it feels worth the effort. 

Pumpkins last upto 6 months if they are harvested after ripening well. We enjoy pumpkin soup every now and then for our dinner during winter nights. Other dish which my family loves is Pumpkin Sambar. This Sambar won't need onion and garlic, its vegan friendly and tastes similar to the Temple style Sambar. 

Here is the recipe for you all to try:

  • Preparation time: 45 minutes
  • Soaking time: 20 minutes
  • Serves: 6
  • Difficulty level: Difficult

Ingredients:

  • Pumpkin (de-seeded) - 600gm
  • Toor dal - 3/4 cup
  • Fenugreek seeds - 1 tsp
  • Salt - to taste
  • Jaggery - 1/4 tsp or to taste
  • Water - as needed

- For Masala Paste:

  • Cooking oil - 2 tsp (see notes)
  • Dry red chillies - 5 (adjust according to taste)
  • Fenugreek seeds - 3/4 tsp
  • Coriander seeds - 2 1/2 tsp
  • Cumin seeds - tsp
  • Till seeds - 1 tsp
  • Sesame seeds - 3/4 tsp
  • Asafoetida / Hing - a generous pinch
  • Turmeric powder - 1/4 tsp
  • Curry leaves - 2 
  • Raw tamarind - 1 1/2 tsp or to taste (see Tips)
  • Grated coconut - 3/4 cup

- For Seasoning: 

  • Oil - 2 tsp
  • Mustard seeds - 1 tsp 
  • Hing - big pinch 
  • Curry leaves - 1 sprig


Recipe Instructions:

  • Wash the toor dal in water 2 times and soak them for about 20 minutes. Then, add enough water to cover the lentils, also add a few drops of cooking oil, 1/4 tsp turmeric powder and 1 tsp fenugreek seeds. Pressure cook till 1 or 2 whistles. Make sure to cook the dal nicely, but it should not become mushy. I have cooked them till 1 whistle. 
  • Dice the pumpkin into medium or a bit bigger sized cubes without removing the outer skin. Outer skin avoids them from becoming too mushy while cooking. 
  • Heat a wide cooking pan; lightly roast the diced pumpkin along with 2 tsp oil and 1 1/2 tsp salt. Saute them for around 5 minutes and turn off the flame. Keep it aside.
  •  For making the masala paste, heat 2 tsp oil in a small wok. Add broken red chillies followed by fenugreek seeds. Stir them for a minute on low to medium flame. Add coriander seeds, cumin seeds. Give it a good stir, then add sesame seeds and mustard seeds. Stir it continuously till you hear the crackling sound of mustard seeds. 
  • Turn off the flame and add a generous pinch of Asafoetida, 1/4 tsp turmeric powder and 2 curry leaves. Also add 1 1/2 tsp raw tamarind (not the puree) and grated coconut. Give it a good mix and keep it in the same pan for another 5 minutes so that all the ingredients will be lightly roasted, including coconut. 
  • Grind the roasted ingredients into a thick paste consistency, by adding some water. I prefer to keep it a little course, rather than a smooth paste. 
  • Transfer the pressure cooked toor dal into a bigger vessel and allow to heat up on medium flame. Add salt and jaggery to taste. Add some water if its too thick. 
  • Once its nicely hot, add the masala paste and boil it for 4 - 5 minutes.
  • Then add the roasted pumpkin cubes and adjust the consistency by adding more water (if needed). Check and adjust the taste. 
  • Boil it for 5 - 6 minutes or till the Pumpkin cubes are cooked. Take care not to overcook the pumpkin cubes. You can see the oil residue floating on the top of Sambar once its boiled nicely. 
  • Turn off the heat, add half sprig curry leaves and cover it with lid.
  • Do the seasoning with 2 tsp oil, 1 tsp mustard seeds, generous pinch of Asafoetida and 5 - 6 curry leaves. Pour it on the Sambar and mix everything well. 
  • Delicious Pumpkin Sambar is ready to serve with hot rice!

Tips:

  • Can skip adding jaggery if you don't like a sweet taste.
  • Coconut oil is recommended to give it authentic taste. 
  • Raw tamarind is preferred than tamarind puree. If using puree, add a little lesser quantity as its concentrated one. 

ಕನ್ನಡದಲ್ಲಿ ಓದಲು ಇಲ್ಲಿ ಕ್ಲಿಕ್ ಮಾಡಿ 

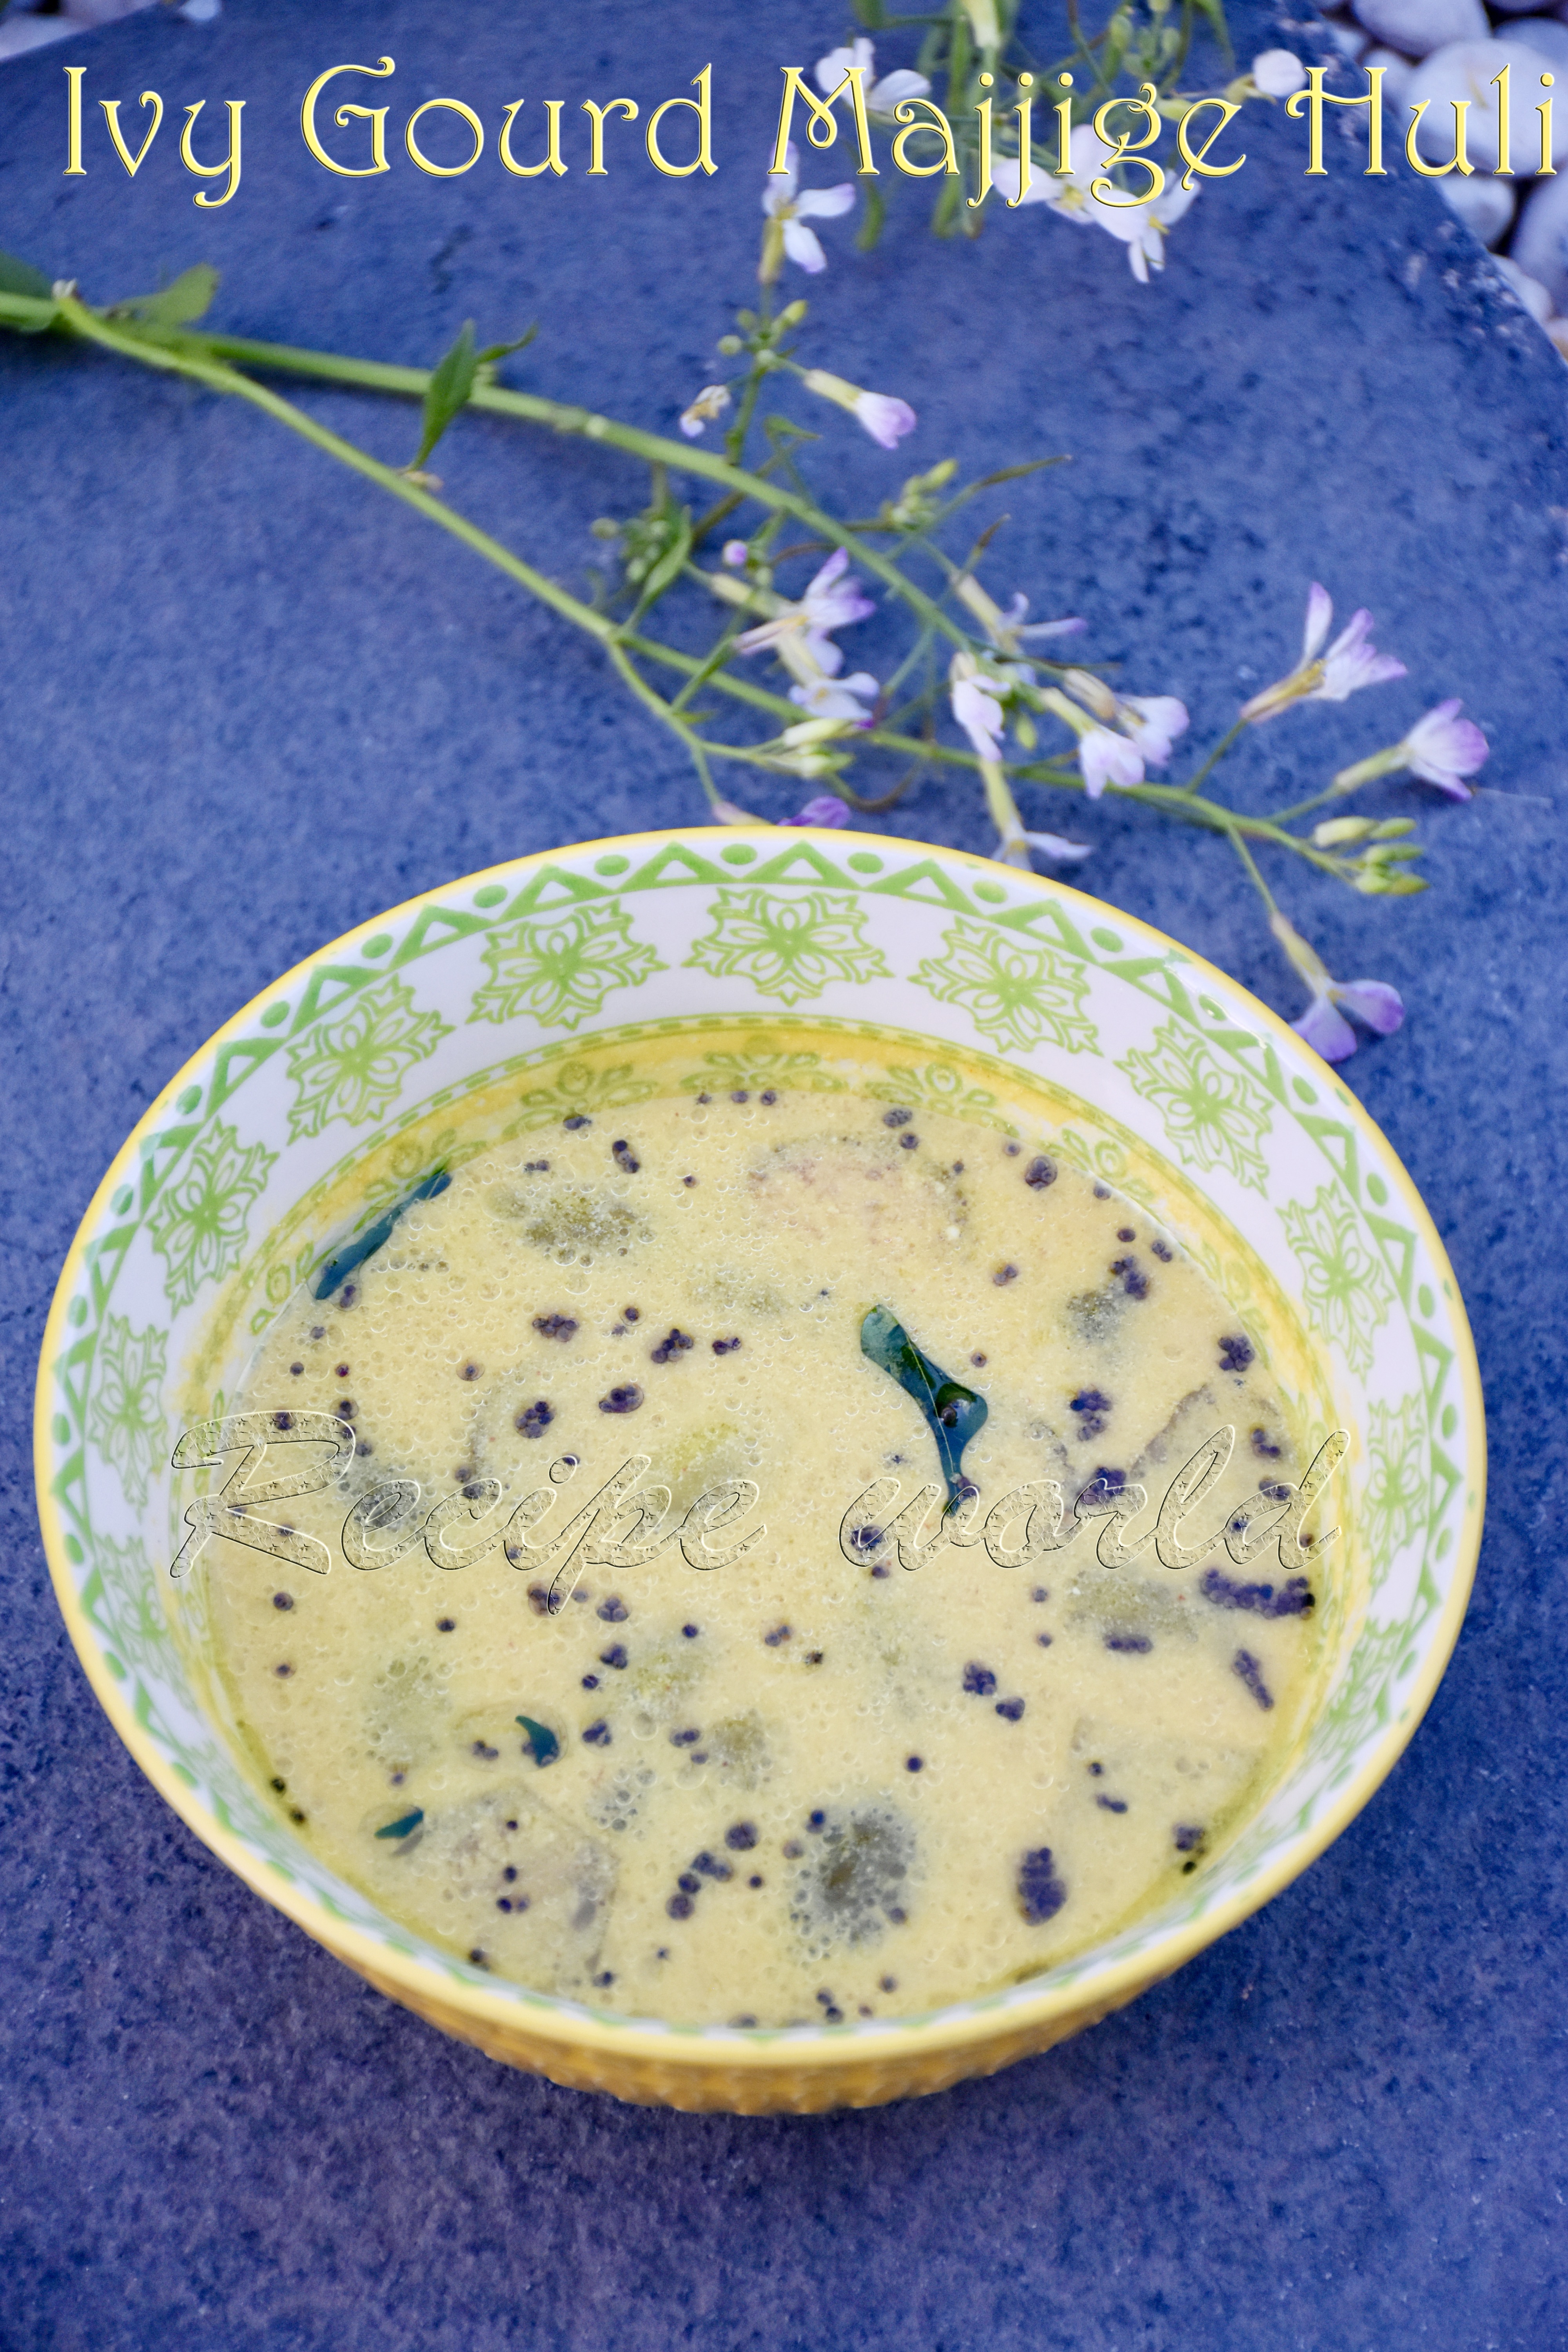
Majjige Huli / Paladya is one of the most common side dish in Havyaka households at my native place. When you are bored of eating same type of Sambar everyday, Majjige Huli makes the lunch or dinner more enjoyable. Different vegetables are used to prepare Majjige Huli. When made using every different vegetable, taste of this side dish varies. Also, we can make both sweet and savoury version of Majjige Huli with every vegetable!

During our recent visit to Sydney, one of our family friends had kindly shared some home-grown Tondekayi / Dondakaya with us. It was long time since I prepared Majjige Huli using Tindora. We all enjoyed this sweet version of Tindora Majjige Huli, and here is the recipe for you all to try!

  • Preparation time: 25 minutes
  • Difficulty level: Medium
  • Serves: 6


Ingredients: 

Tindora / Tondekayi / Ivy gourd / Dondakaya - 15 nos

Thick buttermilk - 1 1/4 cup 

Salt - to taste

Jaggery (or sugar) - 4 to 5 tea spoon (as per taste)

- For grinding:

Coriander seeds - 1 1/4 tsp 

Mustard seeds - 1 tsp

Till / sesame seeds - 1 tsp

Turmeric powder - 1/2 tsp

Green chilli / dry red chilli - small piece (for taste)

Curry leaves - 2 to 3 leaves

Grated coconut (Fresh / frozen) - 1 cup

Water - for grinding the mixture 

- For Seasoning:

Cooking oil - 1 1/2 tsp (see tips)

Urid dal - 1 tsp

Mustard seeds - 1 tsp

Curry leaves - 7 to 8 leaves


Recipe Instructions:

  • Wash the Tindora thoroughly, and cut them into medium size pieces. 
  • Transfer the Tindora pieces into a vessel. Add enough water just to cover the tindora pieces (around 2.5 cup). Also add 1 tsp salt and allow it to cook on medium flame. 
  • After cooking for around 15 minutes, Tindora pieces would have been nearly cooked, and you can see the colour has changed. Add jaggery at this stage and cook for 3 - 4 more minutes.
  • Add the ground paste to this mixture allow to boil for 5 minutes. If the mixture looks too thick, add little water and adjust the consistency. 
  • Finally add the buttermilk. Check and adjust the taste. Boil it for a minute and turn off the flame. 
  • Do the seasoning with oil, urid dal, mustard seeds and curry leaves and add it to the prepared gravy. 
  • Serve this gravy along with hot rice and pickle. This Majjige Huli stays well for 5 - 6 hours since we have heated it after adding the buttermilk. If you prepare it for lunch time, it stays fresh for dinner as well. 


Tips:

Coconut oil is preferred for an authentic taste  


ಕನ್ನಡದಲ್ಲಿ ಓದಲು ಇಲ್ಲಿ ಕ್ಲಿಕ್ ಮಾಡಿ 

Cucumber is one of those vegetables which is widely used in Indian cooking. Its summer here, and we are making a good use of cucumbers. My cooking style goes more towards my native style food when its summer; we enjoy preparing and eating native style curries like Hashi, Tambli, etc which are mainly yogurt based. But when the winter starts, we prefer more of soups, chapathi and curries.

Hashi or Saasive is a yogurt and coconut based curry which is a good combination with rice. We Havyakas can prepare Hashi or Saasive using almost every variety of vegetables and edible leaves.  

Today, I am going to share the recipe of Savatekayi Hashi (Sasive) with you all. When we were school age kids, we cousins were all very keen to watch how Amma / Aunty / Grandma chop the cucumber so finely using 'Ilige mane' or coconut scraper. We all loved that aroma which comes when the cucumber is chopped finely. And, we used to wait for that small leftover pieces of cucumber which they give at the end!

Below is the recipe of Soutekayi (Savatekayi) Hashi for you all..

  • Preparation time: 20 minutes
  • Serves - 5
  • Difficulty level: Medium

Ingredients:

  • Finely chopped cucumber - 1 cup (see Tips)
  • Fresh grated coconut (or frozen) - 1 to 1 1/4 cup
  • Fresh curd - 1 1/2 cup
  • Salt to taste
  • Sugar - 1/2 tsp
  • Water - about 1 cup (approx)

For Seasoning: Cooking oil - 2 1/2 tsp, Dried red chilli - 2 small pieces, Urid dal - 1 tsp, Till seeds - 1 tsp, Sesame seeds - 1 tsp, Asafoetida (hing) - a pinch, green chilly - 1


Recipe Instructions:

  • Grind the grated coconut into a thick, fine paste by adding around half a cup of water. Transfer it into a bowl.
  • Cut the green chillies and keep it ready for seasoning.
  • Heat a thick bottom pan for seasoning. To this, add around 2.5 tea spoon of oil. Once its heated, add red chilli pieces and 1 tsp urid dal. Saute it for half a minute and add 1 tsp till seeds, 1 tsp sesame seeds followed by a pinch of hing. 
  • When the sesame seeds start crackling, add the green chilly pieces and sauté it for 1 - 2 minutes and turn off the flame. To this seasoning, add the finely chopped cucumber when the pan is still hot. Mix it once, and transfer this mixture into bowl where we kept the coconut paste. 
  • Crush the chilli pieces using a spoon or using your fingertips (if its not too hot). Add 1.5 cups of curd, 1/2 tsp sugar and salt to taste. 
  • Mix everything well, check and adjust the taste. If the mixture is too thick, you can add a few spoons of water to adjust the consistency. 
  • Enjoy this Hashi along with rice and pickle.


Tips:

  • If you are using the young cucumbers no need to take off the peel while chopping.
  • Fully grown cucumbers are not good for this recipe. I normally use lebanese cucumbers for this. 
  • Pull chopper comes in very handy to chop the cucumber finely.
  • Some varieties of cucumbers comes with a bitter taste. Hence, make sure to taste a small piece before you proceed with the preparation. 
  • For that authentic taste, I prefer using coconut oil for the seasoning.

Now, its the season of Jackfruits in India. Both raw and ripe jackfruit are great for cooking. Few food items are made using them which can be preserved till the next season. At my mum's place, they prepare raw jackfruit chips, preserve some raw jackfruit flesh in salt water and also, sundry the raw jackfruit pieces. So, its possible to prepare jackfruit dishes whenever they feel like.
My Mum had packed some Sun-dried Raw Jackfruit pieces for us during our recent India trip. We are enjoying typical native style curries once in a while now! Below is the recipe of Sun - dried Raw Jackfruit Bajji or Raita.
Click here to see How to make Sun - dried Raw Jackfruit Pieces.


Preparation time: 20 minutes
Soaking time: 20 minutes
Difficulty level: medium
Serves: 4

Ingredients:
 - For seasoning:
  • Oil - 1 1/2 tbsp
  • Dry red chilli - half piece
  • Urid dal - 1 tsp
  • Mustard seeds - 3/4 tsp
  • Green chilli - 1 (or as needed)
  • Crushed garlic - 1 tsp

Method:
  • Soak 1/2 cup of sun-dried raw jackfruit pieces in 3/4th cup of water for about 20 minutes.
  • Pressure cook the soaked raw jackfruit pieces along with the soaked water for 2 whistles.
  • Take off the excess water and mash the cooked jackfruit pieces lightly.
  • Add 1 cup of thick curd to the mashed jackfruit. Also add salt and lime squeeze for taste.
  • Heat oil for seasoning in a wok of small pan. Add red chilli piece, urid dal and mustard seeds.
  • When mustard seeds start crackling, add green chilli pieces and crushed garlic. Sauté it for a minute or two, or till aromatic. 
  • Add this seasoning to the curd - jackfruit mixture. Crush the chillies with ladle or with your finger tips. 
  • Mix the bajji / gojju / raita well and serve it with hot rice.

Tips:
  • Take care while adding salt to this recipe. Since the jackfruit pieces are salted and sun-dried, it already has some salt in it. If the Raita / Bajji tastes too salty, take a palm size of banana leaf and soak it in the salty dish for about 15 - 20 minutes and take it off. Banana leaf will suck the salt content in it.

ಕನ್ನಡದಲ್ಲಿ ಓದಲು ಇಲ್ಲಿ ಕ್ಲಿಕ್ ಮಾಡಿ

Appehuli is a special variety of curry or rasam which is prepared mainly in Western Ghats of Karnataka. This curry is mainly prepared in Havyaka Brahmin households and hence, the name 'Havyaka' is very much associated with 'Appehuli'. Appehuli is served as a side dish with rice. Some people love to drink it as Soup too.
Nicely aromatic raw mangoes are perfect for preparing Appehuli. Apart from raw mango, sour fruits and veggies like Kanchikayi (Kaffir lime), lime, lemon, Star fruit, raw / ripe tamarind, etc. are all good to prepare Appehuli. 
Today, I am sharing the procedure of preparing Tamarind Appehuli. Ripe tamarind which is a bit sweet and sour in taste is good for preparing this Appehuli. 


Preparation time: 15 minutes
Difficulty level: Easy
Serves: 5 - 6

Ingredients:
  • Ripen tamarind - 2 tbsp
  • Water - 1 1/4 cup
  • Salt - 1 tsp or to taste
  • Sugar - 1 tbsp or to taste
 - For Seasoning:
  • Oil - 2 tsp
  • Dry red chilli - 1 inch piece
  • Sesame seeds - 3/4 tsp
  • Asafoetida / hing - a pinch
  • Turmeric powder - a pinch
  • Green chilli - 1 
  • Curry leaves - 5 or 6
  • Crushed garlic - 1 tsp


Method:
  • Take the tamarind in a small bowl. Add enough water to cover it and soak for 10 minutes. Soaking in warm water will quicken the process. 
  • Squeeze the tamarind and collect the pulp. Add little more water and prepare 1 cup of tamarind water. Adjust the sourness according to your taste. 
  • Add salt and sugar according to taste. This Appehuli tastes good with sweet - sour taste.
  • Heat oil in a small wok. Add dry red chilli, sesame seeds and a pinch of hing. 
  • Once the sesame seeds start crackling, add a pinch of turmeric powder, green chilli pieces and curry leaves. Sauté it for a while and add crushed garlic. 
  • Turn off the flame once the garlic becomes aromatic and add this seasoning to the tamarind water. 
  • Crush the chillies and crunchy curry leaves to enhance the taste. 
  • That's all, tasty Appehuli is ready to go with hot rice! 


'Katne' - is a unique curry from my native in Southern India. Its prepared using some wild leaves called 'Kannekudi' leaves which are available there. This curry is preferred during rainy season when people can't get much vegetables. Also, it helps to keep the body warmer during times of cold and fever. 
We can't get Kannekudi leaves here in Australia, but I prepare this curry by substituting Spinach leaves. Below is the recipe of Spinach leaves Katne.


Preparation time: 20 - 25 minutes
Difficulty level: Medium 
Serves: 5

Ingredients: 

  • Spinach / Palak leaves - 1 bunch
  • Pepper corns - 10 to 12 (adjust according to spiciness needed)
  • Cumin seeds - 1 tsp
  • Grated coconut - 1 cup
  • Amchut powder - 3/4 tsp
  • Salt - to taste
  • Lime squeeze - for taste (see tips)
  • Oil - fr seasoning
  • Crushed garlic - 1 1/2 tsp
  • Water 

Method:

  • Wash the spinach leaves in water and chop them roughly. 
  • Heat 1 1/2 tsp of oil in a pan, add pepper corns and roast them till they start crackling. 
  • Then, add cumin seeds followed by chopped spinach leaves. 
  • Cook it till spinach leaves change color and turn off the flame. Don't add any water for cooking at this stage. 
  • Grind the cooked mixture along with grated coconut and archur powder into fine paste. Add water as required. 
  • Transfer the spinach paste to a pan. Add water as needed to adjust the consistency. I prefer it to be a bit watery like Rasam. Also add salt and lime juice as per taste. 
  • Boil this curry nicely for 5 minutes. 
  • Heat 1 1/2 tsp of oil in a small wok or pan. Add crushed garlic and sauté till it turns into lite brown color. Add this seasoning to the prepared curry.
  • Enjoy this delicious Katne (curry) along with rice!

Tips:

  • If not using lime juice, use more amchur powder and adjust the taste.
  • Having this curry during post partum time is good for health. Only change needed is to replace lime juice with amchur powder completely. 


Rainy season has started in various parts of India now. In my native, its the time to enjoy different seasonal fruits like mangoes, jackfruit, pineapple and so on. They are good to eat just like that. Also, varieties of sweets, jams and side dishes can be prepared using them. I have shared some of those recipes already. Please click on the recipe names below to check them.
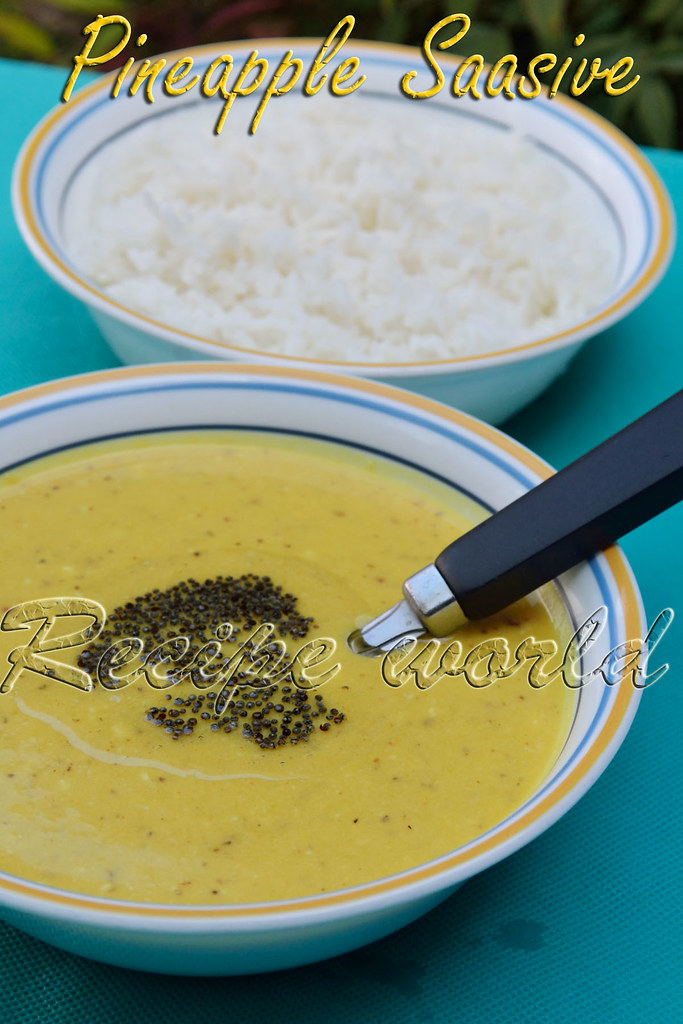
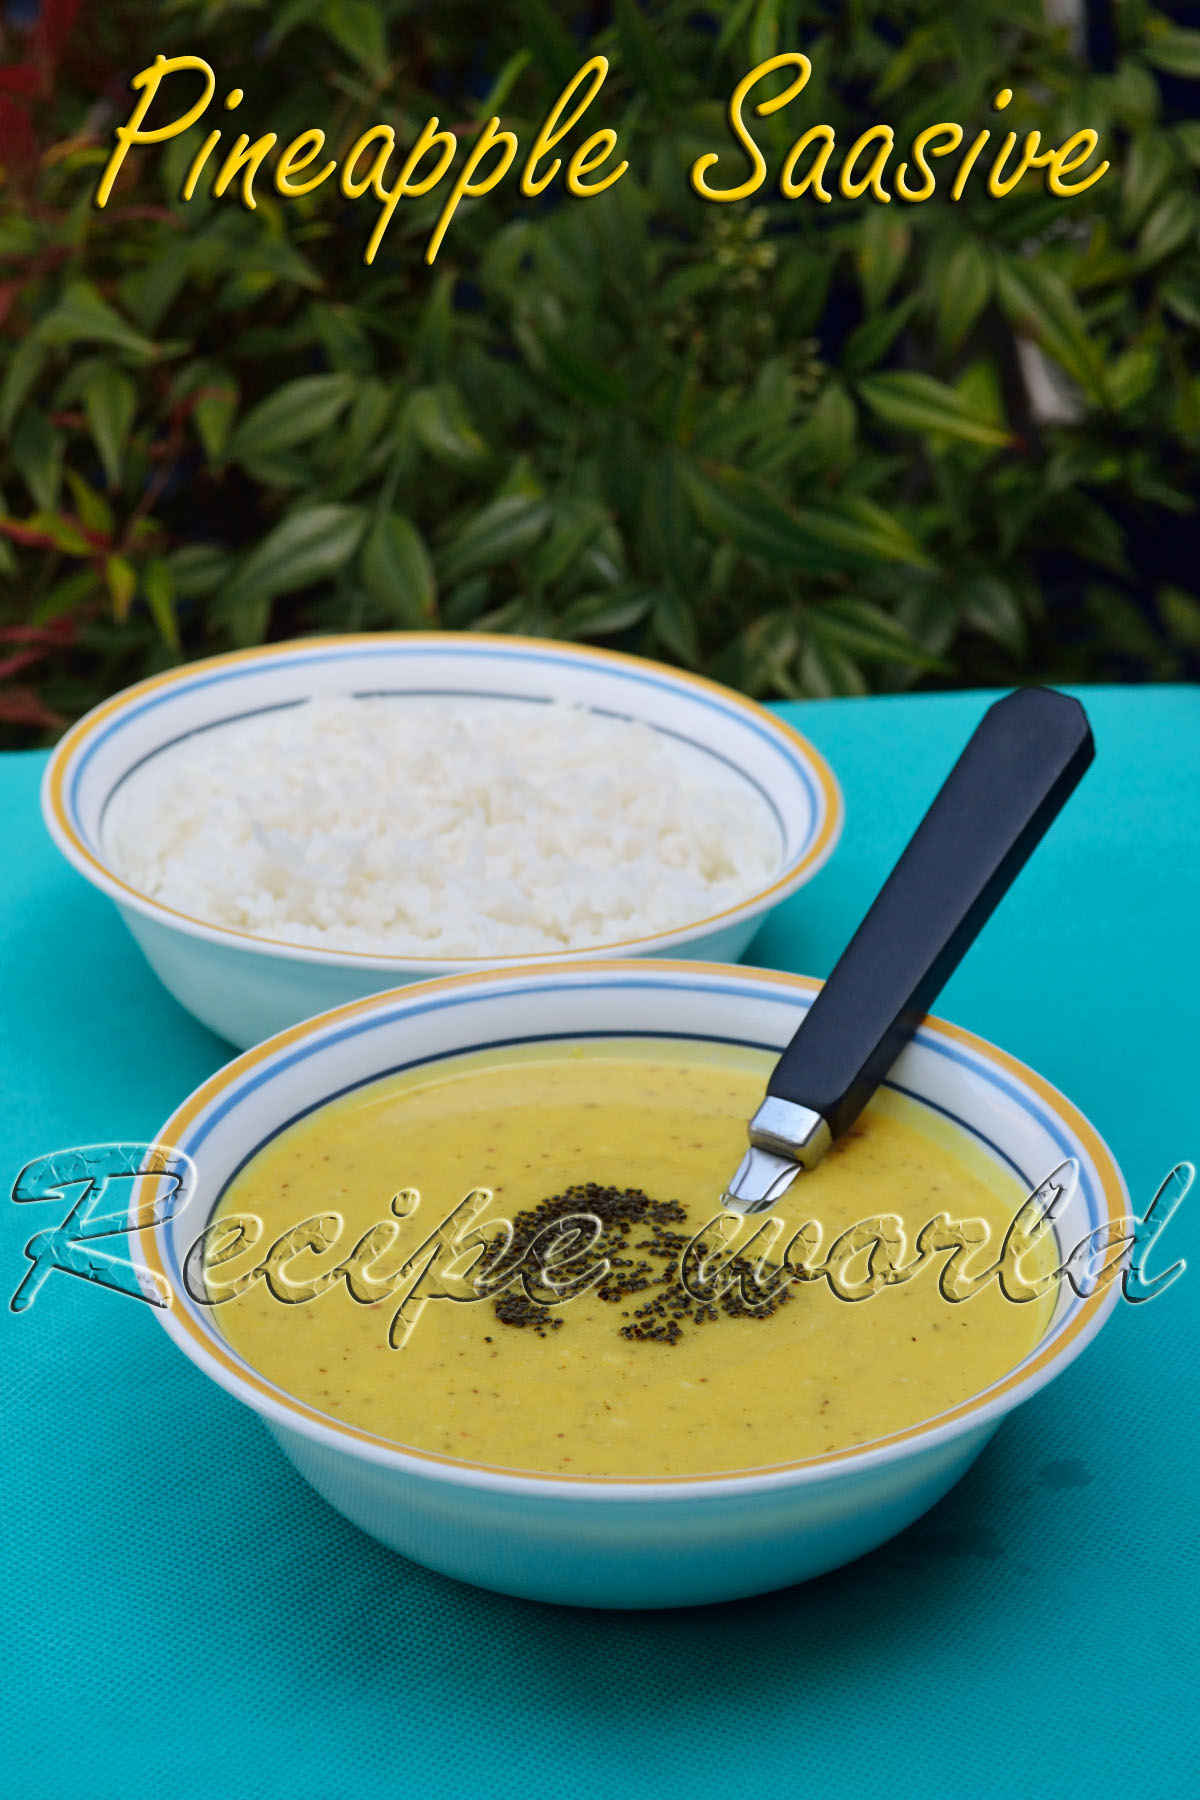
Coming back to today's recipe, we all know that pineapple can be used to prepare Jam, Pastry, Kesari (Shira), etc. sweet dishes. I am sharing with you all the recipe of a delicious yogurt based gravy using pineapple. Its one of the authentic Havyaka recipe and we call it as Pineapple Saasive. Try this sweet gravy with hot rice and let me know how you liked it!


Preparation time: 20 minutes
Serves: 4 - 5
Difficulty level: Medium

Ingredients:
  • Pineapple chunks - 1 1/4 cup
  • Fresh grated coconut - 1/2 cup
  • Till seeds - 1 1/4 tsp
  • Mustard seeds - 3/4 tsp
  • Dry red chilli or fresh green chilli - 1 small piece
  • Turmeric powder - 1/4 tsp
  • Salt - 1/2 tsp or to taste
  • Jaggery / sugar - 4 tbsp or to taste
  • Water - 1/2 cup
  • Yogurt / Curd - 1/2 cup
For Seasoning: Oil (preferably coconut oil) - 1 tsp, Mustard seeds - 1 tsp


Method:
  • Combine pineapple chunks along with salt, jaggery / sugar and water in a vessel and bring to boil. Turn off the flame after it is boiled for 5 minutes and allow to cool. 
  • Separate the liquid from the cooked pineapple chunks and keep aside.
  • Grind the cooled pineapple chunks along with grated coconut, till seeds, mustard seeds, chilli piece and turmeric powder into fine paste. Use the liquid you saved before, while grinding. 
  • Add half a cup of curd to the ground mixture. Check the taste and add salt or jaggery if needed.
  • If the mixture is too thick, you can add a little water. But don't make it too watery. 
  • Heat oil in a small wok. Add mustard seeds and when it crackles, add this seasoning to the Saasive. 
  • Serve this Saasive as a side dish with rice. 
 
Its the summer season in India now. We were on a vacation to India last month. Since the mango season has started, we enjoyed eating varieties of mangoes there. In my home, everyday we were having one or the other dish prepared from mango for the lunch. 
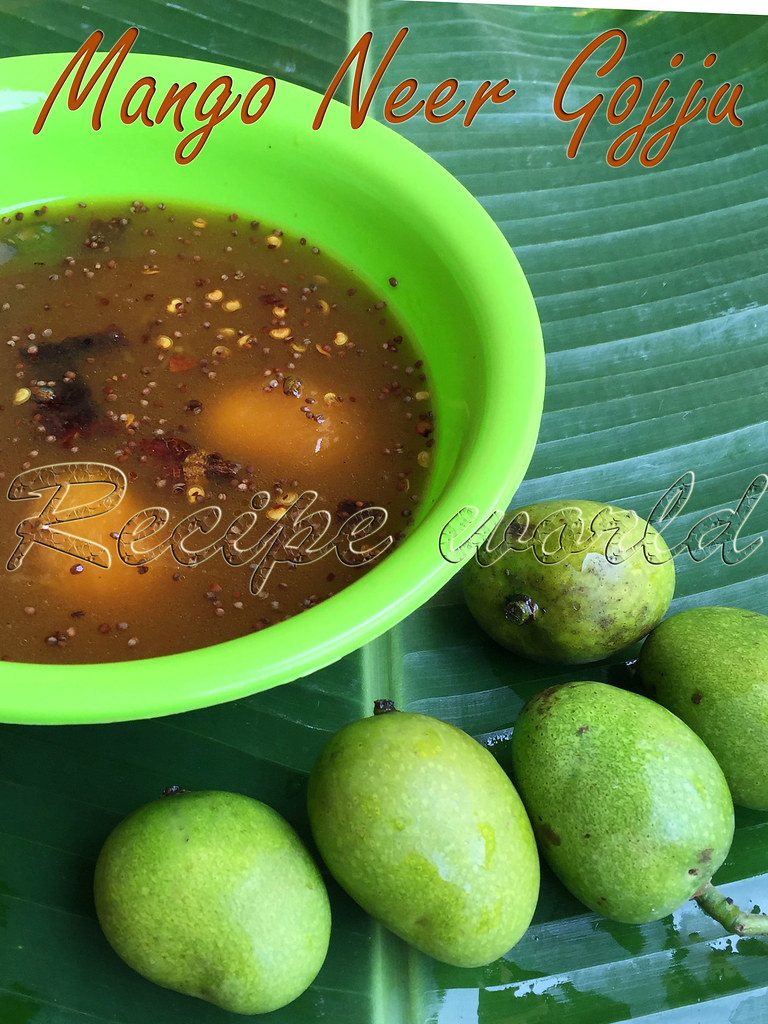
Ripened mangoes are also good for preparing few types of curries like Neer Gojju, Sasive, etc. We get a wild mango variety called 'Sasive Maavu' at our place which has a sweet and sour taste. It is good for preparing curries like Saasive and Neer Gojju. I am sharing the recipe of Mango Neergojju with you all today. Try this simple and tasty curry before the mango season ends!


Preparation time: 20 minutes
Serves - 4
Difficulty level: Medium

Ingredients:

  • Saasive mango / wild mangoes - 5 to 6
  • Liquid jaggery (Joni bella) - 7 tbsp or to taste
  • Salt - 1 1/4 tsp or to taste
  • Water - 2 cups


For tempering: Oil - 3 tsp, Dry red chilli- 1, Urid dal - 1 tsp, Mustard seeds - 1 1/4 tsp, Asafoetida / Hing - a pinch, Green chilli - 1, Curry leaves - 4 or 5

Method:

  • Wash the mangoes cleanly. Peel off the green skin and put them in a mixing bowl.
  • Add salt and jaggery to the mangoes and squeeze the mangoes nicely. Add water and leave it for ten minutes. Check and adjust the taste.
  • Heat oil in a small wok. Add red chilli pieces, urid dal, mustard seeds and asafoetida. Once the mustard seeds start crackling, add curry leaves and slit green chilli. Saute it for a minute and switch off the flame. 
  • Add the seasoning to the mango mixture and mix it nicely.
  • Serve this sweet - sour curry along with rice!


ಕನ್ನಡ ಆವೃತ್ತಿ 

Don't know whether I am becoming more busy (or lazy!) these days, its becoming tough for me to invest time for blogging. We were roaming around different places during the week-ends and kiddo keeps me busy during the week days! Even I tried varieties of dishes, but couldn't click the picks being with her.
We had a memorable Diwali celebration this time. There are more Indians in our locality. So, we took part in Diwali celebrations at different places. We celebrated the festival at home one day. I had prepared Holige / Obbattu for Diwali this time. In fact I prepared Seven Cup Burfi and Mysore Pak too! But they were for kiddos playgroup and hubby's office.
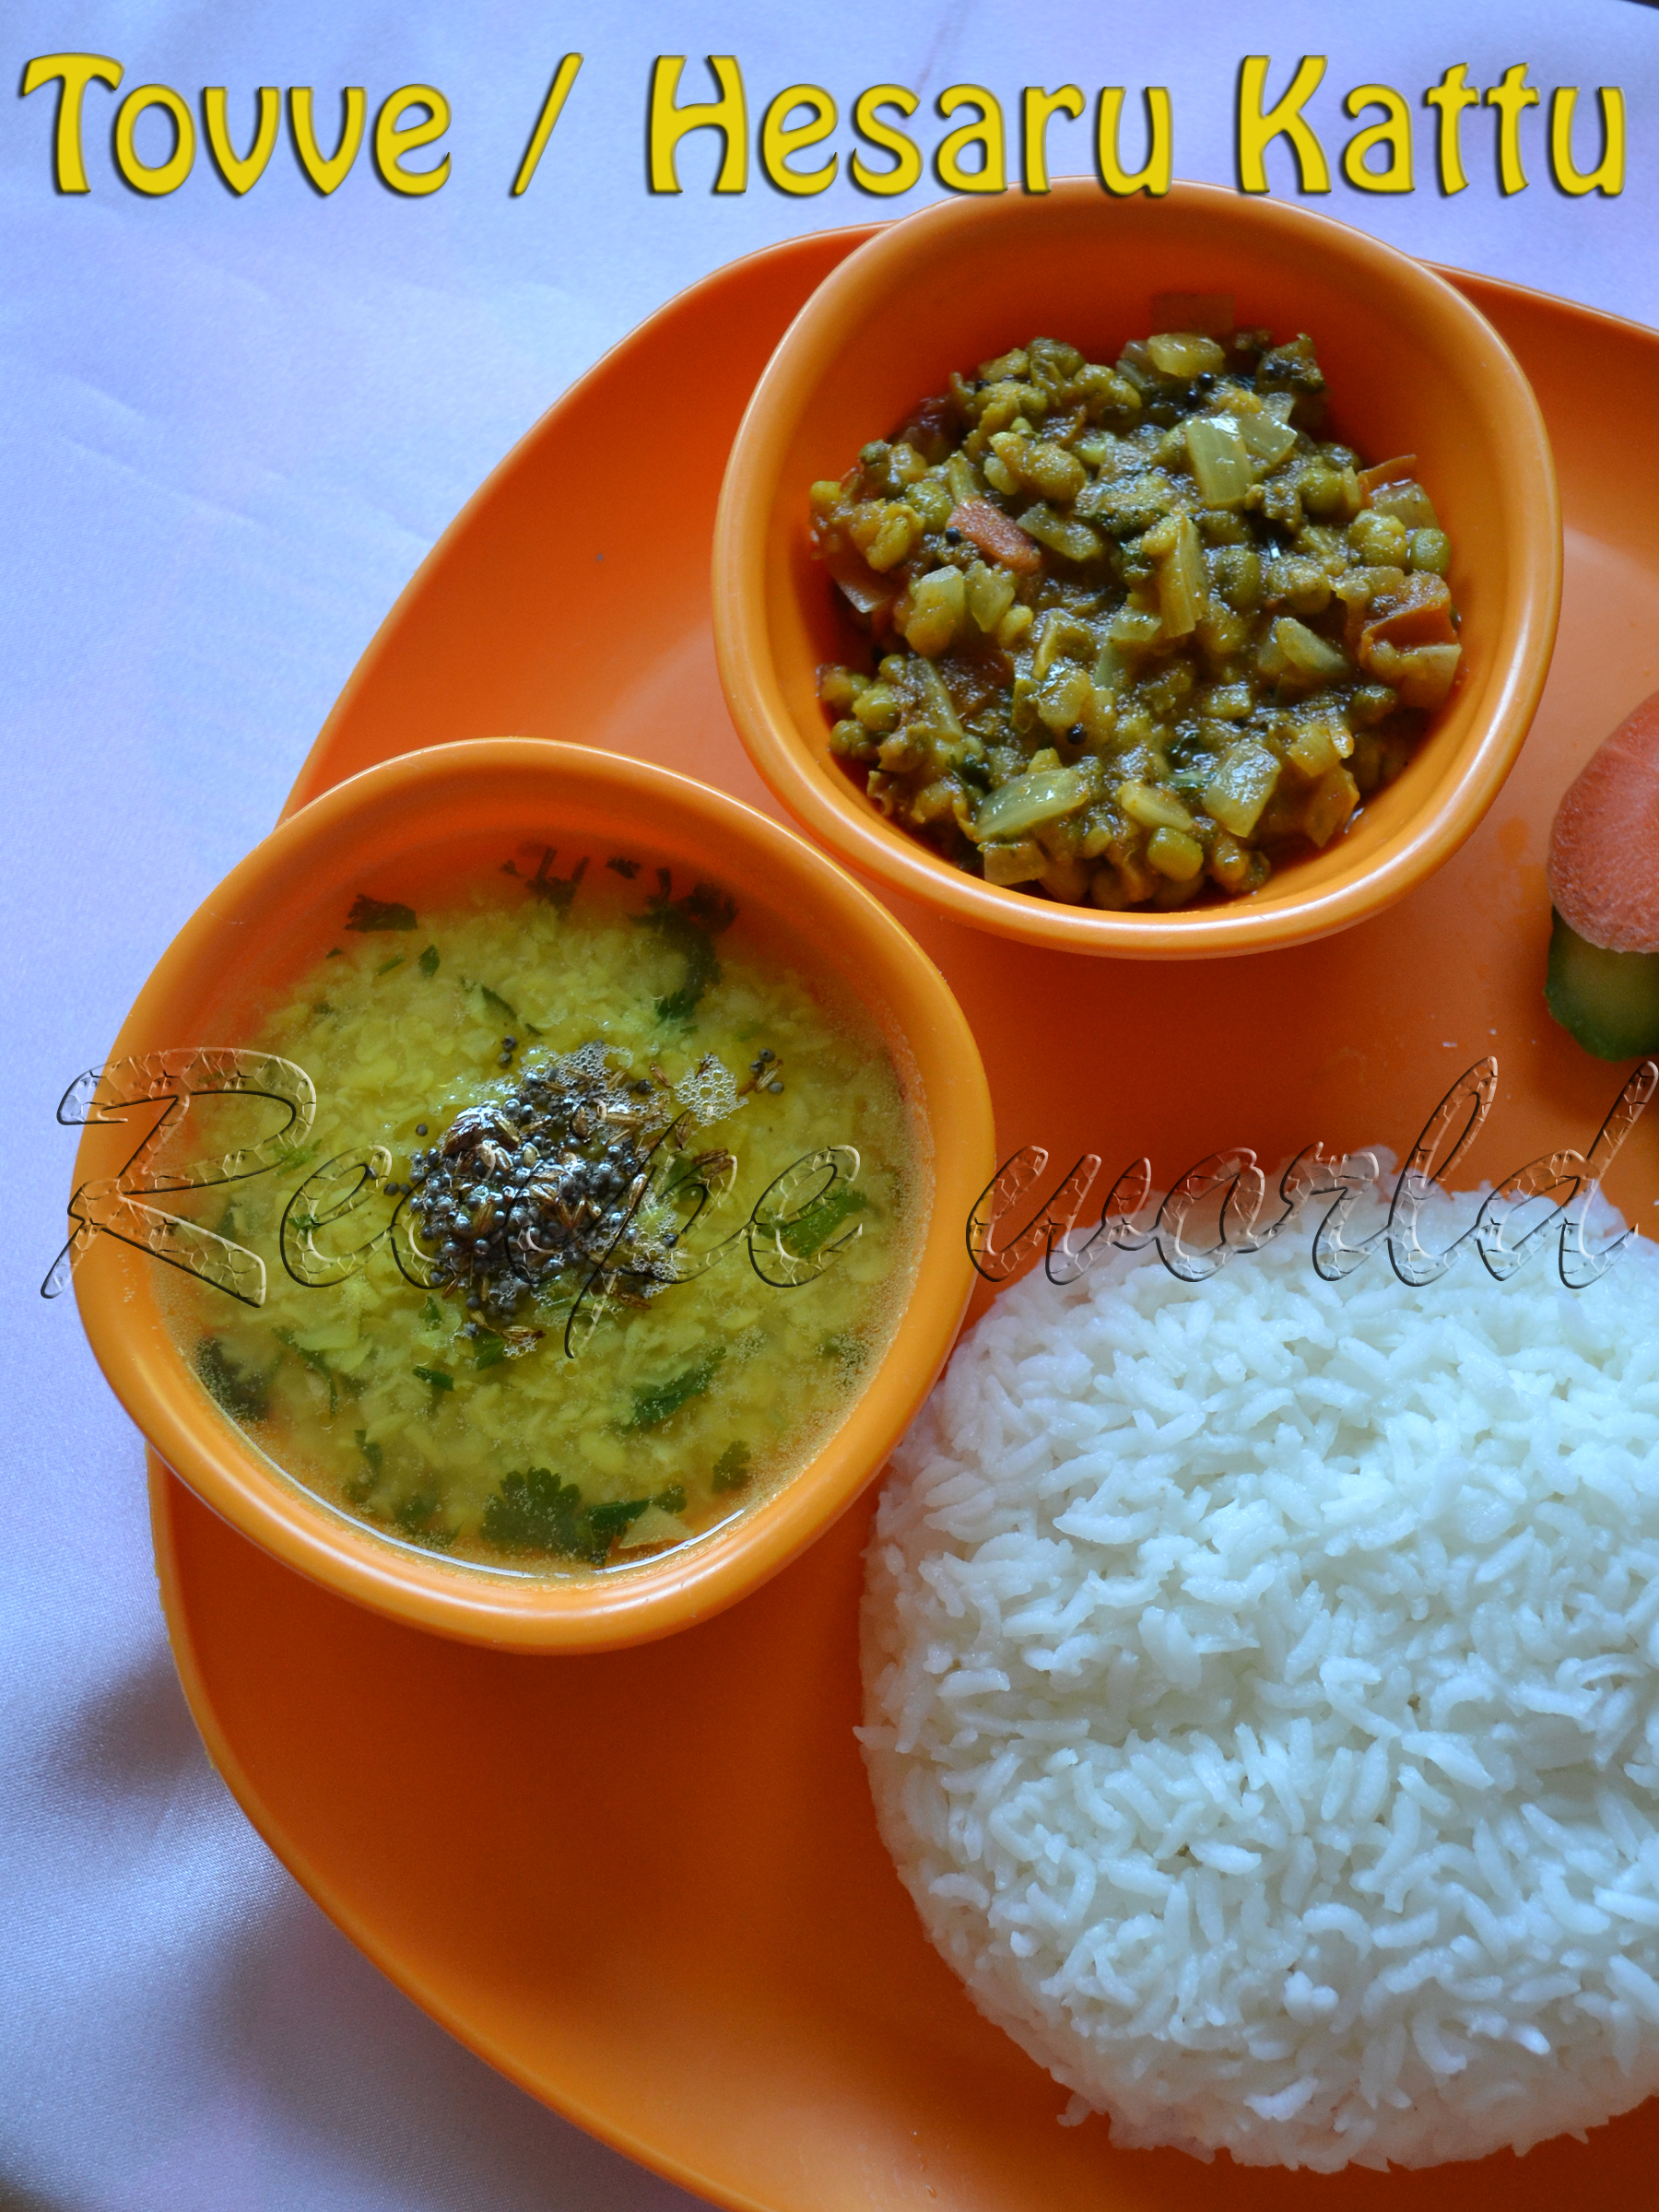
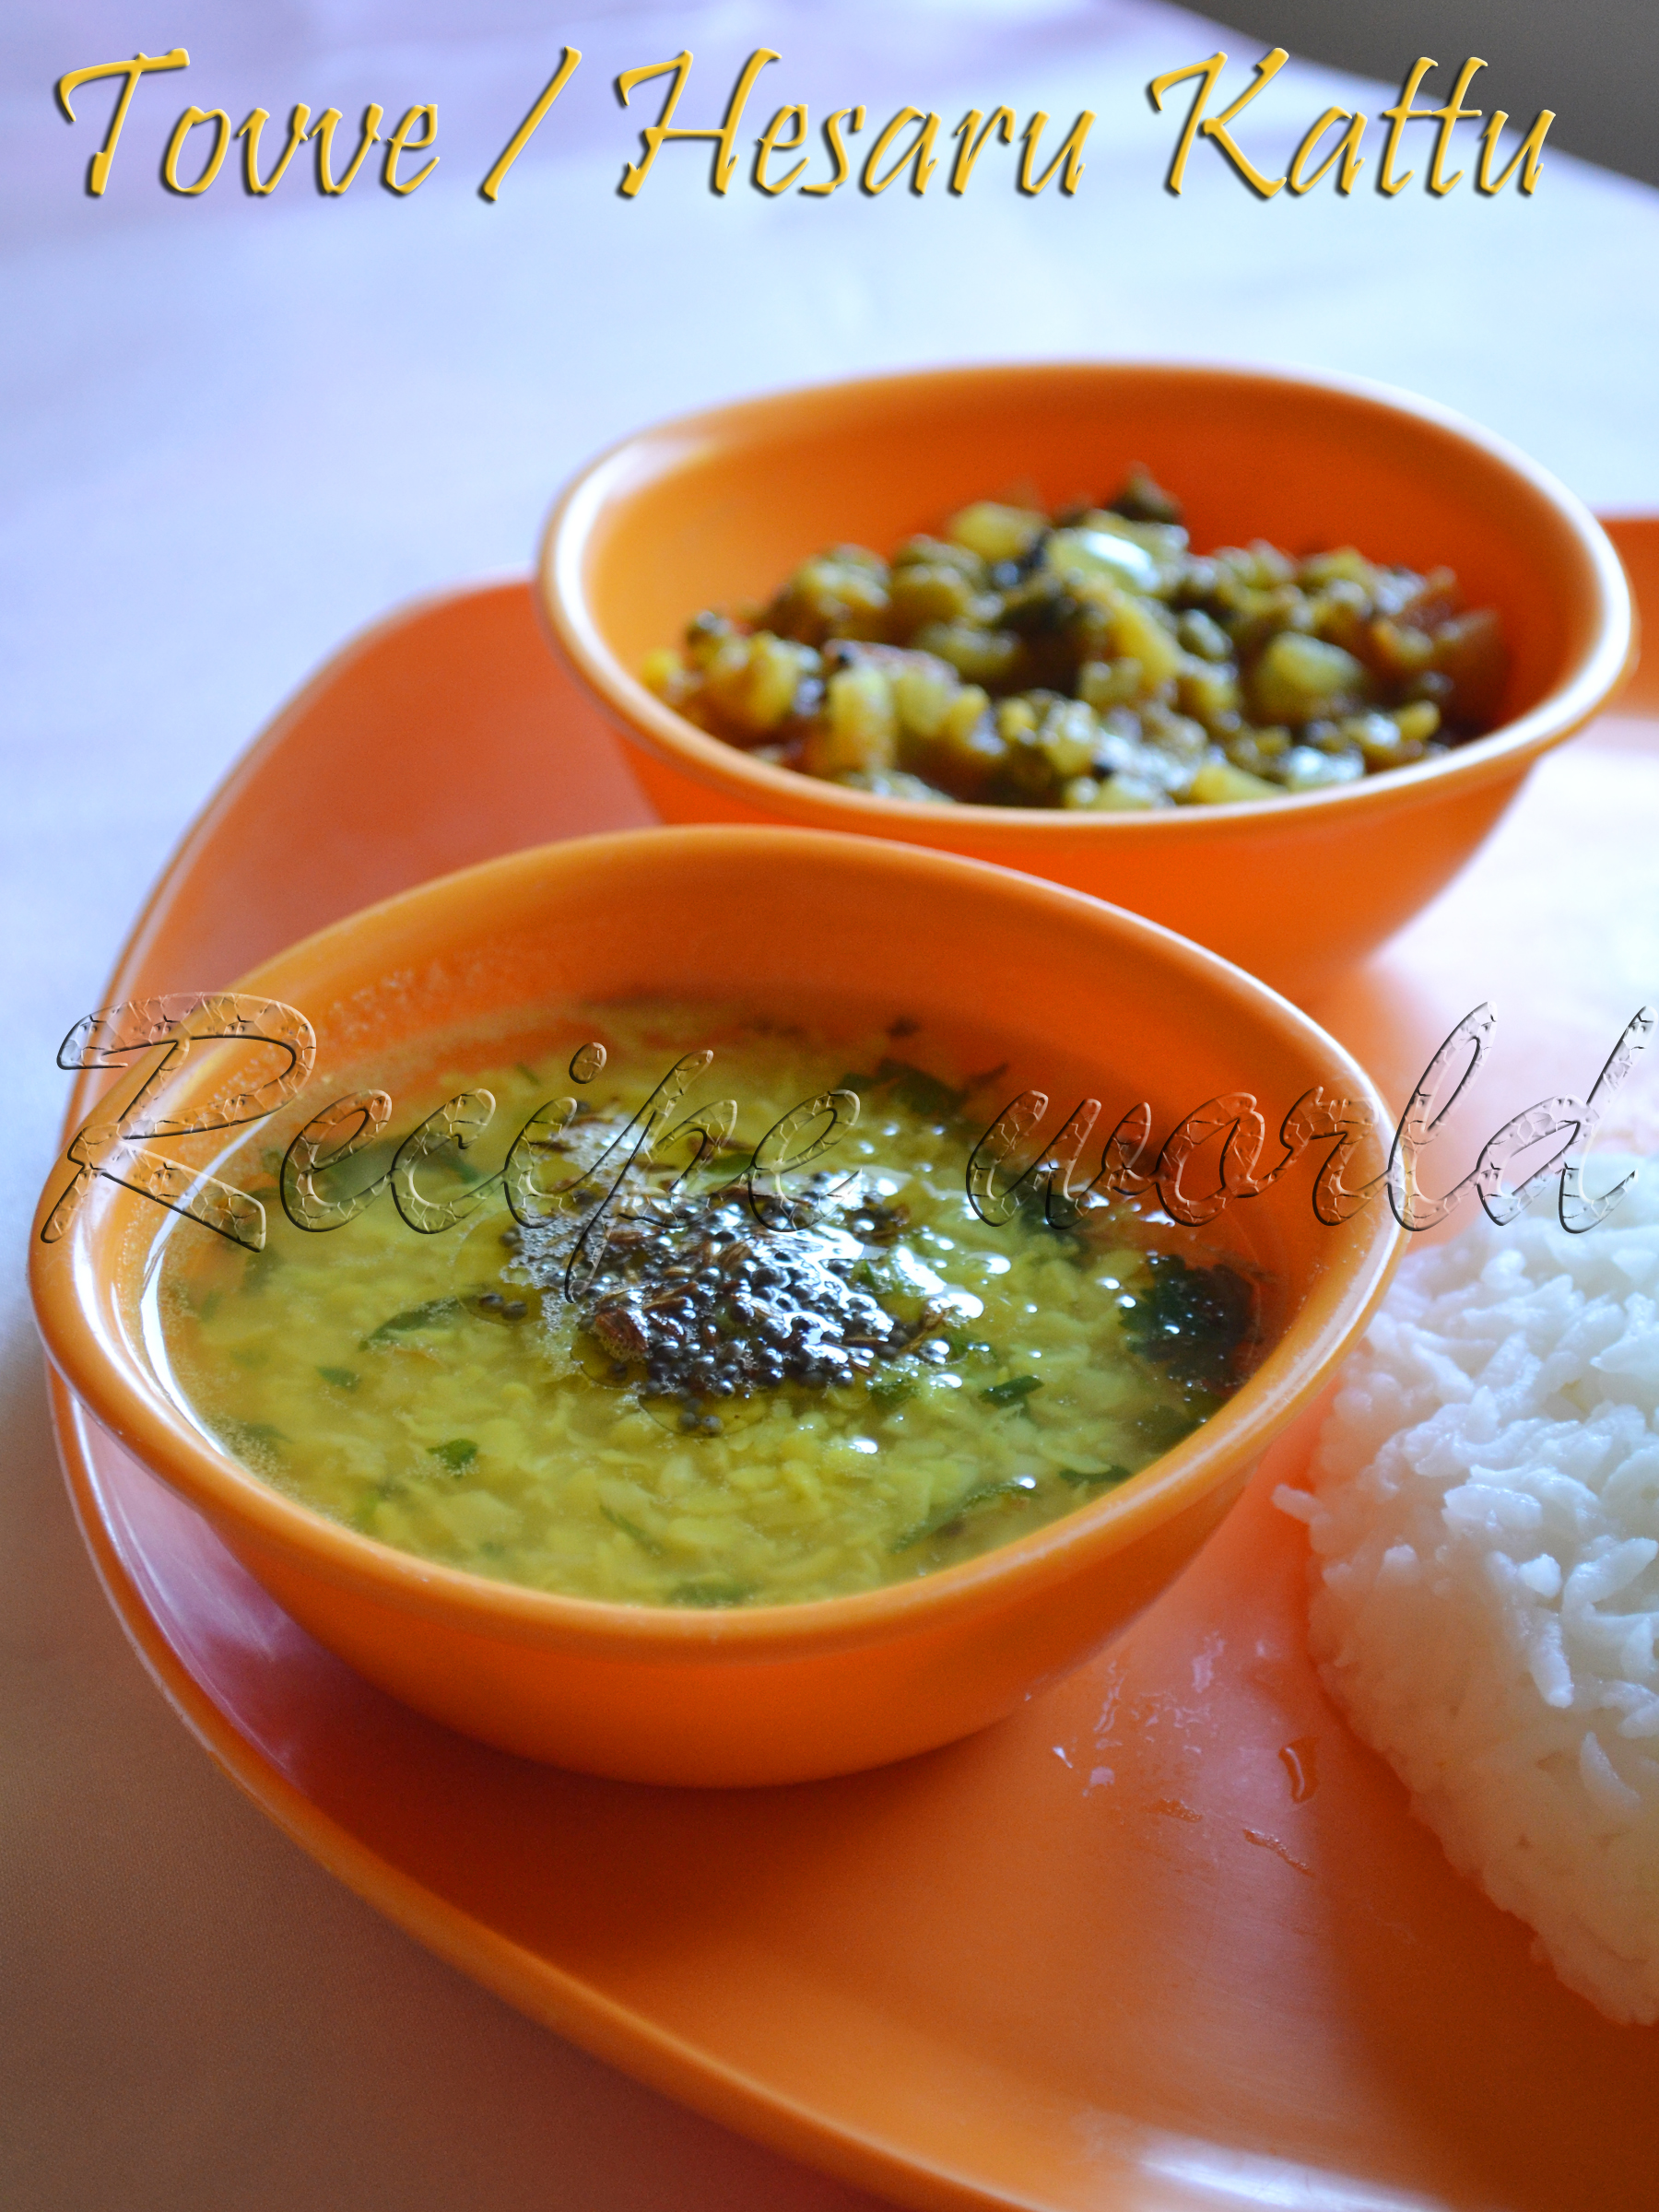
There are different ways to prepare this Tovve. My version was slightly different earlier; after I learned this version from my friend Maitri, I just shifted to this method. Try this simple and easy curry and let me know your feedback!


Preparation time: 20 minutes
Serves: 2
Difficulty level: Easy

Ingredients:
  • Moong dal - 1/3 cup (1 cup = 70 gm approx)
  • Water - 4 cups
  • Turmeric powder - big pinch
  • Ginger (crushed) - 1 1/2 inch
  • Green chilly - 2 nos (adjust according to taste)
  • Asafoetida / hing - big pinch
  • Salt - for taste
  • Finely chopped coriander leaves - 2 tbsp
  • Lime - half slice

For tempering: Ghee / clarified butter - 1 1/2 tsp, cumin seeds - 1 tsp, Mustard seeds - 1 tsp


Method:
  • Wash the moong dal in clean water. To this, add around 3 cups of water, big pinch of turmeric and 2 - 3 drops of cooking oil. Pressure cook for 1 whistle. You can cook it directly on the stove top; it takes little longer to cook. 
  • Once the moong dal is 3/4th cooked, add crushed ginger, slit green chillies, hing, salt and lime squeeze for taste. Add little more water if required. Let it boil nicely for 5 minutes and then, add the chopped coriander and turn off the flame.
  • Heat ghee in a small wok. Add mustard seeds and cumin seeds. Once it starts crackling, mix it with the prepared Tovve or Dal mixture.
  • Serve it hot with rice and pickle!

Tips:
  • Lime squeeze can be added either before boiling the mixture or at the end. Anything is fine!

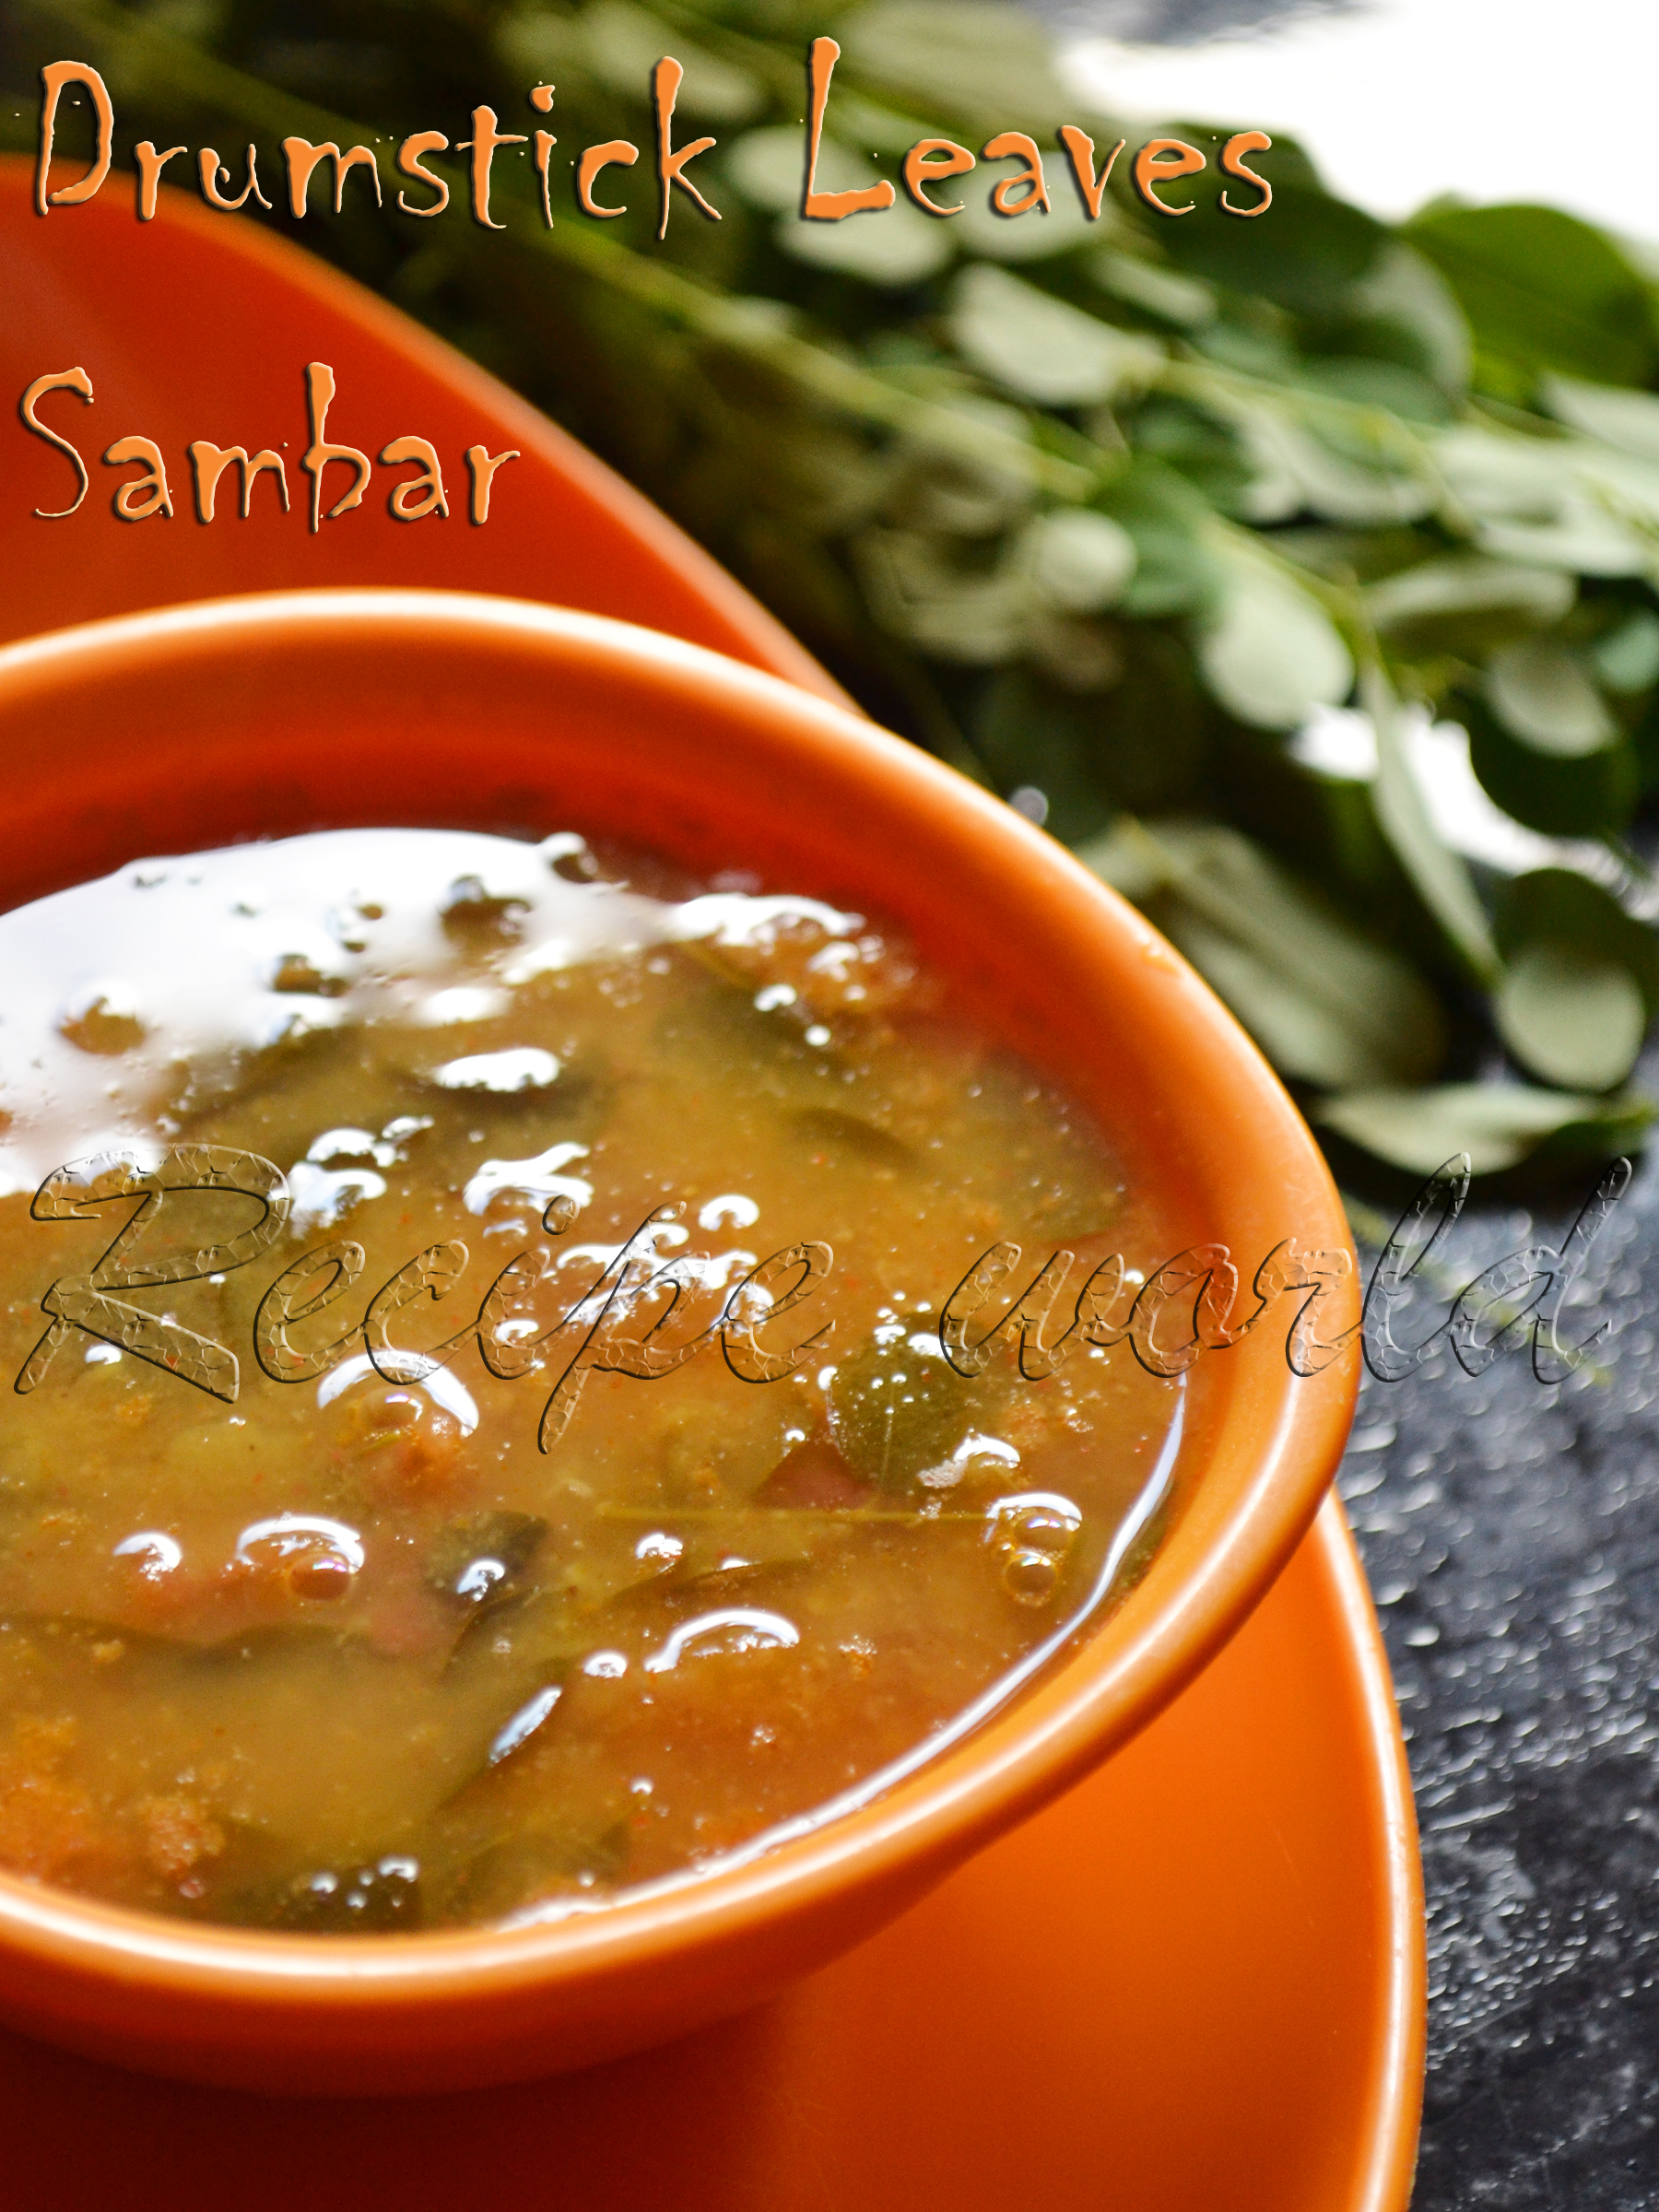
We have a big Indian grocery store nearby. I love buying few veggies from there which are rarely available in other shops. This time, I bought drumstick leaves from there and enjoyed preparing different dishes. Drumstick leaves has lot of health benefits. Its a good source of Vitamin A, Vitamin C, Calcium and anti oxidants. It helps in the well functioning of heart, eyes and nerves system.
Drumstick leaves add a nice taste to the dishes. I love to prepare delicious Sambar, Stir fry, Dal, Tambli, etc, using these leaves. Let me share Drumstick Leaves - Tomato Sambar recipe today. Its quite easy to prepare, and tastes awesome with rice.


Time required: 30 minutes
Servings: 3 - 4
Difficulty level: Medium

Ingredients:
  • Toor dal - 1 cup (1 cup = 50 grams)
  • Moong dal - 2 tbsp
  • Drumstick leaves - 1 cup
  • Tomato - 1
  • Salt to taste
  • Sugar / jaggery (optional) - 1/4 tsp
  • Tamarind - 1 1/2 tsp or to taste
  • Onion (optional) - 1 small
  • Water - 5 cups approx

Masala for grinding:
  • Dry red chillies - 3 (adjust according to spiciness required)
  • Fenugreek seeds - 3/4 tsp
  • Coriander seeds - 2 tsp
  • Cumin seeds - 3/4 tsp
  • Mustard seeds - 3/4 tsp
  • Asafoetida / Hing - Big pinch
  • Turmeric powder - 1/4 tsp
  • Oil - 1 1/2 tsp
  • Fresh grated / desiccated coconut - 3 tbsp


Method:
  • Chop tomato into medium size pieces.
  • Wash toor dal and moong dal together in clean water. Cook them till soft by adding few drops of oil, pinch of turmeric and 4 cups of water or as required. I have pressure cooked them till 3 whistles.
  • Roast all the ingredients except coconut in oil. Add grated coconut and tamarind with roasted spices and grind them into a smooth paste. Add water as required.
  • Add drumstick leaves and chopped tomato to the cooked dal. Add 1 cup of water, salt and sugar / jaggery for taste. Boil it for 5 minutes.
  • Add the ground masala paste and allow it to boil for 8 - 10 minutes. After boiling for 6 - 7 minutes, add the chopped onions. Boil it for 3 - 4 more minutes and turn off the flame.
  • Serve this delicious Sambar along with hot rice and Papad.

ಕನ್ನಡದಲ್ಲಿ ಓದಲು ಇಲ್ಲಿ ಕ್ಲಿಕ್ ಮಾಡಿ.

From past couple of months, I am not able to update my blog regularly. That's why, some of the recipe picks I clicked long back are still pending with me. Today I was just glancing at them and got inspired to write this recipe!
Marige Gojju is one of the traditional recipes of Havyakas. The name Marige Gojju is because of a special kind of vessel called as 'Marige' which was used to prepare this recipe. Marige means a wooden vessel which was used to mash and powder the ingredients for this Gojju. These days, nobody is using this kind of vessel in their kitchens. But we can see this 'Marige' in some houses of Malnad.
Here is the recipe of Marige Gojju which I learnt from mom. Try and taste this Gojju for your lunch or dinner..


Preparation Time: 15 minutes
Servings: 4

Ingredients:
Cooking oil - 2 1/2 tsp
Urad dal - 1/4 tsp
5 - 6 dry red chillies 
Sesame seeds - 1/2 tsp
Pinch of asafoetida
Mustard seeds - 1/4 tsp
Salt to taste
Thick curd - 1 to 1 1/4 cup

Method:
Heat oil in a heavy bottom pan. Add dry red chillies, urad dal, mustard seeds, asafoetida and sesame seeds and roast them nicely.
Add salt to taste before switching off the flame and allow the mixture to become cool.
Now, mash and powder the whole mixture with the help of a ladle. Make the powder as fine as possible. Small grinding stone may ease your work.
Add curd to this mixture and mix it well. That's all, tasty Marige Gojju is ready to serve!


Finally, I want to make one more addition to this recipe. When I told my Grandma that I wrote this recipe, she asked me what all the ingredients used. After knowing the ingredients which I normally use, she told that adding of 1/2 tsp of crushed garlic to the seasoning will enhance the taste of Gojju! Thanks a lot my dear Ajji for this nice tip :)
If you love the flavor of garlic, try adding crushed garlic to this recipe sometime.

Tips:
  • Mixie is not recommendable for powdering the ingredients here. Because, mashing the ingredients will enhance the taste of this Gojju. 
ಕನ್ನಡದಲ್ಲಿ ಓದಲು ಇಲ್ಲಿ ಕ್ಲಿಕ್ ಮಾಡಿ. 

Bread fruit, which in Kannada is generally known as Beru halasu or Deevi halasu. It is one of the commonly used vegetables in Malnad areas. Sambar (Curry) prepared from this veggie tastes delicious. We can also prepare tasty chips, paapads, bhajjis and podis using Bread fruit. I have tasted varieties of Bread fruit dishes since childhood, but Chakke Paladya using this veggie was new to me. My mom prepared this particular curry sometime back and I liked it a lot. So, here is the recipe of Bread Fruit Chakke Paladya for you..


Preparation time: 35-40 min
Serves: 5 - 6

Ingredients:
Bread fruit - 1/2 cut
Lemon - 1 1/2 (according to taste)
Green chillies – 2 to 3 (according to taste)
Water 4 - 5 cups
Oil - 1/2 tsp
Salt to taste
Seasoning: 1 tsp oil, 3/4 tsp mustard seeds, pinch of asafoetida, 1 strand of curry leaves.


Method:
Peel off the skin and core part of the bread fruit. Make medium sized pieces.
Take a pan and add water, salt, lemon juice, slit green chillies. Once the water starts getting hot, add the bread fruit pieces and cook till soft.
Take out one cup of cooked pieces and allow to cool. Make a fine paste of  the same once its completely cool.
Add the prepared paste to the cooked mixture and bring to boil. Switch off the flame after 5 minutes.
Heat oil for seasoning and add mustard seeds, asafoetida and curry leaves. Put it into the Chakke Paladya mixture.
Enjoy this tasty curry with hot rice!
ಕನ್ನಡದಲ್ಲಿ ಓದಲು ಇಲ್ಲಿ ಕ್ಲಿಕ್ ಮಾಡಿ. 

Bitter gourd is a well known vegetable. But Madahagala (Moodahagala) is less known. It belongs to the same bitter gourd family, but is not bitter in taste. It is a creeper and grows from the root whenever it gets plenty of water as in monsoon season. Even now, in a thick forest near my grand mother's house we can find these creepers grown naturally! Many villagers get the roots from the forest and grow them in their backyards.
It was almost 4-5 years I haven't seen this vegetable around our area vegetable market. Last week when I was shopping near Jayanagar area, I saw this in a vegetable shop. I felt very happy looking at it. And now I am sharing with you a tasty recipe using  moodahaagalakayi.


Preparation time : 35 minutes
Serves 3-4

Ingredients:
Moodahagalakayi - 1 1/2 or 2
Shredded fresh coconut - 3/4 cup
Curd - 3/4 cup or 1 cup
For seasoning: oil- 2tsp, red chilli -1, udad dal - 1tsp, mustard seeds -1tsp, green chilli -1
Salt to taste.


Method:
Chop the vegetable into small pieces.
Heat oil in a fry pan for seasoning. Add red chilli, udad dal, mustard seeds and chopped green chilli. When the mustard seeds splutter, add the chopped moodahagalakayi pieces, salt and mix it. Fry this mixture in simmer for around 20 minutes stirring in between to avoid burning. Then let it cool.
Grind the coconut finely using little water.
Now, add the ground mixture and curd to the fried mixture. Add little more salt if you want.
Hashi is now ready to be served with hot rice!


ಕನ್ನಡದಲ್ಲಿ ಓದಲು ಇಲ್ಲಿ ಕ್ಲಿಕ್ ಮಾಡಿ.

This recipe is one of my latest experiments using Hyacinth beans. I had heard that Avarekalu (Hyacinth Beans) Sambar will be very tasty, but never had a chance to taste it anytime! While checking avarakalu recipes, found this Sambar recipe in an old Kannada magazine. I had frozen avarekalu with me and tried this Sambar the same day! We tried it with both rice and roti, it tasted awesome. The next time I get avarekalu, I am going to prepare this yummy curry again :)
Here is the recipe of Avarekalu Sambar for you. It goes well with rice, roti as well as chapathi.


Preparation time: 30 minutes
Servings: 3 - 4

Ingredients:
Cooked Avarekalu (Hyacinth Beans) - 1 1/4 cup 
Cooking oil - 5 tsp
Cinnamon - small piece
Dry red chillies - 2 (adjust according to spiciness)
Fenugreek (Methi) seeds - 1/4 tsp
Coriander seeds - 1 1/2 tsp
Cumin seeds - 1/2 tsp
Poppy seeds - 1 tsp
1 medium size onion
Garlic - 2 cloves
Grated coconut - 4 tbsp
Raw tamarind - 1 tbsp
Salt to taste
Jaggery - 1 1/2 tsp or to taste
Water - 2 to 2 1/2 cup


Method:
Cut the onion into 2 halves. Chop one halve into big pieces and chop the other halve finely.
Heat 1 tsp oil in a heavy bottom pan. Add cinnamon piece, red chillies, coriander seeds, cumin seeds and poppy seeds and roast them nicely. Switch off the flame and allow them to cool.
Roast the onion (big pieces) and garlic in 1 tsp oil for 3 - 4 minutes and switch off the flame.
Grind all the roasted ingredients along with grated coconut, 1/4th cup of cooked avarekalu and raw tamarind into fine paste.
Heat 3 tsp of oil in a heavy bottom pan. Add finely chopped onion and roast it for a minute. Then add Avarekalu (Hyacinth Beans) and roast them for 3 - 4 minutes.
Add the ground paste to the avarekalu mixture and saute them for 2 minutes or till the raw smell is gone.
To this, add 2 to 2 1/2 cup of water, according to the consistency you need. Add salt and jaggery for taste and boil it for 10 minutes.
Enjoy this delicious curry along with rice, roti or chapathi!
ಕನ್ನಡದಲ್ಲಿ ಓದಲು ಇಲ್ಲಿ ಕ್ಲಿಕ್ ಮಾಡಿ.

Here is one more authentic Malnad recipe from my native. Chakke Paladya is a kind of curry which is prepared using fully grown raw jack fruit flesh. Since the raw jack fruit is the main ingredient, its prepared mostly during jack fruit season. 
We rarely get raw jack-fruit here in Bangalore. Usually, we enjoy this curry if we go to our native during jack-fruit season. This year, we have got a parcel of raw jack fruit flesh from there and I had preserved it in freezer. We are enjoying raw jackfriut dishes almost from 2 months and the stock in the freezer is about to exhaust now :) 
I am sharing an easy and tasty curry using raw jack fruit flesh today. Don't forget to try this Chakke Paladya when you get raw jackfruit!


Preparation time: 30 minutes
Servings: 4

Ingredients:
Fully grown raw jack-fruit flesh 10 - 12 whole (or 2 cups of flesh)
Green chillies - 2 (adjust according to taste)
1 lemon
Cooking oil 3 - 4 drops
Water - 3 cups
Salt to taste
For seasoning: oil - 1 spoon, mustard seeds - 1/2 spoon, pinch of asafoetida, few curry leaves

Method:
Remove the seeds from the raw jack fruit flesh and chop it into medium size pieces lengthwise.
In a pressure cooker, add 2 1/2 cups of water, salt and lime juice for taste, 3 - 4 drops of oil and allow to heat. To this, add sliced green chillies and chopped raw jack fruit flesh. 
Cook it upto 3 whistles and allow to cool.
Once it is cool, take half (or little less) portion of cooked jack fruit flesh and make it into a fine paste by adding water.
Add this paste to the cooked mixture and allow to boil for 3 - 4 minutes.
Heat oil in a small wok. Add mustard seeds, asafoetida and roast till mustard seeds splutter. Add curry leaves and saute for a while. Add this seasoning to the prepared Chakke Paladya.
Serve it hot with rice! 


Tips:
  • You can cook the jack fruit flesh without using the pressure cooker. But comparatively it takes more time to cook.
  • Adding of grinded jack fruit paste will help to thicken the curry.

ಕನ್ನಡದಲ್ಲಿ ಓದಲು ಇಲ್ಲಿ ಕ್ಲಿಕ್ ಮಾಡಿ.

Ash gourd is one of the main and very common vegetables of Indian cuisine. During old days, pure vegetarian people were not supposed to eat ash gourd and it was strictly prohibited. These days, everybody is using this veggie, but even now, some people won't prefer this veggie to enter into the home from the front door; just they will take it in from the back door of the house! I really don't know the reason behind it, but if you see the nutrition facts of ash gourd, I'm sure you will fell in love with this veggie :) Ash gourd is a good source of calcium, carbohydrate, protein and iron, which are very essential for our body. 
Ash Gourd ('Kumbalakayi' in Kannada) tastes very good when used in different varieties of curries. Here is a yogurt based curry using ash gourd which tastes very good with rice. Other than ash gourd, you can also use Seeme Badane (Chayote Squash), Egg plant or cucumber for this Majjige Huli.


Preparation time: 20 - 25 minutes
Servings: 4

Ingredients:
Ash gourd - 1/2 kg
Grated coconut - 1 1/4 cup
Chana dal (soaked in water for 1/2 hour) - 1 tsp
Green chillies - 2 (adjust according to taste)
Chopped coriander leaves - 3 tsp
Cumin seeds - 3/4 tsp
Turmeric - 1/4 tsp
Ginger - 1/2 inch
Sour curd (Buttermilk) - 1 to 1 1/2 cup
Salt to taste
For seasoning: oil - 2 tsp, mustard seeds - 1 tsp, curry leaves - 1 strand

Method:
Peel the ash gourd and remove the seeds portion. Cut the veggie into medium size cubes and cook with enough water and salt to taste till smooth.
Grind grated coconut, ginger, green chillies, coriander leaves, cumin seeds, turmeric and soaked chana dal into fine paste. Add water if required.
Add this paste to cooked ash gourd and allow to boil for 3 - 4 minutes and switch off the flame.
Heat oil in a small wok. Add mustard seeds and roast till it splutters. Then add the curry leaves, saute for a while and switch off the flame. Add this seasoning to boiled Majjige Huli.
Add buttermilk to Majjige Huli when its still warm. Serve this Majjige Huli with hot rice.


Tips:
  • If you want to retain this Majjige Huli for night dinner or for next day, take out a portion of Majjige Huli and keep separately before adding the buttermilk. Heat the majjige huli before serving and mix with buttermilk.
  • Veggies like Seeme Badane (Chayote Squash), Egg plant and cucumber will also go well for this recipe.
  • I have added the soaked chana dal just to make the curry thicker. You can replace chana dal with Putani (split dalia) also.
Sending this over to 'Spotlight: Curries/Gravies', ongoing event @ Cuisine Delights, which was originally started by Indrani of Recipe Junction.


ಕನ್ನಡದಲ್ಲಿ ಓದಲು ಇಲ್ಲಿ ಕ್ಲಿಕ್ ಮಾಡಿ.

Here is one more variety of Tambli from my kitchen. Tambli is a raw curry which goes well with rice. Especially during summer, cool side dishes like Tambli are more preferable than hot Sambar. Using Ridge Gourd, two types of Tambli we usually prepare. One is the normal one, which is nor too hot or too sweet, and the other one is Sweet Tambli. Since I have a sweet tooth, I love Sweet Tambli more than Normal Tambli! 
Mom tought me this normal version of Ridge Gourd Tambli during her last visit. Let me explain the recipe of Sweet Tambli sometime later, here is the recipe of Ridge Gourd Tambli (normal ones).


Preparation Time: 20 minutes
Servings: 5 

Ingredients:
Ridge gourd - half of one medium size ridge gourd
Green chilli - 1 small piece
Sesame seeds - 1 tsp
Cumin seeds - 1/2 tsp
Grated coconut - 1 cup
Butter milk - 1 cup
Salt to taste
Sugar - 1/2 tsp
Water - 2 cups approx.
For seasoning: oil - 1 tsp, mustard seeds - 1 tsp

Method:
Peel the ridge gourd and chop into small pieces. Cook it with 1 cup of water, salt and sugar to taste, till smooth.
Separate the remaining water from cooked ridge gourd. You can use this water while grinding the mixture.
Heat 1/2 tsp oil in a small wok. Roast the cumin and sesame seeds for a minute or till you hear a nice aroma. Then add green chilli piece and saute it for a while.
Grind the cooked ridge gourd and roasted ingredients along with grated coconut into fine paste. Add water as needed. 
Transfer this paste to a serving bowl. Add buttermilk and adjust the taste. If it looks too thick, add little more water.
Do the seasoning with oil and mustard seeds and add it to Tambli.
Serve this Tambli along with rice and pickle.
ಕನ್ನಡದಲ್ಲಿ ಓದಲು ಇಲ್ಲಿ ಕ್ಲಿಕ್ ಮಾಡಿ.

As always we do, this time also we brought some home grown 'organic' vegetables and leafy vegetables with us while coming from native. Many of  these leafy vegetables have medicinal values and also we can prepare tasty dishes from them. This time I tasted Lemon Grass Tambli in my native place and brought some lemon grass with me. It has a nice citrus flavor and is used in many dishes like soups. Especially for Thai cooking, lemon grass is a common ingredient. 
Look-wise, lemon grass is nothing but a variety of grass. If you like it for regular cooking, it can be grown easily in your backyard or in a pot! Below is the recipe of Lemon Grass Tambli which will be best for this summer.


Preparation time : 20 minutes
Servings: 3 

Ingredients:
Lemon grass - 2 strings ( finely chopped lemon grass - 1/4 cup)
Black pepper - 2
Cumin seeds - 1/2 tsp
Oil - 1/4 tsp
Grated coconut - 3/4 cup
Butter milk - 3/4 cup
Water - 2 cups approx.
Salt to taste
For seasoning: butter (or oil) - 1 tsp, cumin seeds - 1/4 tsp, mustard seeds - 1/2 tsp


Method:
Finely chop the lemon grass. Grind it with little water and filter it. Add some more water to the crushed lemon grass and collect at-least 1 cup of juice.
Fry black pepper and cumin seeds in 1/2 tsp of oil. Grind the fried items along with coconut shredding into fine paste. Use the filtered lemon grass while grinding.
Add buttermilk and salt to this paste and mix well. The consistency should not be very thick, so you can add water accordingly. 
This recipe is complete after seasoning with butter (or oil), mustard seeds and cumin seeds. Serve with hot rice.
Tambli is a main side dish in Havyaka lunch. Havyaka lunch starts with Tambli and after having this, they will prefer sambar or any other hot curry.


Tips:
  • Tambli won't last for long time since we add buttermilk and raw coconut; if using later, preserve it in fridge to retain freshness.
ಕನ್ನಡದಲ್ಲಿ ಓದಲು ಇಲ್ಲಿ ಕ್ಲಿಕ್ ಮಾಡಿ.

I always think that there are many similarities between Kerala kitchen and Karnataka Havyaka's kitchen. Because Kerala people use coconut and coconut oil generously in their cooking. The same way, we Havyakas in Karnataka also love to use coconut and coconut oil in our cooking. These days, due to cholesterol fear, people started using more of sunflower oil and other varieties of oils. But to get the real taste of traditional Havyaka recipes, one must use grated coconut and coconut oil generously in cooking. 
Why I am talking about Kerala Kitchen today is, I am going to share a Kerala cuisine recipe today. This looks bit similar to one of the famous Havyaka recipe Paladya, but both taste differently! Like Paladya, Pulisheri also tastes better when we use coconut generously. ;) With the nice aroma of cumin seeds and green chillies, this curry tastes very good with rice.


Preparation time: 20 minutes
Servings: 3 - 4

Ingredients:
Half of a medium size cucumber
Grated coconut - 1 cup
Green chillies - 2 (adjust according to taste)
Cumin seeds - 1/2 tsp
Turmeric - 1/4 tsp
Thick buttermilk or curd - 1 cup
Curry leaves 10 - 12
Salt to taste
For seasoning: oil - 2 tsp, fenugreek seeds - 1/4 tsp, dry red chilli - 2 pieces, mustard seeds - 1/2 tsp

Method:
Peel the cucumber and cut into medium size cubes.
Add enough water (2 cups approx.), slit green chillies and a big pinch of turmeric and cook it till soft. Once its half-way done, add salt to taste.
Grind the coconut, cumin seeds and remaining turmeric into fine paste.
Once the cucumber pieces are cooked, add the ground paste and boil it nicely for 2 - 3 minutes. Finally, add curry leaves and switch off the flame.
Do the seasoning with fenugreek seeds, red chilli pieces and mustard seeds and add it to the Pulisheri prepared.
When the Pulisheri is warm, add buttermilk / curd according to taste and serve with rice.


Tips:
  • If you are preserving Pulisheri for the night or next day, keep it without adding buttermilk. Heat it before serving and mix with buttermilk.
ಕನ್ನಡದಲ್ಲಿ ಓದಲು ಇಲ್ಲಿ ಕ್ಲಿಕ್ ಮಾಡಿ.

Tambuli is a common side dish which accompanies our daily lunch during summer season. During hot summer, more than hot curries and sambar, cool ones like Tambuli and Appehuli will be more comfortable to have. Tambuli is also called as Tambli in common. Varieties of Tambuli can be prepared using simple ingredients available in our kitchen.
Almost all the varieties of Tambuli are prepared using buttermilk. As per my knowledge, Raw Mango Tambli is the only Tambli for which buttermilk is not needed. Any variety of raw mango which can be used for pickle will also be good for Tambuli. Try this Tambuli during hot summer to keep your body cool and I'm sure, you will like it!!


Preparation time: 10 minutes
Servings: 4

Ingredients:
Raw mango - peeled and finely chopped - 4 tsp
Grated coconut - 1 cup
Green chilli - small piece
Mustard seeds - 1/4 tsp
Salt to taste
Water 3 - 4 cups
For seasoning: oil - 1 tsp, mustard seeds - 1/2 tsp, pinch of asafoetida, 4 - 5 curry leaves

Method:
Grind the chopped mango, green chilli, grated coconut and mustard seeds into fine paste using little water.
Transfer the paste to a bowl and add 3 - 4 cups water to adjust the consistency. Add salt to taste and mix well. 
Heat oil in a small wok. Add mustard seeds, asafoetida and curry leaves. Once it starts spluttering, switch off the flame and add the seasoning to Tambuli.
Serve this healthy Tambuli with rice.


OlderStories Home