Balekai or plantain is one of our family favourite vegetables. We get raw banana or plantains once in a while in the Indian grocery stores here. We love different dishes made using plantains in our native style. 

I had brought raw bananas after a long time during my recent grocery shopping. My daughter requested to prepare Banana chips since its her all time favourite. Hence, I had to make some Banana / Plantain Chips for her. One dish we never want to miss is Plantain Palya / Poriyal / Fry / Thoran. 

Here is the recipe of Havyaka Style Balekayi / Plantain Palya for you all!


Preparation time: 20 -25 minutes
Difficulty level: Medium
Serves: 4 - 5


Ingredients:

  • Medium sized plantains - 3
  • Grated coconut - 3 tbsp (fresh / frozen or desiccated coconut)    
  • Green chilli - 1 (according to taste)
  • Salt - to taste
  • Sugar - big pinch
  • Lime squeeze - 2 tbsp or to taste
  • Curry leaves - 1 string
  • Dry red chilli - 1 inch piece
  • Urid dal - 1 tsp
  • Mustard seeds - 3/4 tsp
  • Hing / Asafoetida - generous pinch
  • Turmeric powder - 3/4 tsp
  • Cooking oil - 2 1/2 tbsp (use Coconut oil for authentic Havyaka taste)
  • Water - 4 to 5 cups (to cook the bananas)


Recipe Instructions:

  • Heat 4 - 5 cups of water in a pan. Add 2 - 3 drops of oil to avoid stickiness. Once the water is hot enough, add the whole plantains and cook for 8 - 10 minutes or till they are nearly cooked, but still firm. Once cooked, their skin will turn darker brown and plantains will be a bit soft than before. 
  • Take out the cooked plantains and allow them to cool. 
  • Peel the skin and grate the plantains using a grater. 
  • Take the grated plantains in a mixing bowl. Add grated coconut, salt, sugar and lime juice for taste. 
  • Heat 2 1/2 tbsp oil in a heavy bottom pan for seasoning. Once the oil is hot, add red chilli, urid dal, mustard seeds and hing. When mustard seeds start spluttering, add turmeric powder, slit green chillies and curry leaves. Sauté it for half a minute.
  • Add grated plantain to the seasoning and mix it well. Close the lid half way and cook it for 5 more minutes. 
  • Serve it as a side dish with Rice, Sambar and Curd.

Tips:

  • While cooking, if the plantains became softer than required, wash them in cold water immediately. This will avoid them from becoming smoother again.
  • Lime squeeze can be replaced with Aamchur powder / Hulipudi.


ಕನ್ನಡದಲ್ಲಿ ಓದಲು ಇಲ್ಲಿ ಕ್ಲಿಕ್ ಮಾಡಿ 

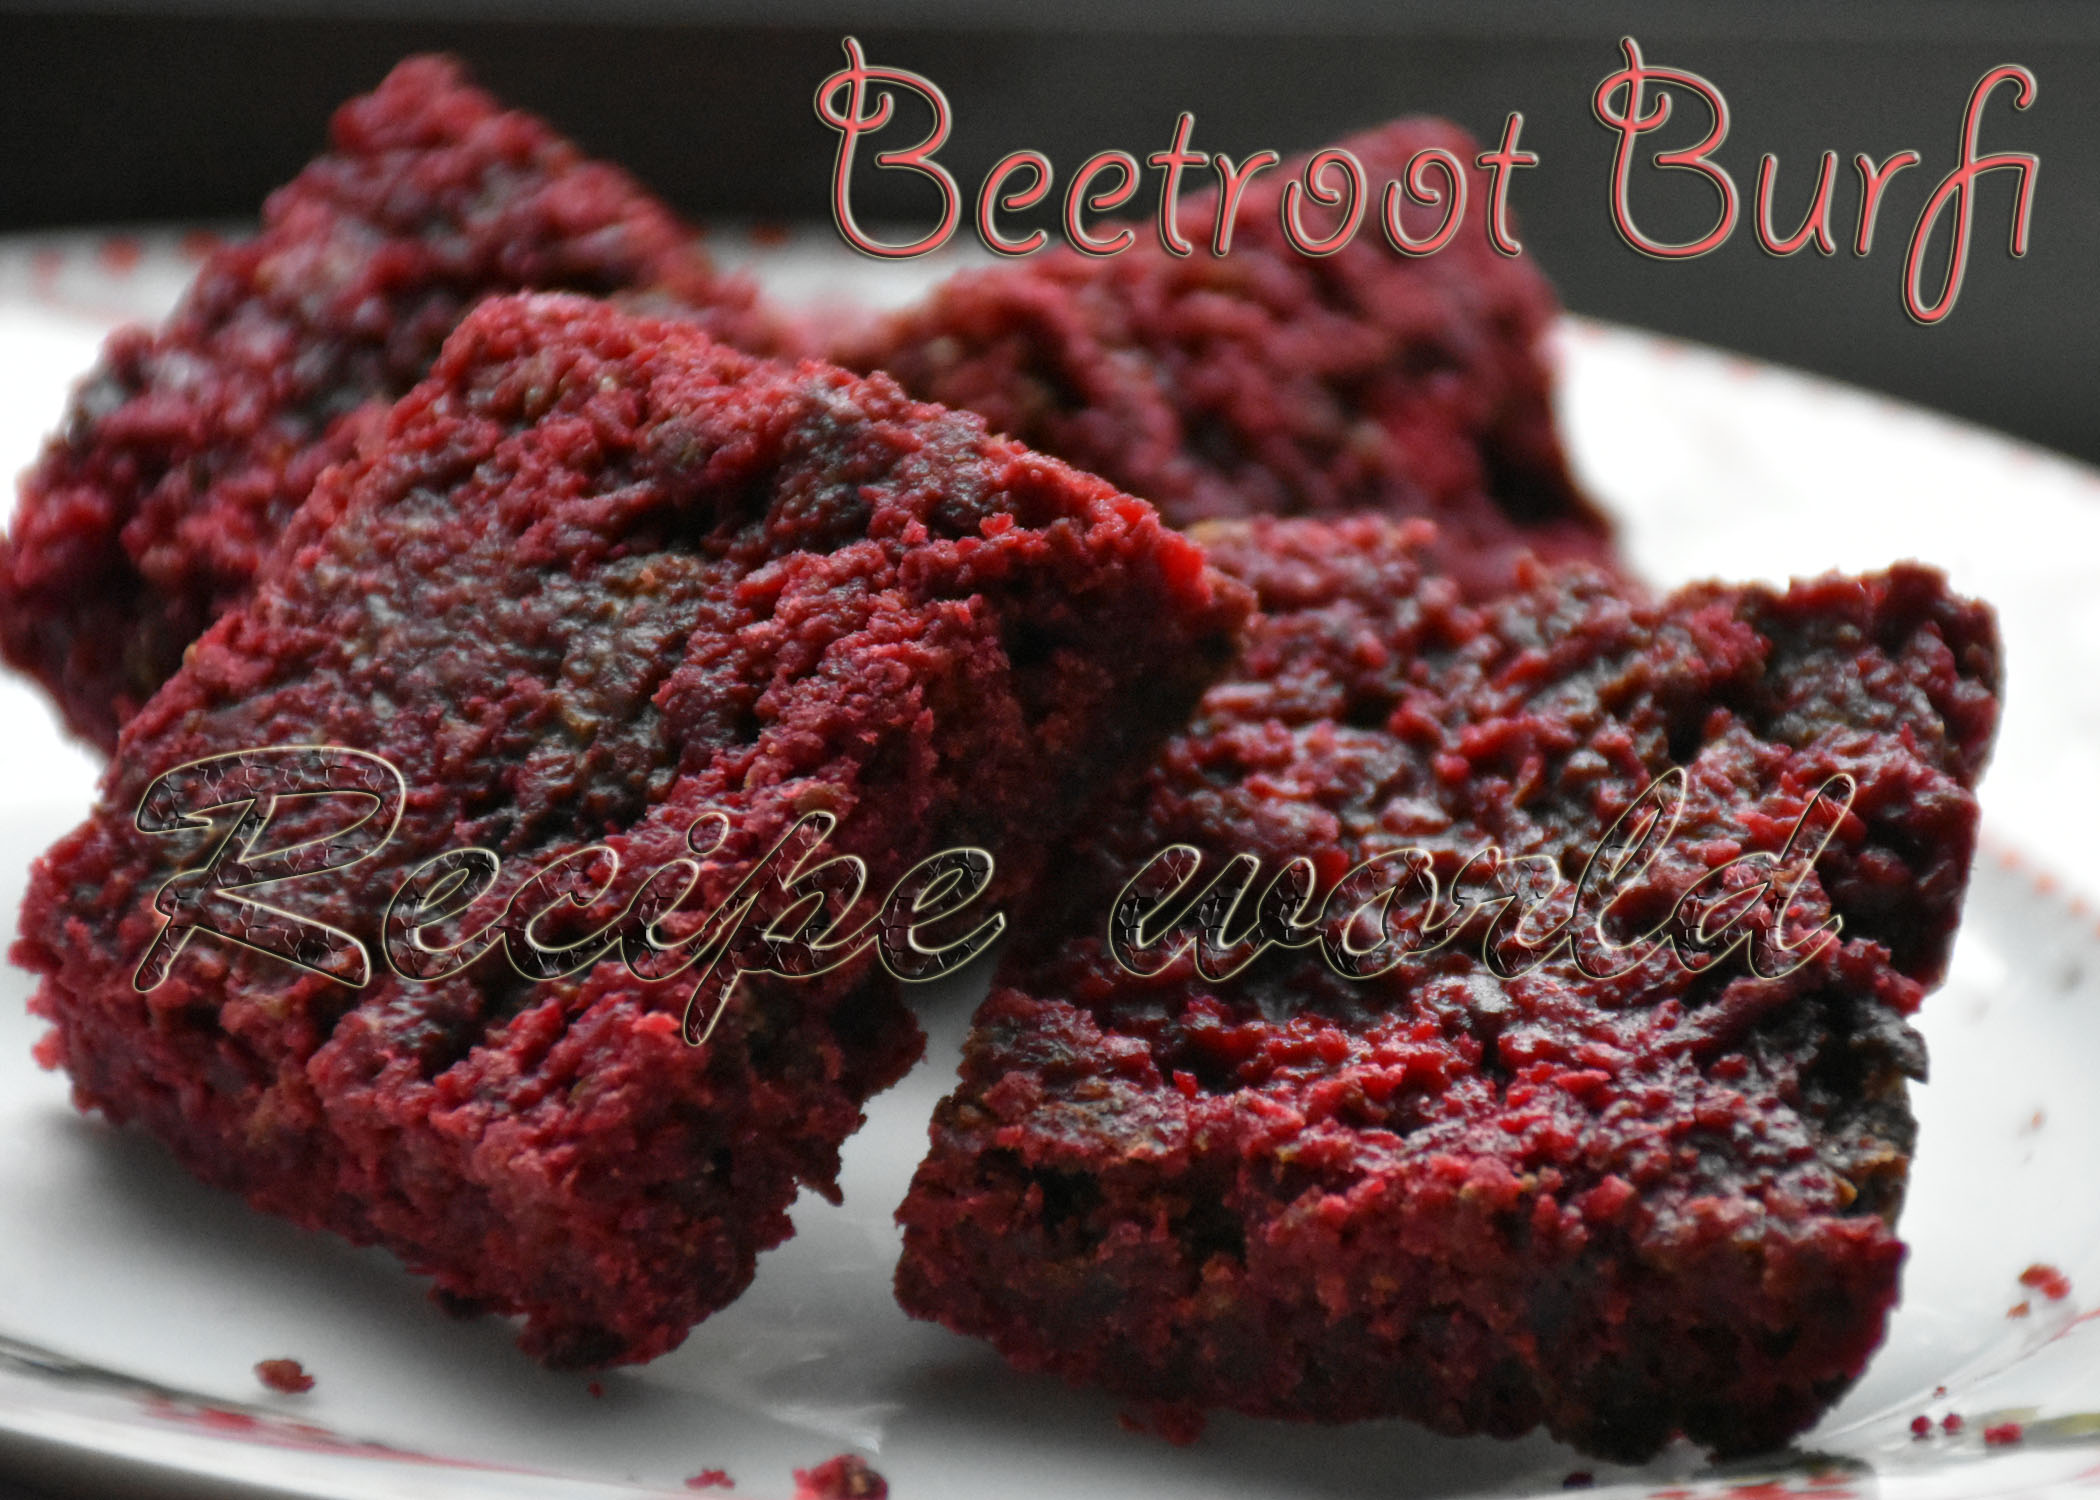
We do prepare varieties of sweet dishes using different vegetables. Beetroot Burfi is one of those delicious sweets which I frequently prepare. My kids love to eat non - sticky sweets. This colourful burfi tastes divine and is the perfect Indian sweet for any occation!

Below is the recipe of Beetroot Burfi / Beetroot Barfi for you all..


Preparation time: 30 minutes

Difficulty level: difficult

Yield: 12 pieces


Ingredients:

  • Grated beetroot - 1 cup
  • Grated coconut (fresh / frozen) - 1 cup
  • Sugar - 1 cup 
  • Ghee / clarified butter - 3 tbsp
  • Cardamom powder - 1/2 tsp


Recipe Instructions:

  • Pulse the grated coconut in a mixie or blender for a few seconds to make it evenly course.
  • Take a heavy bottom pan. Mix 2 tbsp of ghee and grated beetroot on medium flame for about 2 minutes or till the raw smell is gone.
  • Add grated coconut and sugar to this mixture and keep mixing on medium flame till it thickens. It took me around 30 minutes to achieve this stage. If the quantity is more, you may need a bit more time.
  • When the mixture starts leaving the sides and becomes like a lump, add a tablespoon of ghee and cook for a few more minutes.
  • Once it starts leaving the vessel and it feel very hard to stir the mixture, its time to add cardamom powder.
  • Spread the mixture evenly on a greased plate and cut into desired shapes when it's warm. 
  • Allow it to cool completely and enjoy the sweet burfi!


ಕನ್ನಡದಲ್ಲಿ ಓದಲು ಇಲ್ಲಿ ಕ್ಲಿಕ್ ಮಾಡಿ 

 Broccoli is one of our family favourite vegetables. Kiddos love it because of the color and we, adults love it for its health benefits. I heard a few people won't like this vegetable for its distinct smell. But we love every dish prepared using broccoli. 

3 years back, my Mum and Dad were here with us for a few months. During that time, buying vegetables was not that easy for us as many vegetables we get here are totally different from what they get in India. When we go out for groceries, mum eyes usually look for only those veggies which are available in hometown! To my surprise, they both liked broccoli and she used to prepare Broccoli Stir Fry (Palya) 2 - 3 times a week during their stay. 

I would like to share the recipe of Broccoli - Potato Cutlet / Broccoli Patties with you all today. These patties are perfect for breakfast, snacks, starter and kids lunch box too. Below is the recipe of Broccoli - Aloo Cutlets:


  • Preparation time: - 25 - 30 minutes
  • Difficulty level: Medium
  • Servings: 2

Ingredients:

  • Broccoli florets - 2 cups
  • Medium size potato - 1
  • Chat masala powder - 1 tsp
  • Green chillies - 2 (adjust according to taste)
  • Onion - 1 (small)
  • Amchur powder / lime juice - 1/2 tsp
  • Salt - to taste
  • Bread crumbs - 1 cup or more
  • Oil - for shallow frying

Recipe Instructions:

  • Cook the potatoes till soft. I have halved the potato and pressure cooked till two whistles.
  • Finely chop the onion and crush the green chillies.  
  • Wash the broccoli florets and put them in a bowl. Add 1 tsp salt and about 4 cups of hot water. Leave them for 5 minutes.
  • Drain all the water and spread the broccoli florets on a kitchen towel for 4 - 5 minutes.
  • Pulse the broccoli florets in a mixie or blender coarsely without adding any water.
  • Peel the cooked potatoes, and mash it nicely.
  • Take a mixing bowl and add pulsed broccoli, mashed potato, crushed chillies, chopped onion, chat masala, amchur powder / lime juice and salt to taste. 
  • Also add 2 - 3 tbsp bread crumbs and mix everything well. 
  • Make lime sized balls and pat them into flat discs. 
  • Roll these discs in bread crumbs and shallow fry on hot tawa. Flip the discs a few time and cook till both the sides turn slightly brownish. 
  • Serve hot cutlets along with tomato sauce or your favourite dip. We would love to have it with coconut chutney!


Tips:

  • Green chillies can be replaced with red chilli powder. 


ಕನ್ನಡದಲ್ಲಿ ಓದಲು ಇಲ್ಲಿ ಕ್ಲಿಕ್ ಮಾಡಿ 

Keeper recipes like Chutney, Thokku, Gojju are our family favourites. A few varieties of these preserves will always be there as part of our lunch and dinner. Not only there are tasty, they come very handy when I feel tired and can't make varieties of fresh curries.
Here is a finger licking Thokku recipe which I learnt during my India trip last year. This Thokku goes well with rice, chapathi or dosa.


Preparation time: 15 minutes
Serves - 20
Difficulty level: Medium

Ingredients:
  • Mint leaves - 50gm
  • Dry red chillies - 50 gm 
  • Garlic peeled - 50 gm
  • Tamarind - 50 gm
  • Salt - to taste
  • Jaggery or sugar - 1/2 tsp or to taste
  • Water - 1/4 cup (if needed)
 - For seasoning:
  • Oil - 5 to 6 tbsp
  • Mustard seeds - 1 tsp

Method:
  • Grind together mint leaves, dry red chillies, garlic pods and tamarind into a fine paste. Add a few tablespoons of water if needed. 
  • Heat oil in a thick bottom pan. Add mustard seeds to the hot oil and let it splutter. 
  • Now, add the prepared paste to the seasoning slowly and carefully. Mix it well.
  • Add salt and jaggery/sugar for taste. 
  • Mix everything well and cook till it becomes a thick paste and there is no water left in it. If minimal water is added, it takes less than 10 minutes to do this.
  • Keep mixing it regularly to avoid burning. 
  • Once it becomes like a big lump and starts leaving the bottom of the pan, turn off the flame and allow it to cool. 
  • Store in an airtight container. 
  • Mint leaves thokku can be served as pickle or chutney along with rice, dosa or chapathi. 
  • It stays good for 3 - 4 days at room temperature and can be stored in the fridge for a few months.

Tips:
  • Quantity of tamarind can be adjusted according to your taste.

Wheat flour dosa is popularly known as a fasting recipe. I was never a fan of Wheat Flour Dosas till I learn this recipe from my friend Maitri. Since then, Wheat Flour Dosa has become our family favourite breakfast. This is an instant dosa, and won't need any fermentation. 
Below is the recipe of Wheat Flour Dosa / Paper Dosa / Tellevu / Crepe:


Preparation time: 10 minutes
Difficulty level: Medium
Serves: 3

Ingredients:
  • Whole wheat flour - 1 1/2 cup
  • Sooji rava / Semolina - 1/3 cup
  • Green chillies - 1 or 2 (depending on spiciness)
  • Ginger - half inch
  • Cumin seeds - 1 tsp
  • Curry leaves - 5 to 6 leaves
  • Turmeric powder - 1/4 tsp
  • Hing / asafoetida - generous pinch 
  • Fresh grated coconut (or frozen) - 1/2 cup
  • Salt - 1 tsp or to taste
  • Water - to prepare the batter


Recipe Instructions:
  • Combine wheat flour and sooji rava in a mixing bowl. 
  • Blend coconut, green chillies, ginger, cumin seeds, curry leaves, turmeric powder and hing into a smooth paste. Add water as needed while blending.
  • Add this paste to the wheat flour - semolina mix and also add salt to taste. Mix everything well. 
  • Add water little by little and keep mixing it. Make it a thick batter without any lumps.
  • Take a ladle full of batter and spread it thinly on the hot tava. 
  • Cook it on medium flame till it turns a bit crispy. 
  • Serve hot dosa along with Coconut Chutney or your favourite side dish. 


Tips:
  • Adjust the wheat flour - sooji rava ratio as needed. The more sooji rava you add, more crispier the dosa will be.


As a South Indian family, we love rice for our daily lunch. Hubby loves Roti / Chapathi and hence, I prepare Roti / Chapathi for our dinner. To ease the the cooking time, I plan to make any one side dish or sambar or dal to be suitable for both rice and roti! This reduces my time in the kitchen a bit.
Here is one such Palya / curry which goes well with rice, roti / chapathi, dosa and poori. Do try this healthy and delicious Cabbage - Sprouted Green Gram Palya / Thoran / Masala Dry Curry and let me hear your feedback :)


Preparation time: 15 minutes
Difficulty level: Medium
Serves: 3

Ingredients:
  • Finely shredded cabbage - 3 cups
  • Sprouted green gram / mung bean - 1/2 cup (can use more also)
  • Salt - to taste
  • Amchur powder / hulipudi - 3/4 tsp
  • Sugar - 1/3 tsp
  • Pav Bhaji Masala powder - 1 tsp
  • Red chilli powder - 1/4 tsp (adjust according to spiciness)
 - For Seasoning:
  • Oil - 1 1/2 tbsp
  • Dry red chilli - 1 inch piece
  • Urid dal - 1 tsp
  • Mustard seeds - 1 tsp
  • Turmeric powder - 1/3 tsp
  • Green chilli - 1 slit
  • Curry leaves - 5 to 6

Recipe Instructions:
  • Keep all the ingredients ready.
  • Heat oil in a heavy bottom pan for seasoning. Add red chilli piece, urid dal and mustard seeds. Toast it till mustard seeds start crackling.
  • Add turmeric powder, slit green chilli and curry leaves. 
  • Sauté it once and add shredded cabbage and sprouted green gram.
  • Mix everything well, close the lid and cook it on low to medium flame. 
  • Keep mixing it every now and then to avoid burning. If the mixture looks too dry, a few tablespoons of water can be added. I have not added and water here. 
  • When the mixture is nearly cooked, add salt, sugar, amchur powder, pav bhaji masala powder and red chilli powder. Mix it well and cook covered till done. 
  • Serve this delicious Palya along with rice, chapathi, dosa or poori.

Tips:
  • You can skip using green chillies by adding little more chilli powder.
  • Adding sugar is purely optional.  
  • Pav bhaji masala powder can be replaced with sambar powder or any other masala powder.

During our childhood days, Cake was a luxurious treat for us. Rarely we had a chance to eat the bakery products like cakes, so it felt like cakes were the most delicious food when compared with whatever Mum made at home with all the love! Gone are those days and now, many of us have ovens at home and its easy to prepare cakes or other bakery food whenever we feel like.
I often prepare varieties of eggless cakes at home. When kids are at home, how much ever snacks I prepare, they all vanish so quickly! My daughter loves to eat cake for her evening snacks. Eggless Vanilla Cake and Eggless Chocolate Cake were here favourites before. And when we found this way of making Eggless Orange Cake, this cake has become her favourite now!
I just tried to follow the technique of Hot Milk Cake while preparing my Eggless Orange Cake and the result was - Wow! My eggless loaf turned out to be the most delicious one with a soft, airy, moist texture. It tastes the same like Iyengar Bakery Plain cakes. 
Below is the recipe of Eggless Orange Cake for you all:


Preparation time: 10 minutes
Baking time: 25 - 30 minutes
Difficulty level: medium
Serves: 1 loaf cake

Ingredients:
  • All purpose flour (Maida) - 1 1/2 cup (Or you can use Maida and wheat flour in 50:50 ratio)
  • Baking powder - 1 1/2 tsp
  • Baking soda - 1/8 tsp
  • Salt - a pinch
  • Fresh orange juice - 1/4 cup
  • Sugar - 1/3 cup
  • Orange zest - 1 1/2 tbsp
  • Milk - 1/2 cup
  • Curd - 1/4 cup
  • Oil - 1/2 cup

Recipe Instructions:
  • Preheat the oven to 175C.
  • Grease the baking pan with oil, dust it lightly with flour and line it with baking paper. 
  • Sieve together flour, baking powder and baking soda 2 - 3 times.
  • Mix together sugar, salt and curd in a bowl.
  • Once sugar is dissolved completely in the mixture, add orange juice, zest and oil. Mix it well.
  • Fold in the flour in small batches and mix it gently. 
  • Add the hot milk to the batter little by little and bring it to thick, pouring consistency (like dosa batter).
  • Transfer the batter into the lined baking pan and bake it for about 25 - 30 minutes or till the toothpick inserted comes out clean. Mine got done exactly at 25 minutes.
  • Wait for it to cool down on a cooling rack. 
  • Once its almost cool, take it out of the pan and allow to cool down completely before cutting it into slices.
  • You can pour some icing if you would like to. Or it can be eaten as it is.

Tips:

  • Tutti frutti chunks can be added to this cake to enhance the taste and make it more colourful.


ಕನ್ನಡದಲ್ಲಿ ಓದಲು ಇಲ್ಲಿ ಕ್ಲಿಕ್ ಮಾಡಿ

Now, its the season of Jackfruits in India. Both raw and ripe jackfruit are great for cooking. Few food items are made using them which can be preserved till the next season. At my mum's place, they prepare raw jackfruit chips, preserve some raw jackfruit flesh in salt water and also, sundry the raw jackfruit pieces. So, its possible to prepare jackfruit dishes whenever they feel like.
My Mum had packed some Sun-dried Raw Jackfruit pieces for us during our recent India trip. We are enjoying typical native style curries once in a while now! Below is the recipe of Sun - dried Raw Jackfruit Bajji or Raita.
Click here to see How to make Sun - dried Raw Jackfruit Pieces.


Preparation time: 20 minutes
Soaking time: 20 minutes
Difficulty level: medium
Serves: 4

Ingredients:
 - For seasoning:
  • Oil - 1 1/2 tbsp
  • Dry red chilli - half piece
  • Urid dal - 1 tsp
  • Mustard seeds - 3/4 tsp
  • Green chilli - 1 (or as needed)
  • Crushed garlic - 1 tsp

Method:
  • Soak 1/2 cup of sun-dried raw jackfruit pieces in 3/4th cup of water for about 20 minutes.
  • Pressure cook the soaked raw jackfruit pieces along with the soaked water for 2 whistles.
  • Take off the excess water and mash the cooked jackfruit pieces lightly.
  • Add 1 cup of thick curd to the mashed jackfruit. Also add salt and lime squeeze for taste.
  • Heat oil for seasoning in a wok of small pan. Add red chilli piece, urid dal and mustard seeds.
  • When mustard seeds start crackling, add green chilli pieces and crushed garlic. Sauté it for a minute or two, or till aromatic. 
  • Add this seasoning to the curd - jackfruit mixture. Crush the chillies with ladle or with your finger tips. 
  • Mix the bajji / gojju / raita well and serve it with hot rice.

Tips:
  • Take care while adding salt to this recipe. Since the jackfruit pieces are salted and sun-dried, it already has some salt in it. If the Raita / Bajji tastes too salty, take a palm size of banana leaf and soak it in the salty dish for about 15 - 20 minutes and take it off. Banana leaf will suck the salt content in it.

ಕನ್ನಡದಲ್ಲಿ ಓದಲು ಇಲ್ಲಿ ಕ್ಲಿಕ್ ಮಾಡಿ

This year, we had planted some snow pea plants in our little backyard. Snow peas are easy to grow, they won't need much care and the yield is also pretty quick. Now, the winter has started and still we are getting enough crop to serve our little family. As they have a sweet taste, my kids love to pick the snow peas fresh from the garden and eat them as it is.  
Here is the recipe of a side dish which my family loves to eat often. I use potato, snow peas, capsicum and green peas for this Subzi. But it should be ok if you skip capsicum and / or green peas.


Preparation time: 25 minutes
Difficulty level: Medium
Serves: 4

Ingredients:
  • Potatoes (big) - 2 
  • Snow peas - 8 to 10
  • Capsicum chopped - 3/4 cup
  • Green peas - 3/4 cup (I have used frozen peas)
  • Kasuri methi - 1 tbsp
  • Cumin coriander powder - 1 tsp
  • Salt - to taste
  • Pepper powder - 1 tsp or for taste

 - For seasoning:
  • Oil - 2 tbsp
  • Fenugreek / Methi seeds - 1/4 tsp


Method:
  • Wash all the vegetables thoroughly in clean water.
  • Chop the snow peas and capsicum into medium size pieces.
  • Peel and chop the potatoes into small pieces lengthwise.
  • Heat oil in a heavy bottom pan. Add the fenugreek seeds and toast till aromatic.
  • Add the potato pieces, mix well and close the lid for cooking.
  • Keep mixing it frequently to avoid potatoes sticking to the bottom.
  • When the potatoes are half-cooked, add chopped snow peas, capsicum, green peas and kasuri methi. Close the lid and continue cooking. Keep mixing them regularly.
  • When potato pieces are almost cooked, add salt, pepper powder, cumin - coriander powder and cook for 3 - 4 minutes or till done.
  • Serve this delicious side dish along with rice, chapathi or pooris.


Who loves chocolates? I know, most of us love chocolates. Chocolates are good to eat in any form and any time. Here is one easy and quick recipe using cooking chocolate and rice bubbles. I guess, rice bubbles can be replaced with our own Murmura (Mandakki) if its not salty; but I have not experimented it yet. These Choco treats are my kiddo's favourite snacks. Also, they are perfect for kids parties, food stalls, picnic and travels.
Here is the recipe of Choco Crackles to munch on any time!


Preparation time: 15 minutes
Difficulty level: Easy
Serves - 27 byte size treats 

Ingredients:
  • Cooking chocolate (I have used dark cooking chocolate)- 100 gram 
  • Rice bubbles (plain, white ones) - 2 1/2 cup
  • Coconut oil (or Copha)- 1 1/2 tbsp 

Cooking method:
  • Heat coconut oil and cooking chocolate in a double boiler. Or, fill water in a wide pan upto 1/4th. Place a vessel inside and start heating. Put the oil and chocolate in the inner vessel. 
  • Keep mixing the mixture regularly. 
  • Once everything is melted and turns into a fine paste, fold in the rice bubbles.
  • Mix everything well and turn off the flame.
  • Scoop the mixture on a plate or into cupcake moulds. I have used small cupcake tray to make them cuter!
  • Keep the tray inside the fridge for 10 minutes.
  • Heat the bottom of the tray / plate for a second or two. This make it easy to unmould the choco crisps in no time. 
  • Have a byte or more. And store the remaining in an airtight container!


Appehuli is a special variety of curry or rasam which is prepared mainly in Western Ghats of Karnataka. This curry is mainly prepared in Havyaka Brahmin households and hence, the name 'Havyaka' is very much associated with 'Appehuli'. Appehuli is served as a side dish with rice. Some people love to drink it as Soup too.
Nicely aromatic raw mangoes are perfect for preparing Appehuli. Apart from raw mango, sour fruits and veggies like Kanchikayi (Kaffir lime), lime, lemon, Star fruit, raw / ripe tamarind, etc. are all good to prepare Appehuli. 
Today, I am sharing the procedure of preparing Tamarind Appehuli. Ripe tamarind which is a bit sweet and sour in taste is good for preparing this Appehuli. 


Preparation time: 15 minutes
Difficulty level: Easy
Serves: 5 - 6

Ingredients:
  • Ripen tamarind - 2 tbsp
  • Water - 1 1/4 cup
  • Salt - 1 tsp or to taste
  • Sugar - 1 tbsp or to taste
 - For Seasoning:
  • Oil - 2 tsp
  • Dry red chilli - 1 inch piece
  • Sesame seeds - 3/4 tsp
  • Asafoetida / hing - a pinch
  • Turmeric powder - a pinch
  • Green chilli - 1 
  • Curry leaves - 5 or 6
  • Crushed garlic - 1 tsp


Method:
  • Take the tamarind in a small bowl. Add enough water to cover it and soak for 10 minutes. Soaking in warm water will quicken the process. 
  • Squeeze the tamarind and collect the pulp. Add little more water and prepare 1 cup of tamarind water. Adjust the sourness according to your taste. 
  • Add salt and sugar according to taste. This Appehuli tastes good with sweet - sour taste.
  • Heat oil in a small wok. Add dry red chilli, sesame seeds and a pinch of hing. 
  • Once the sesame seeds start crackling, add a pinch of turmeric powder, green chilli pieces and curry leaves. Sauté it for a while and add crushed garlic. 
  • Turn off the flame once the garlic becomes aromatic and add this seasoning to the tamarind water. 
  • Crush the chillies and crunchy curry leaves to enhance the taste. 
  • That's all, tasty Appehuli is ready to go with hot rice! 


Eggplant is one of those vegetables which is available throughout the year. Although its not so good in nutritional values, it adds more taste to various dishes and curries. There are different varieties of brinjal available in the market. Varieties of curries and other dishes can be prepared depending on each variety of eggplant. For instance, I prepare Baingan Barta (Badanekayi Hindi / Gojju) when we get the bigger eggplants.
My sister is a huge fan of Badanekayi Hindi / Baingan Barta. If there is Baingan Barta for lunch / dinner, her dinner / lunch will start with this curry and also ends with this curry! As she likes Badanekayi Hindi, she may have tasted it 'n' times. Today, I am sharing with you all the recipe of Baingan Barta which I learnt from my sister.


Preparation time: 30 minutes
Difficulty level: Medium
Servings: 3

Ingredients:
  • Eggplant / Brinjal (medium sized) - 1
  • Salt - to taste
  • Aamchur powder - 1 tsp or to taste
  • Sugar / jaggery - generous pinch
  • Onion (small) - 1
  • Grated coconut (optional) - 2 to 3 tbsp
 - For seasoning:
  • Oil - 1 1/2 tbsp
  • Dry red chilli - 1
  • Urid dal - 1 tsp
  • Asafoetida / hing - generous pinch
  • Mustard seeds - 1/2 tsp
  • Turmeric powder - a small pinch
  • Green chilli - 1
  • Curry leaves - 5 to 6 leaves

Method:
  • Cook the brinjal on direct flame on low heat. This process takes around 15 minutes.
  • Once the fire roasted brinjal is cool enough to handle, take off the dark, outer skin carefully. Keep a bowl of water handy and dip your hands frequently, it helps to avoid the brinjal skin mixing with its flesh.
  • Mash the flesh of brinjal using a ladle using cut and mix method. 
  • Heat the oil in a wok for seasoning. Add red chilli pieces, urid dal, hing and mustard seeds. 
  • Once mustard seeds start crackling, add a pinch of turmeric powder followed by green chilli pieces and curry leaves. 
  • Turn off the flame after a minute of cooking. Add this seasoning to mashed brinjal. 
  • Crush the red chillies and green chillies to enhance the taste. 
  • Add salt, amchur powder and a pinch of sugar / jaggery for taste. 
  • Just before serving, chop the onion finely and add it to the brinjal mixture. 
  • Some people add fresh grated coconut for this curry. I personally like it without coconut. 


Tips:
  • If you have prepared this Gojju for more than one time serving, keep the excess part aside and add chopped onion only to that portion which is ready to serve.

ಕನ್ನಡದಲ್ಲಿ ಓದಲು ಇಲ್ಲಿ ಕ್ಲಿಕ್ ಮಾಡಿ 
Summer is the season of jackfruits in my native. Many households will be busy preparing different dishes and preservable foods from jackfruit during jackfruit season. Apart from papad and chips, my mum and aunts will make sun-dried raw jackfruit pieces. They use them to make different jackfruit dishes whenever they need. Here is the recipe of sun-dried jackfruit pieces for you..


Time required: 3 hours
Drying time - 1 week
Difficulty level: Medium

Ingredients:
  • Fully grown raw jackfruit - 1
  • Salt - for taste

Method:
  • Cut the raw jackfruit and separate the flesh. 
  • Cut the flesh into medium sized chunks or into desired size.
  • Add salt to taste and mix well. Allow it to rest for 1 - 2 hours.
  • Squeeze off the excess water content and spread them on a plate for drying.
  • Sun-dry the raw jackfruit chunks for upto a week or till the chunks are dry and crisp and there is no moisture left in them.
  • Store the sun-dried chunks in an air-tight container and use them for preparing different dishes.
  • Soak them 30 minutes before cooking and they are ready to use!
  • I will share a few recipes using sun-dried raw jackfruit pieces in my upcoming posts.


During our last India trip, my sister had packed some home made Sandige Menasu (Buttermilk chillies) for us. These chillies, once fried in oil, turn out so delicious! My kids wanted to give them a try and both started liking them. We get a spicific variety of green chillies called Gokarna Menasu in our native place. The name is because of the place where they will be grown. These chillies are very mild in taste and are perfect for making Curd chillies. 
Few days back, we had got a big bunch of fresh green chillies from the farmers market. I checked with my sister for the recipe and tried my hands on making Curd chillies. They were a bit spicy than what my sister gave to us, but there was no compromise in taste.
Here comes the recipe of Sandige Menasu or Curd Chillies which I learnt from my sister:


Time required: 45 minutes
Sun drying time: 1 week approx.
Difficulty level: difficult 

Ingredients:
  • Green chillies - 1/2 kg (mild ones are better)
  • Salt - to taste
  • Thick curd or thick buttermilk - 2 cups (approx)
  • Urid dal - 2 tsp
  • Methi seeds - 4 or 5 seeds
  • Cumin seeds - 1/2 tsp
  • Asafoetida / hing - 1/4 tsp
  • Lime squeeze - for taste (use it if the curd is not sour)
  • Water - as needed

Method:
  • Wash the green chillies in water thoroughly.
  • Make a slit in the chillies lengthwise, but don't separate into parts. Slit helps to absorb the curd easily.
  • Heat enough water to cover the chillies. 
  • Once the water starts boiling, transfer the slit chillies into the boiling water and after half a minute, take all the chillies out and drain them on a cotton cloth or thick paper towel for 15 minutes. 
  • Spread the chillies on a wide plate and cover the plate with a thin cloth. Sun dry these chillies for two days. Then, dip them in curd mixture. 

How to prepare Buttermilk mixture: Prepare the curd mixture on the second day by following the below steps:
Dry roast urid dal, methi seeds, asafoetida / hing and cumin seeds till aromatic and make a fine powder.
Take the thick curd and add the spice powder you made. Blend it in mixie for 2 minutes to make a fine mix.
Add salt according to taste. If the curd is not sour, add some lime squeeze.
  • After sun drying for 2 days, immerse the chillies in the curd mixture overnight.
  • Next morning, take out the chillies from the curd mixture and spread them on the plate, cover with a thin cloth and sundry them. Keep the remaining buttermilk mixture as it is.
  • Put the chillies back into the curd mixture in the evening, take out and sundry them next day. Repeat it till the curd mixture gets over.
  • Sun dry the chillies till they are nicely crisp and there's no water content left in them.
  • Store these dried chillies in an airtight container for upto a year. 

How to fry Curd chillies:
  • Heat 3 - 4 tsp oil in a wok. Add 5 - 6 chillies and fry them on low flame till they turn a bit brownish. 
  • Turn off the flame and enjoy these fried chillies along with rice and curd. 


We had a nice veggie garden during summer this year. Our little backyard was filled with many veggie crops for last couple of months. Radish or Moolangi was one of them, which we had a good crop. By the time COVID lockdown started, our veggies were ready for harvest. Prices of fruits and vegetables have risen drastically these days. Our home grown veggies have reduced the grocery bills to some extent. Now, its time to wind up the veggie garden as the winter is approaching. 
Here is one of my favourite recipe, Radish leaves thepla or Mooli leaves paratha..


Preparation time: 25 - 30 minutes
Difficulty level: Medium
Yield: 10 - 11 Theplas

Ingredients:
  • Radish leaves - 1 small bunch
  • Whole wheat flour / Atta - 2 1/4 cup
  • Besan flour - 2 tbsp
  • Oil - for cooking
  • Cumin coriander powder - 1 tsp
  • Garam masala powder - 1/2 tsp
  • Turmeric powder - 1/4 tsp
  • Red chilli powder - 1 tsp
  • Chilli flakes (optional) - 1/2 tsp
  • Salt - to taste
  • Sugar - 1 1/2 tsp
  • Amchur powder - 1/3 tsp
  • Warm water - 1 cup


Method:
  • Wash the radish leaves thoroughly in clean water. Chop them finely. If you have a pull chopper, it will ease the process.
  • Heat 1 1/2 tbsp oil in a heavy bottom pan. Add finely chopped radish leaves and cook it till the leaves change the color. It may take 5 - 8 minutes.
  • Switch off the flame and add cumin - coriander powder, garam masala powder, turmeric powder, red chilli powder and chilli flakes. Mix it once.
  • Then, add wheat flour, besan flour, sugar, amchur powder and salt to taste. 
  • Add water little by little and prepare smooth, non - sticky dough. 
  • Make a big ball of dough, apply little oil and keep it covered for about 5 minutes. If you are in a hurry, just skip this step and proceed further. 
  • Take out the dough, and make equal sized 10 or 11 balls from the dough. 
  • Take one ball at a time, dip in dry flour and roll it into thin circle. Repeat the same with all the dough balls. 
  • Cook the rolled circles on the hot tawa on both the sides. Drizzle a few drops of oil or ghee (clarified butter) while cooking.
  • Serve hot Thepla along with your favourite side dish. 
  • Radish leaves thepla or parathas are perfect for breakfast, lunch box and dinner. 
'Katne' - is a unique curry from my native in Southern India. Its prepared using some wild leaves called 'Kannekudi' leaves which are available there. This curry is preferred during rainy season when people can't get much vegetables. Also, it helps to keep the body warmer during times of cold and fever. 
We can't get Kannekudi leaves here in Australia, but I prepare this curry by substituting Spinach leaves. Below is the recipe of Spinach leaves Katne.


Preparation time: 20 - 25 minutes
Difficulty level: Medium 
Serves: 5

Ingredients: 

  • Spinach / Palak leaves - 1 bunch
  • Pepper corns - 10 to 12 (adjust according to spiciness needed)
  • Cumin seeds - 1 tsp
  • Grated coconut - 1 cup
  • Amchut powder - 3/4 tsp
  • Salt - to taste
  • Lime squeeze - for taste (see tips)
  • Oil - fr seasoning
  • Crushed garlic - 1 1/2 tsp
  • Water 

Method:

  • Wash the spinach leaves in water and chop them roughly. 
  • Heat 1 1/2 tsp of oil in a pan, add pepper corns and roast them till they start crackling. 
  • Then, add cumin seeds followed by chopped spinach leaves. 
  • Cook it till spinach leaves change color and turn off the flame. Don't add any water for cooking at this stage. 
  • Grind the cooked mixture along with grated coconut and archur powder into fine paste. Add water as required. 
  • Transfer the spinach paste to a pan. Add water as needed to adjust the consistency. I prefer it to be a bit watery like Rasam. Also add salt and lime juice as per taste. 
  • Boil this curry nicely for 5 minutes. 
  • Heat 1 1/2 tsp of oil in a small wok or pan. Add crushed garlic and sauté till it turns into lite brown color. Add this seasoning to the prepared curry.
  • Enjoy this delicious Katne (curry) along with rice!

Tips:

  • If not using lime juice, use more amchur powder and adjust the taste.
  • Having this curry during post partum time is good for health. Only change needed is to replace lime juice with amchur powder completely. 


As everyone is restricted from going outside due to COVID - 19, its a bit hard to manage the kids at home all day. And, more household work like cooking, cleaning vessels, cleaning and the like. I am trying to involve kids in doing the household chores a bit. Here is a recipe which can be done involving the kids. Potato Podi or shallow fried potato slices are always on demand in our home. 


Preparation time: 20 -25 minutes
Difficulty level: Medium
Serves: 4

Ingredients:
  • Potato (big ones) - 2
  • Sooji rava (Course Semolina) - 3 tbsp
  • Salt - to taste
  • Red chilli powder - 3/4 tsp or to taste
  • Oil - for cooking

Method:
  • Peel off the skin of potatoes and cut them into thin slices.
  • Mix together sooji rava, salt and red chilli powder in a small bowl. 
  • Coat the potato slices with the rava mixture by dipping them in the mixture.
  • Cook them on the hot tawa by drizzling a few drops of oil. Flip them a few times to ensure even cooking.

How to cook in the oven:
  • Pre-heat the oven to 175C.
  • Line the baking tray with baking sheet and arrange the semolina coated potato slices side by side. 
  • Drizzle 4 - 5 drops of oil on each potato slice.
  • Cook them in the pre-heated oven for 15 minutes or till done. 
  • Take out the tray after 5 minutes and serve the hot Potato Podi as snacks or as a side dish with lunch or dinner.


Doddapatre is a common herb which is generously used in many Indian households for cooking and home medications. This plant won't need much care and can be easily grown in a pot. We use this herb mainly to get rid of cold and cough. Having access to herbs like Ajawain, tulsi, ginger, etc. will definitely cut down frequent visits to the doctor for some common sickness. Apart from its medicinal values, Ajwain leaves are equally good for preparation of a few yummy dishes. Here is one such side dish, Doddapatre / Ajwain leaves Gojju..


Preparation time:15 minutes
Difficulty leves: Medium
Serves: 4 - 5

Ingredients:
  • Doddapatre / Ajwain leaves - 7 or 8
  • Split bengal gram - 2 tbsp
  • Dry red chillies - 2
  • Urid dal - 1 tsp
  • Mustard seeds - 1/2 tsp
  • Hing / asafoetida - a pinch
  • Coriander seeds - 3/4 tsp
  • Cumin seeds - 1/4 tsp
  • Till seeds - 1/2 tsp
  • Turmeric powder - 1/2 tsp
  • Salt - to taste
  • Tamarind - 1 1/2 tbsp or to taste
  • Jaggery / sugar -  3 tbsp or to taste
  • Grated coconut - 1 cup
  • Oil - 1 1/2 tsp
- For seasoning:
  • Urid dal - 1/2 tsp
  • Mustard seeds - 1/2 tsp
  • Oil - 1 tsp

Method:
  • Wash the Doddapatre leaves in clean water and keep aside.
  • Heat 1 1/2 tsp oil in a heavy bottom pan. Add split bengal gram and sauté for a minute on medium or low flame.
  • Then, add urid dal, red chilli pieces followed by coriander seeds, cumin seeds, till seeds and hing. 
  • Once the mustard seeds start spluttering, add turmeric powder and doddapatre leaves. 
  • Continue cooking till the leaves change color and then turn off the flame.
  • Grind the cooked mixture along with grated coconut and tamarind and make a course paste. Let it be thick, not too watery; add little water as required.
  • In a pan, do the seasoning with oil. urid dal and mustard seeds. Add the grind mixture, salt and jaggery / sugar to taste. 
  • Allow the mixture to heat up nicely. Once the bubbles start coming, turn off the flame. 
  • This Gojju or gravy tastes well when served with rice.


As you all know, Corona virus is spreading quickly everywhere and its at all recommended to go out in most of the places. Curfew, home isolation these are the situation everywhere. This virus is spreading in our area also. Kids are homeschooling, husband is working from these days due to safety reasons. We are completely restricting ourselves from going out except fortnight grocery shopping. Hope some solution will be found out soon and I wish for everyone's safety and good health.
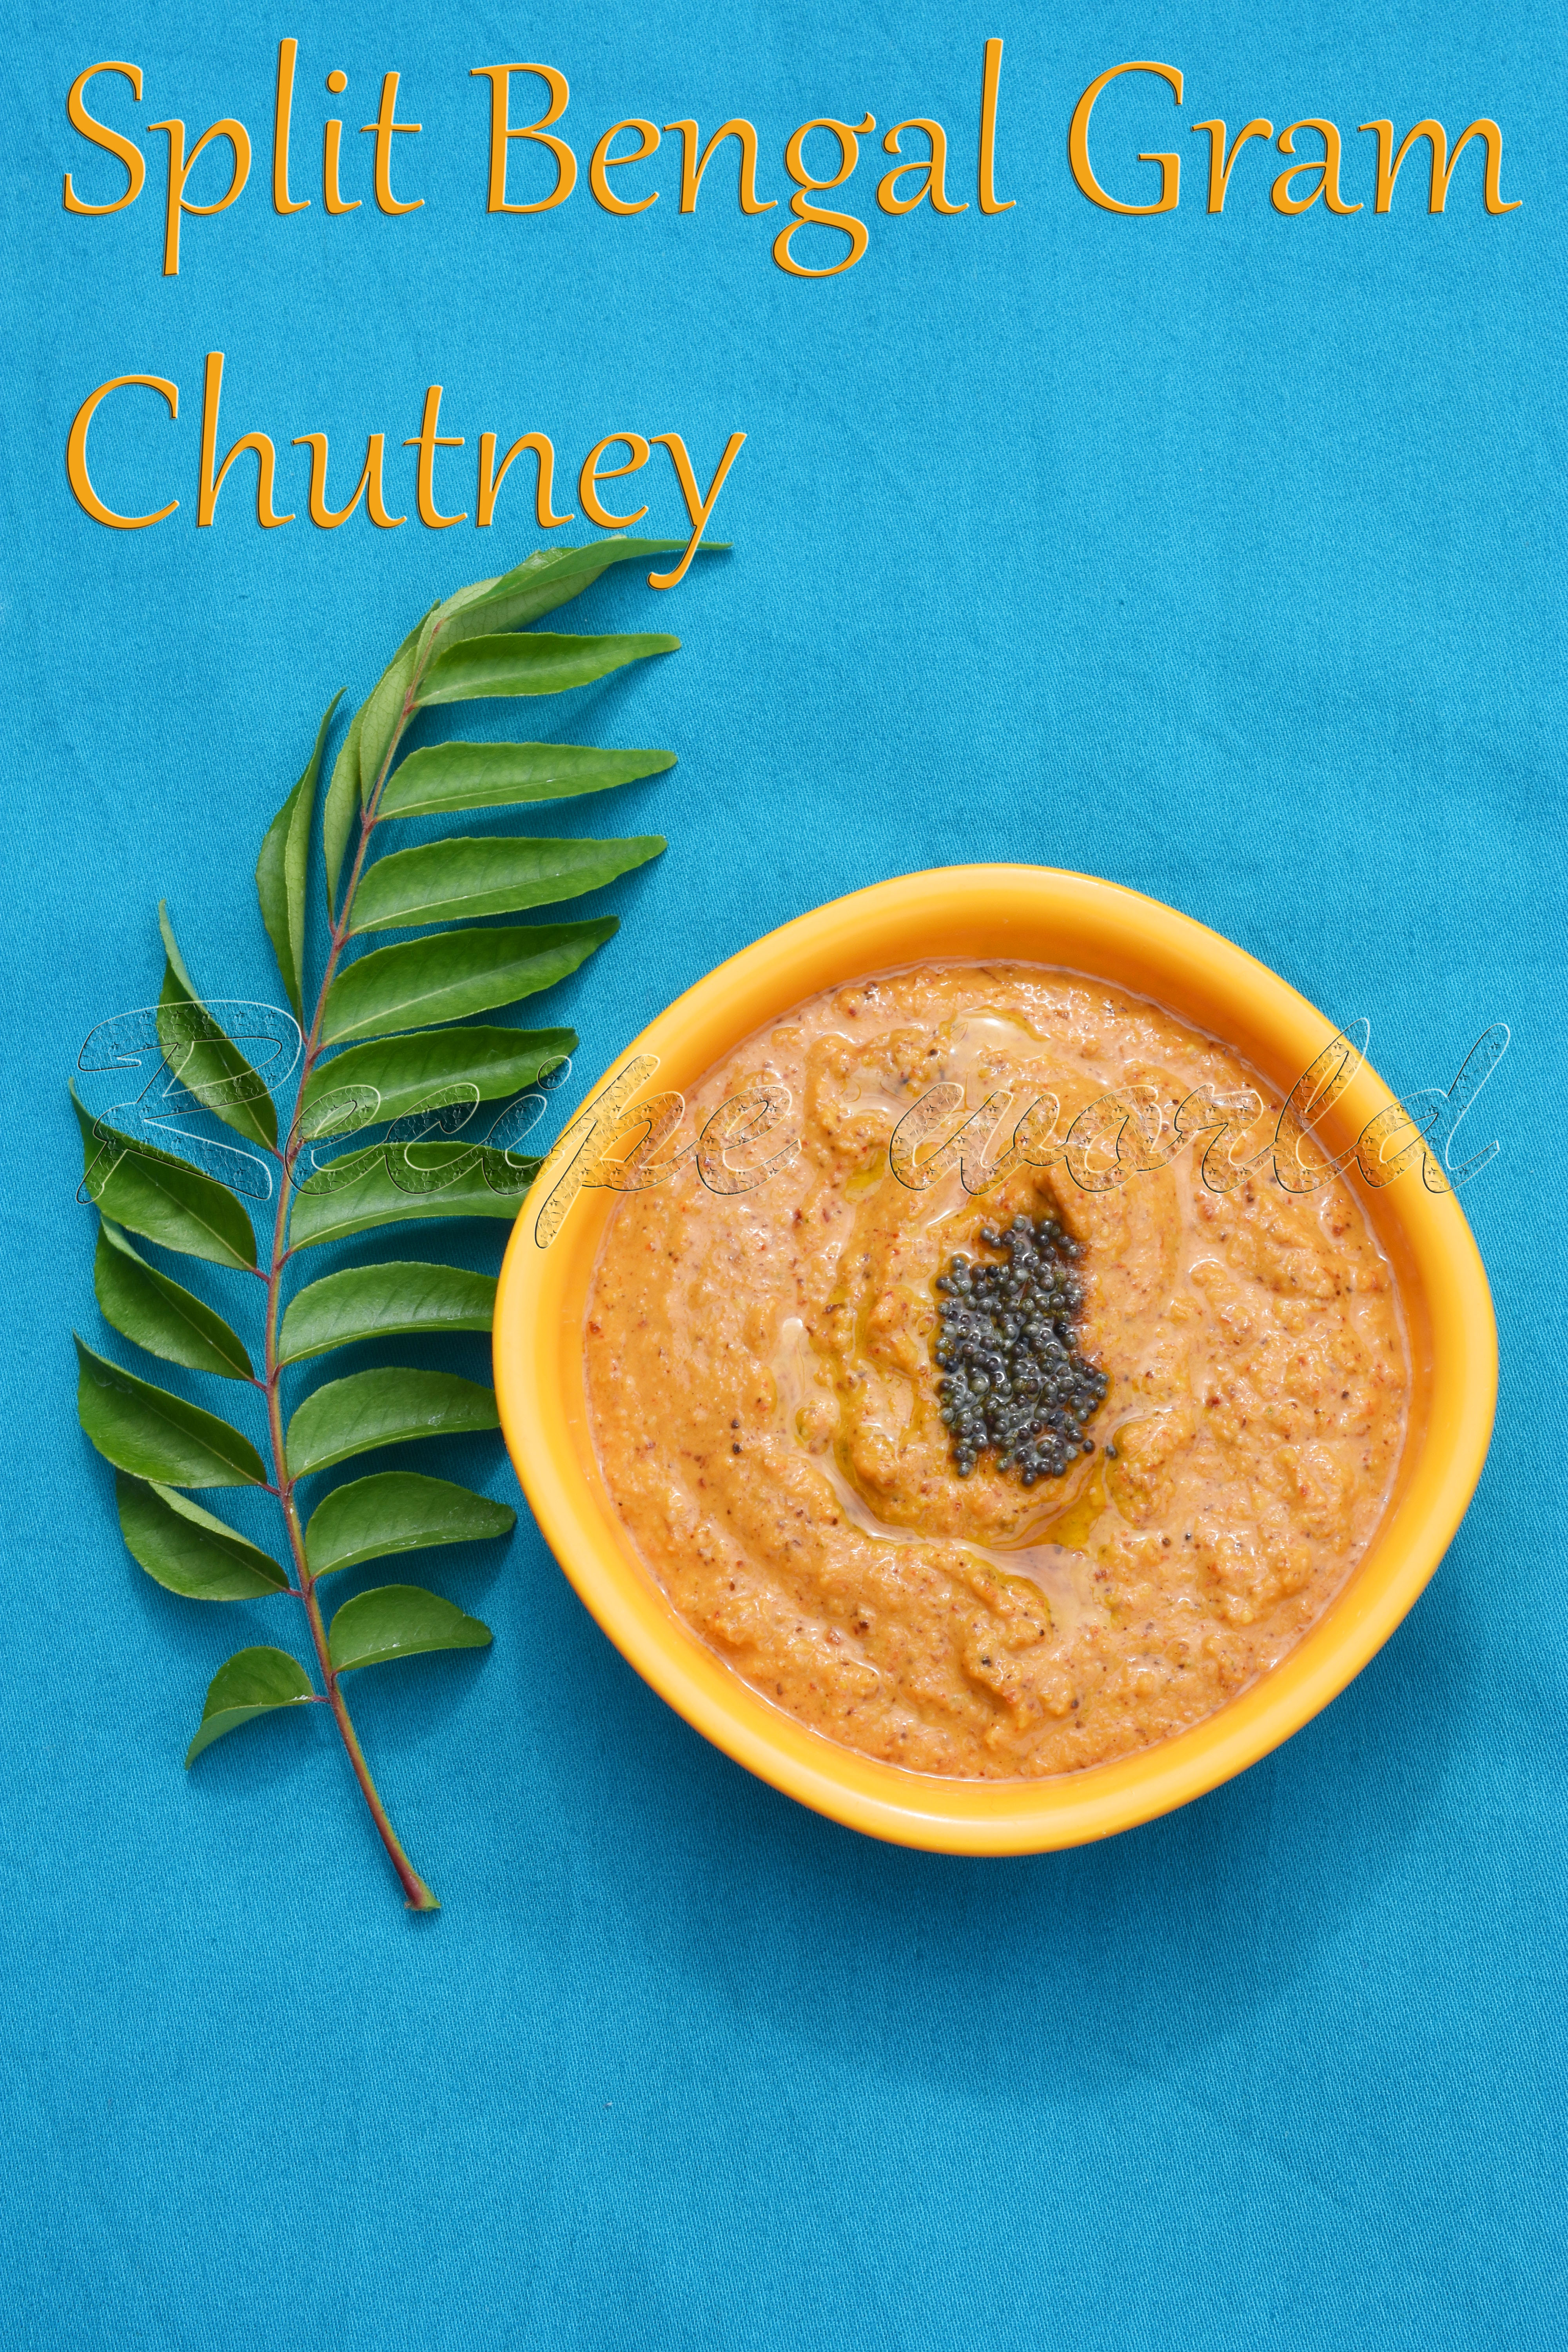
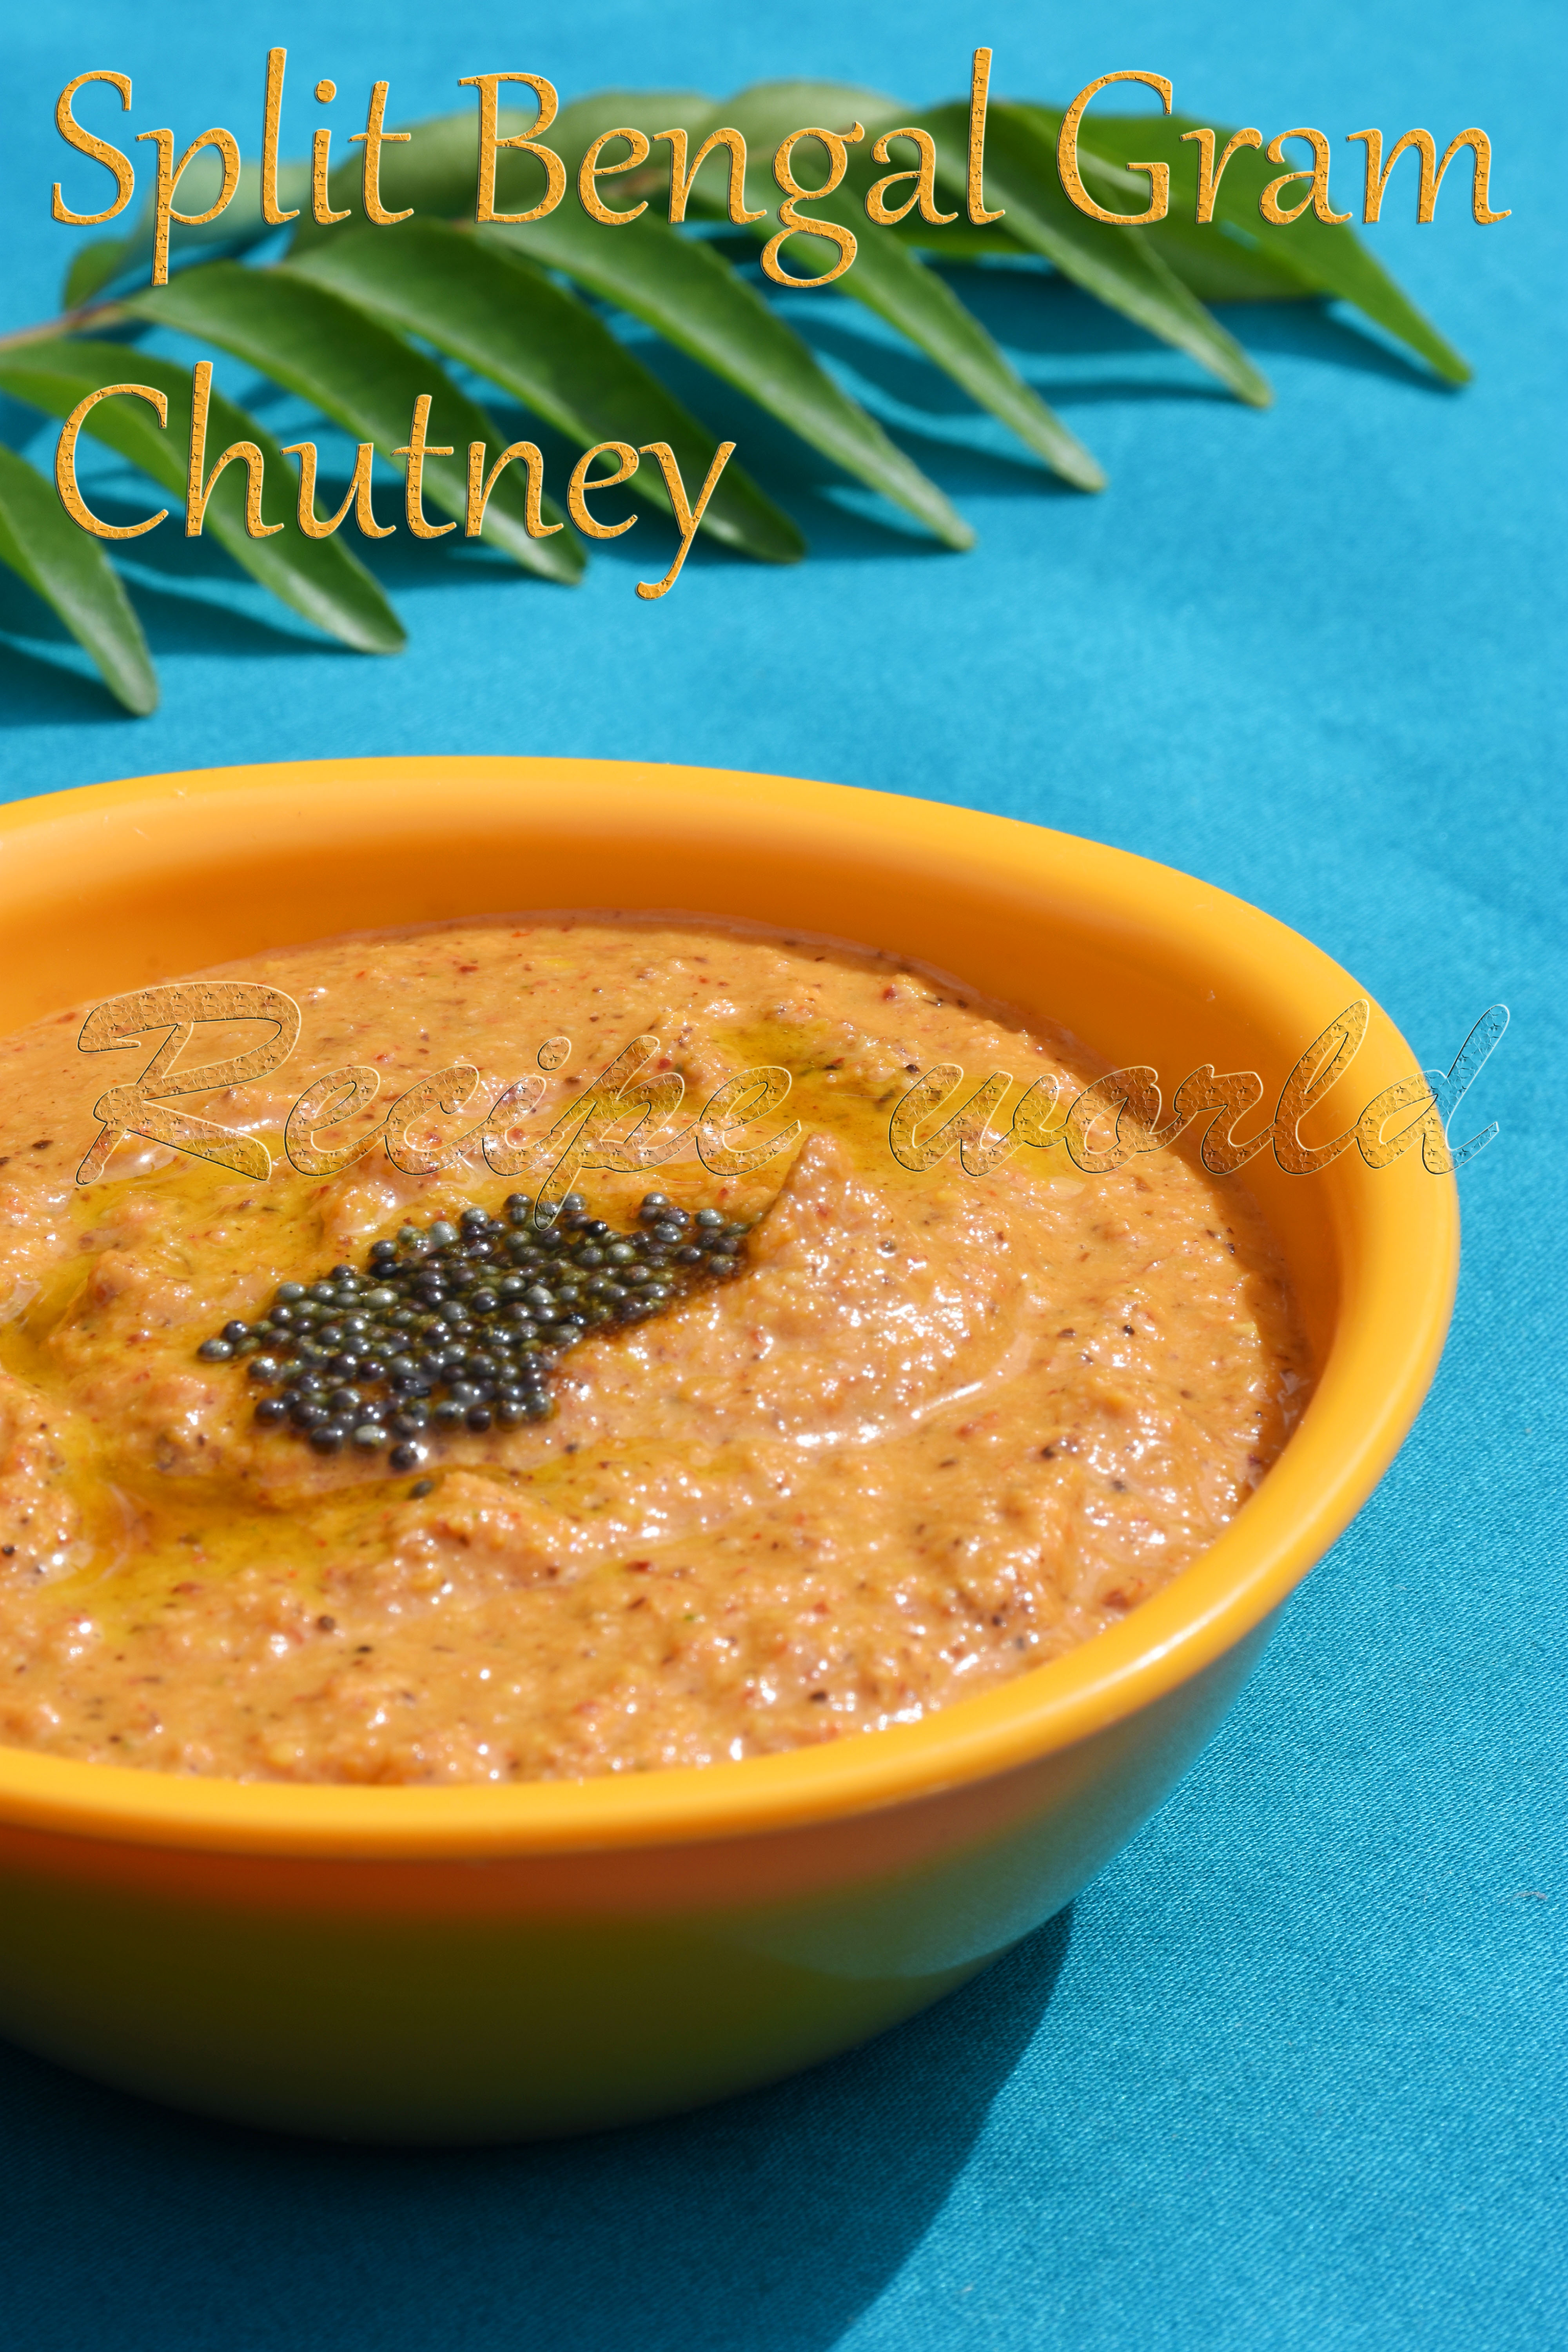
Coming back to the recipe part, here is and easy Chutney recipe which I learnt from my sister. This goes well with rice and Idlis. This Chutney can be made with commonly available ingredients from the kitchen pantry and hence, I thought this might be of help especially when you can't go out for much grocery shopping. Below is the recipe of Kadlebele Chutney or Kadle Kaalina Gojju..


Preparation time: 10 - 12 minutes
Difficulty level: Medium
Serves - 4

Ingredients:
  • Kadlebele (Split bengal gram) - 2 tbsp
  • Dry red chillies - 1 or 2 (adjust according to spiciness)
  • Urid dal - 1 tsp
  • Hing / asafoetida - generous pinch
  • Mustard seeds - 1 tsp + 1 tsp
  • Turmeric powder - 1/4 tsp
  • Green chilli (optional) - 1
  • Tamarind - 1 1/2 tbsp or to taste
  • Salt - to taste
  • Sugar - 1/4 tsp
  • Fresh grated coconut - 1 cup
  • Curry leaves (optional) - 4 leaves
  • Oil - 1 1/2 tsp + 1 tsp


Method:
  • Heat 1 1/2 tsp oil in a wok or heavy bottom pan. Add split bengal gram dal and roast it for 1 - 2 minutes.
  • To this, add urid dal, red chilli pieces, mustard seeds and hing. Once the mustard seeds start spluttering, add turmeric powder, green chilli pieces and curry leaves. Sauté for a minute and turn off the flame.
  • Grind the roasted lentil mixture along with fresh grated coconut, tamarind, salt and sugar. Add little water as required and make a thick, coarse paste. 
  • Heat the oil in a wok. Add 1 tsp mustard seeds and a pinch of hing. Once mustard seeds splutter, add this seasoning to the prepared Chutney. 
  • Serve this Chutney along with rice or Idlis.


Tips:
  • If you don't like to add green chillies, add more red chillies according to taste.


Genasale is an authentic South Indian dumpling. This sweet dish is prepared using jaggery and coconut as main stuffing, covered with a layer of dough and is put inside the half folded bay leaf for cooking. They taste awesome with the unique flavour of bay leaves. 
One of our neighbours had offered us plenty of fresh bay leaves a few days back. I thought to make Genasale, as we rarely get the fresh bay leaves here. They turned out delicious and we enjoyed eating them. Kiddos told me to make them again coz they're so tasty!
Do try these sweet dumplings when you get some fresh bay leaves next time. Here is the recipe of Genasale (Indian sweet dumplings) for you.


Preparation time: 45 minutes
Difficulty level: Difficult
Serves: 4 people

Ingredients:
  • medium sized bay leaves - 15 to 20

- For covering:
  • Sooji rava (semolina) - 3/4 cup
  • Salt - 1/3 tsp
  • Jaggery - 1 1/2 tbsp
  • Turmeric powder - 1/4 tsp
  • Water - as required

- For stuffing:
  • Fresh (or frozen) grated coconut - 1/2 cup (tightly packed) 
  • Jaggery 1/3 cup of to taste
  • Cardamom powder - 1/2 tsp
  • Water - 1 tbsp (See tips)


Method:
  • Wash the bay leaves in water and keep aside.
  • Transfer the grated coconut into the mixie jar and run the mixie for half minute. 
  • In a heavy bottom pan, mix the grated coconut, jaggery and 1-2 tbsp of water if using the powdered jaggery. Cook it on medium flame and keep stirring regularly to avoid burning. 
  • After 10 - 12 minutes of cooking, coconut mixture starts thickening. Turn off the flame, mix in the cardamom powder and allow it to cool.
  • Take around 3/4 cup of sooji rava in a bowl and add enough water to soak it. Stir it well and allow 5 minutes to get soaked.
  • Take out the excess water after 5 minutes, but do not squeeze.  
  • Grind the soaked semolina in mixie for a minute. Add little water if needed. Ideally, it should come to dosa batter consistency.
  • Transfer the ground batter into a heavy bottom pan. Add salt, jaggery and turmeric powder and keep mixing it on low or medium flame till the batter changes the color and looks like dough. Allow it to cool down a bit and mix it nicely using your palms.
  • Take a bowl, add 3-4 cups of water and 1/4 tsp of oil. Applying this water to the leaves will avoid dumplings sticking to the leaves after cooking.  
  • Take a bay leaf, apply oily water on its upper surface. Take a small portion of semolina dough, pat it thinly on the upper surface of the leaf. Put around 1 tsp (or more) of the coconut mixture on top of it.
  • Fold the leaf into half so that the stuffing remains inside. Cover the edges nicely and transfer it to the steamer plate. 
  • Follow the same procedure and make as many dumplings as required. Arrange them on the steamer plate and cook for 5 minutes. If using pressure cooker, take off the whistle and close the lid just like that.
  • Remove the bay leaves after cooking and serve the delicious dumplings along with ghee (clarified butter). 


Tips:
  • Since I have used the powdered jaggery, I have added 1 tbsp of water while making the stuffing. If adding liquid jaggery, no need to add any water.
  • Bay leaves can be replaced with turmeric leaves for this recipe.
  • If you find it hard to make the Genasale (dumplings) on the leaves, make them in the same way without using the leaves. While steam cooking, cover top it with bay leaves to add the flavour. 

Honeydew melon is a variety of melon, which belongs to the family of musk melon. Its a family favourite fruit at our place because of its sweet taste. We normally would cut the fruit and eat it as it is. But there will be times the half finished fruit sits in the fridge for a few days and nobody wants to eat it. Something innovative has to be prepared during such times to make it interesting. Here is one such recipe..Muskmelon Cooler! It can be served as a refreshing drink or as a dessert. 


Time required: 15 - 20 minutes
Difficulty level: Medium
Serves - 3

Ingredients:
  • Honeydew Melon - 1/4th of a whole fruit (or even less)
  • Milk (preferably full fat) - 1 cup 
  • For sweetness - jaggery, sugar or maple syrup - according to taste (I have added 6 tbsp of jaggery)
  • Salt - a pinch
  • Cardamom powder - 1/4 tsp

Method:
  • Cut the melon into big pieces and separate the seed part. Grate the flesh using a grater and discard the rind part. 
  • 1.5 cups of grated flesh plus the liquid therefrom will be enough for the above said measurements.
  • Transfer the grated fruit flesh plus liquid into a mixing bowl. Add pinch of salt and sweetener (jaggery, sugar or maple syrup) according to taste and mix everything well. 
  • Add milk and cardamom powder and give it a good mix.
  • Keep it in the fridge for cooling before you serve.
  • While serving, mix it well and scoop both juice and the fruit gratings into the serving bowl.  


Tips: 
  • For a quick serving, use cold milk and refrigerated fruit for this recipe.
NewerStories OlderStories Home